Manual Install (No IAM Users)
Below are the steps to automatically install Saturn Cloud Enterprise via a Docker image. Note that if possible we recommend installing it automatically via the AWS Marketplace instead.
This installer has steps for customizing the IAM roles that the backend and users run on Saturn Cloud, and does not require any IAM users. This is different than our other installation methods, which use a IAM user for permissions. If you do not want to customize the IAM roles and resources being used by Saturn Cloud, see our simpler manual installation instructions which skip those steps.
In order to follow these instructions, you will need a computing environment to run the commands.The computing environment must have: 1. Console access to your AWS account. 2. A bash-compatible shell to run the AWS commands. 3. Permission in your AWS account to create IAM roles and/or permission to create CloudFormation stacks.Avoid sandbox accounts
It may be tempting to deploy Saturn Cloud to a sandbox account within your organization as a trial. We find that most successful customers skip the sandbox because you cannot meaningfully test a data science tool without access to your data.1. Sign up for Saturn Cloud
Visit the Saturn Cloud Installation Manager to register your company with Saturn Cloud. This lets us know on our side that you are setting up our product. After giving us your information, the Installation Manager will direct you to the AWS Marketplace where you can a Saturn Cloud Enterprise subscription your existing AWS account.
2. Create the installation IAM role
Our installer needs an IAM role in order to provision resources into your AWS account, and provide customer support and product updates.
The role created by our cloud formation stack will create a trust relationship to our account. If you are running the installer yourself or if you have security concerns then you can modify the trust relationship to point to your account.
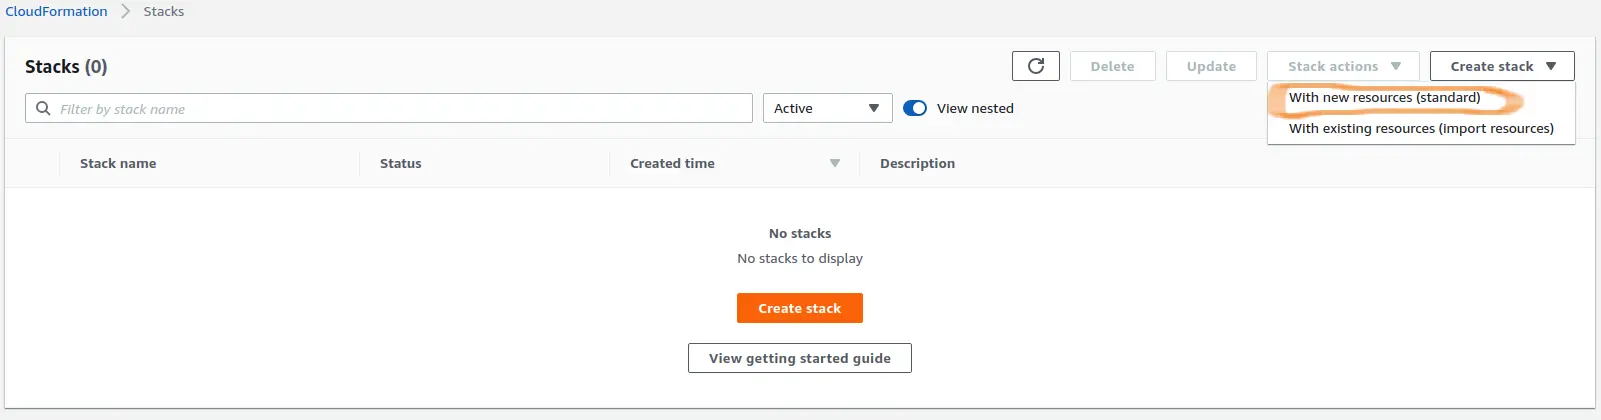
In AWS Console, navigate to the CloudFormation section. Click the "Create Stack" button. From the dropdown, choose the standard option ("With new resources").
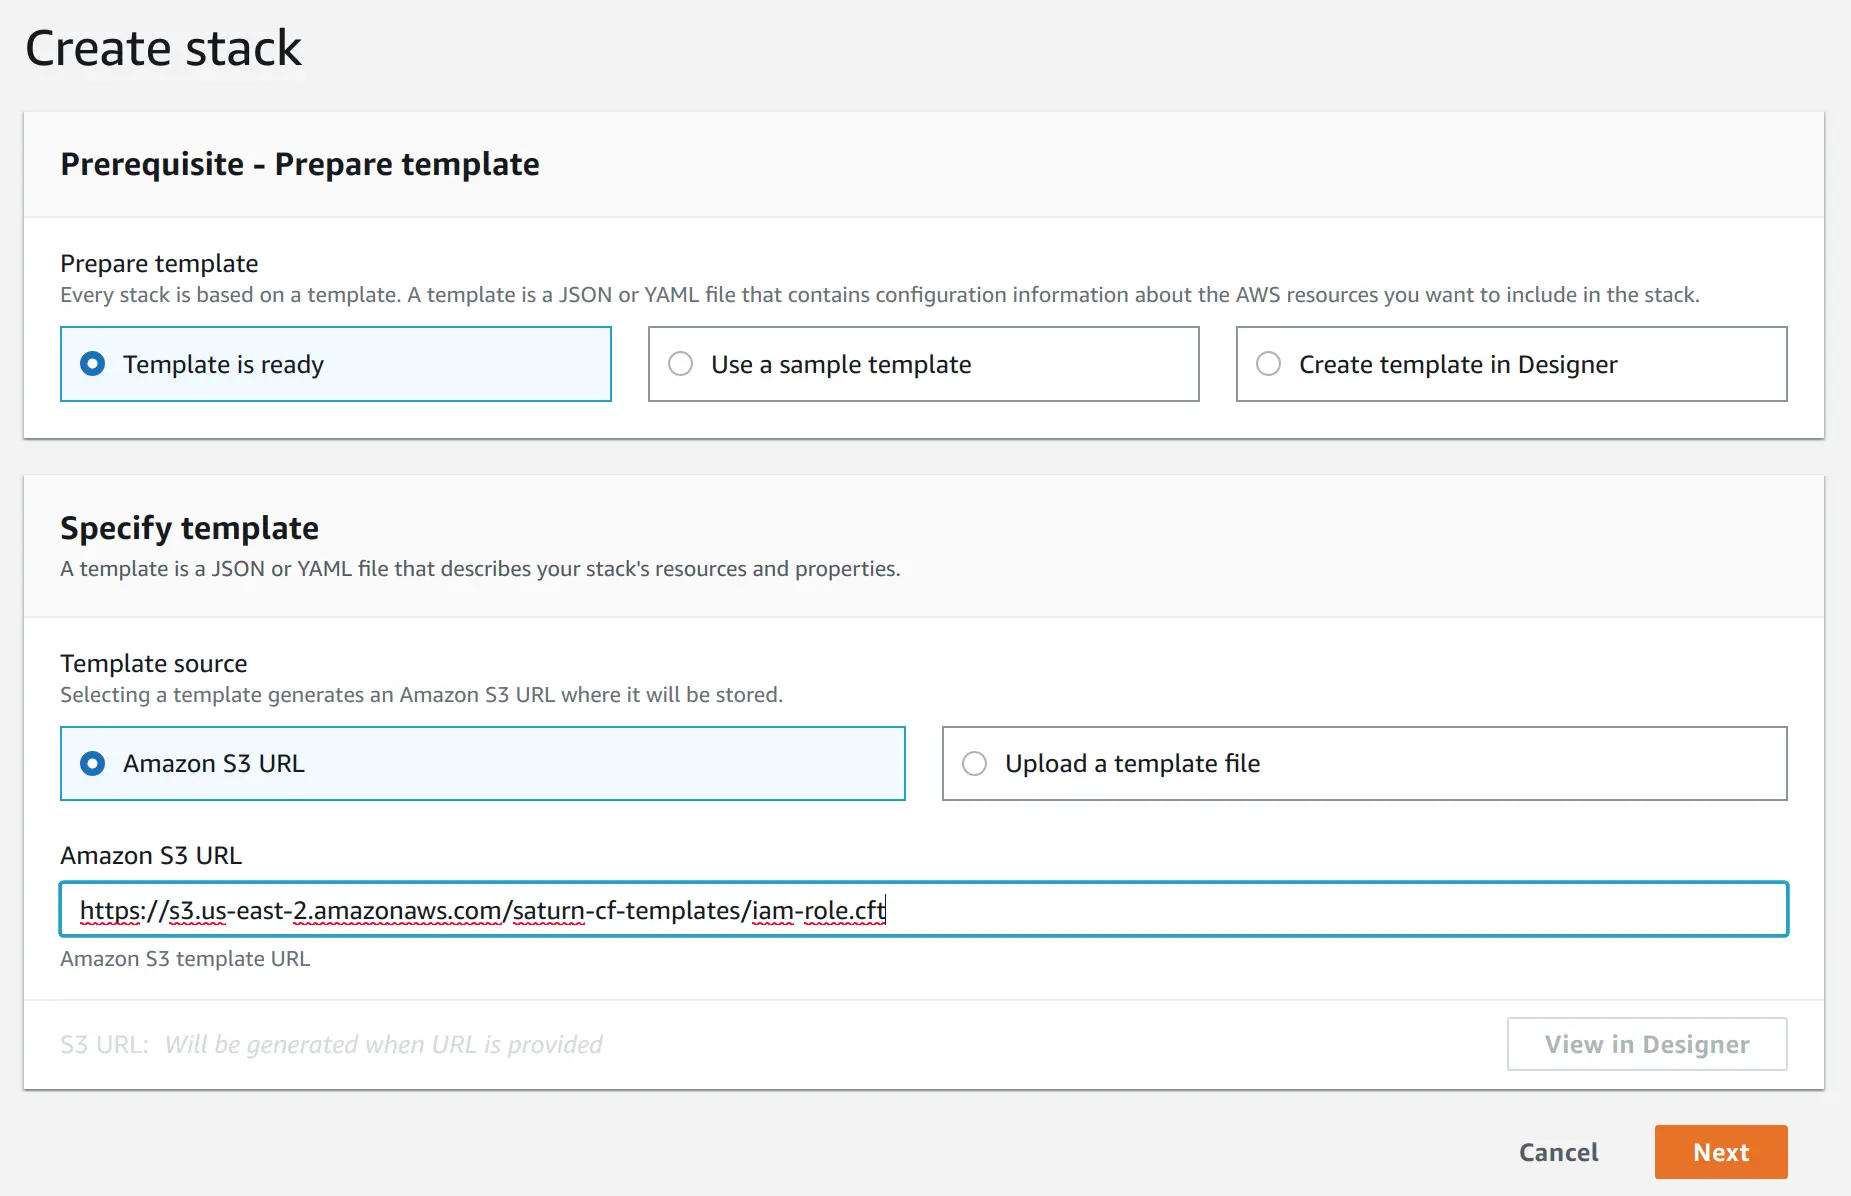
On the next screen, choose "Template is ready" option in the "Prepare template" section. For the template, use the URL: https://s3.us-east-2.amazonaws.com/saturn-cf-templates/iam-role.cft
Click Next.
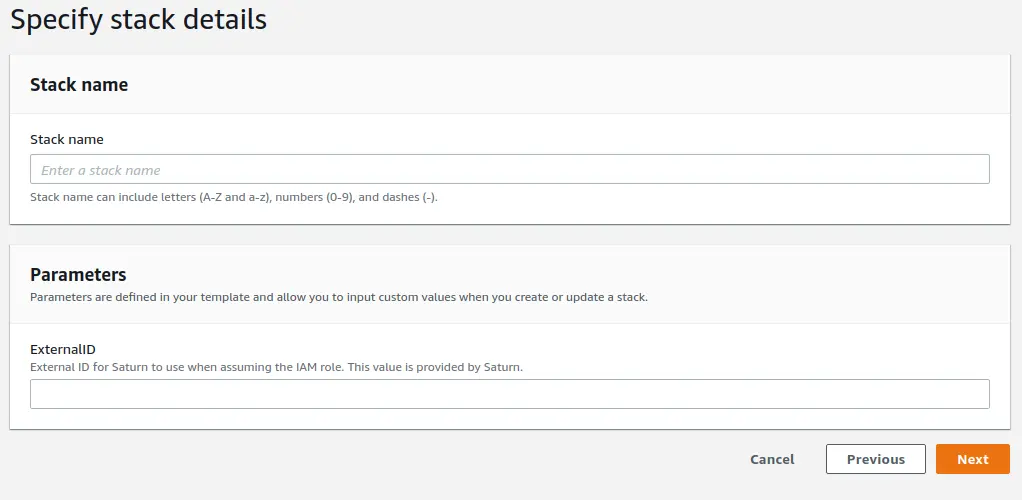
On the next screen, give the stack a name of your choice (for example, "Saturn Cloud Access"). The external ID can be found on the installer page. Click "Next"
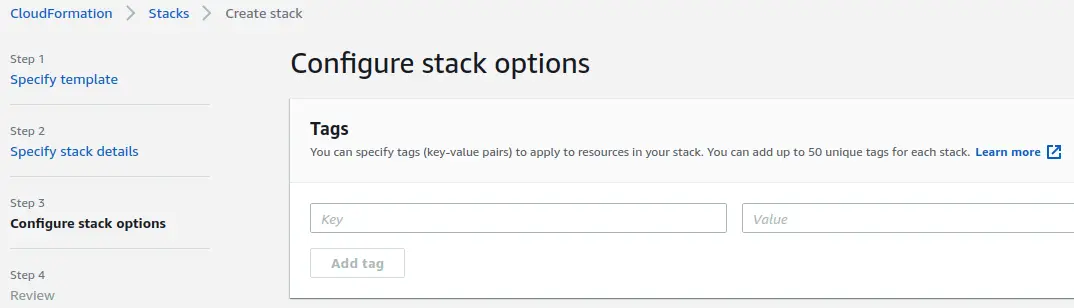
On the next screen, all fields are optional. Proceed to the next page when you have configured these items as desired.
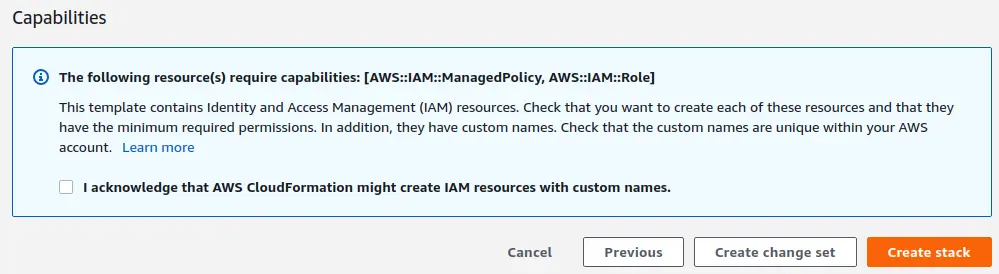
Review all values on the next page - step back and making corrections if needed. When you're ready to create the stack, check the checkbox next to "I acknowledge that AWS CloudFormation might create IAM resources with custom names." Then, click on the "Create stack" button.
Once stack creation is complete, you need to provide the ARN for the created role to the installer in order to continue with the deployment. You may find this info on the "Outputs" tab in the AWS console. The ARN is the string that starts with "arn:aws:iam" in the "Value" column, as shown below.
3. Create IAM roles for users of Saturn Cloud
Our standard installation process creates a single IAM user which the Saturn UI uses to interact with AWS. Instead of using this, you can create an OIDC provider which can associate IAM roles with EKS pods and replaces all IAM users with IAM roles. This allows different users within Saturn Cloud to have different IAM roles for accessing resources. This step is not required, however if you choose not to do it
Saturn Cloud requires specific IAM resources to operate that need to be set up. This includes:
- An IAM role and IAM policies for the EKS cluster.
- An IAM role, an instance profile and IAM policies for the EKS worker nodes.
- An IAM role for the saturn application.
The sample terraform creates an IAM role for the Saturn Cloud application. The assume-role policy for that role has some placeholder values, which we will alter once the OIDC provider has been created. If you do use this terraform, you must replace {orgname} in the following with your orgname.
Note that there is no requirement for where to run the Terraform script from. If you need a machine to use, you can wait to create the IAM roles to run Saturn Cloud until after you've completed step 3 and made an EC2 instance to use.
Once the roles are created, they will be used in a later step.
4. Create your installation configuration
The Saturn Cloud installation need a configuration specific to your organization. The easiest way to create it is to contact [support@saturncloud.io](mailto:support@saturncloud.io). We will help you generate your installation configuration. It will look something like this:
org_name: ...
region: ...
aws_account_id: ...
private_subnets:
- ...
public_subnets:
- ...
worker_subnets:
- ...
enable_irsa: trueconfig.yaml--we'll use it in the next step.5. Run the installer to setup AWS resources
Execute the following to retrieve credentials for the role.
aws sts assume-role --role-arn ${your-role-arn} --role-session-name debug --external-id ${your-external-id} --duration-seconds 3600 --query Credentials
This command will return something like this:
{
    "AccessKeyId": "your-access-key",
    "SecretAccessKey": "your-secret",
    "SessionToken": "your-token",
    "Expiration": "2022-06-23T15:17:55Z"
}
Create a file in the same directory as config.yaml named installer-vars where we will store these temporary AWS credentials.
AWS_DEFAULT_REGION=${your-region}
AWS_ACCESS_KEY_ID=${your-access-key}
AWS_SECRET_ACCESS_KEY=${your-secret}
AWS_SESSION_TOKEN=${your-token}
Set the following environment variables. You will need use the values from the previous step.
export INSTALLER_IMAGE=saturncloud/saturn-aws:2022.05.01-40
export DATA_DIR=`pwd`
Now we will start a bash shell inside the installer container.
docker run --rm -it -v ${DATA_DIR}:/sdata --env-file installer-vars ${INSTALLER_IMAGE} bash
The rest of the install commands must take place inside this shell.
You can now provision the EKS cluster and the ACM certificate using the following command:
saturn-aws install --skip-k8s
This will take some time - typically 15-45 minutes. If you encounter errors, contact us and we will help debug. The last step - associating the OIDC provider can take up to 30 minutes.
6. Modify the assume-role policy for the saturn UI IAM role
The sample terraform script created an IAM role with placeholder values following an assume role policy:
{
    "Version": "2012-10-17",
    "Statement": [
      {
        "Effect": "Allow",
        "Principal": {
          "Federated": "arn:aws:iam::ACCOUNT_ID:oidc-provider/OIDC_PROVIDER"
        },
        "Action": "sts:AssumeRoleWithWebIdentity",
        "Condition": {
          "StringEquals": {
            "OIDC_PROVIDER:sub": "system:serviceaccount:saturn:saturnadmin"
          }
        }
      }
    ]
  }
You should update the role so to replace ACCOUNT_ID with your AWS ACCOUNT ID, and replace OIDC_PROVIDER with the output of:
aws eks describe-cluster --name saturn-cluster-{orgname} --query "cluster.identity.oidc.issuer" --output text | sed -e "s/^https:\/\///"
7. Run the installer to setup k8s resources
Finally, we need to set up the Kubernetes cluster for Saturn Cloud. Run the following command from the installation EC2 instance
saturn-aws install-k8s
You may stop your installation EC2 instance, but do not terminate it. You can use this instance in the future for updates. Please backup a copy of the config.yaml file
At this point the installation of Saturn Cloud Enterprise should be complete. Please backup a copy of the config.yaml file. You will recieve an email with details of your Saturn Cloud Enterprise installation.
You will be able to access your saturn cloud account at https://app.{orgname}.saturnenterprise.io, where {orgname}
depends on the organization name used when signing up for Saturn Cloud. After installing we recommend you have data scientists try it out, and reach out to us to schedule a demo.
