Saturn Cloud Quickstart
Saturn Cloud is a data science platform that helps people quickly do work using whatever technology they need, including high-memory computing, GPU processors, and Dask clusters. You can use Saturn Cloud with Python, R, or nearly any other programming language.
Using this guide in just a few steps you will be able to run your data science code in the cloud and customize the environment however you need it.
Sign up for Saturn Cloud
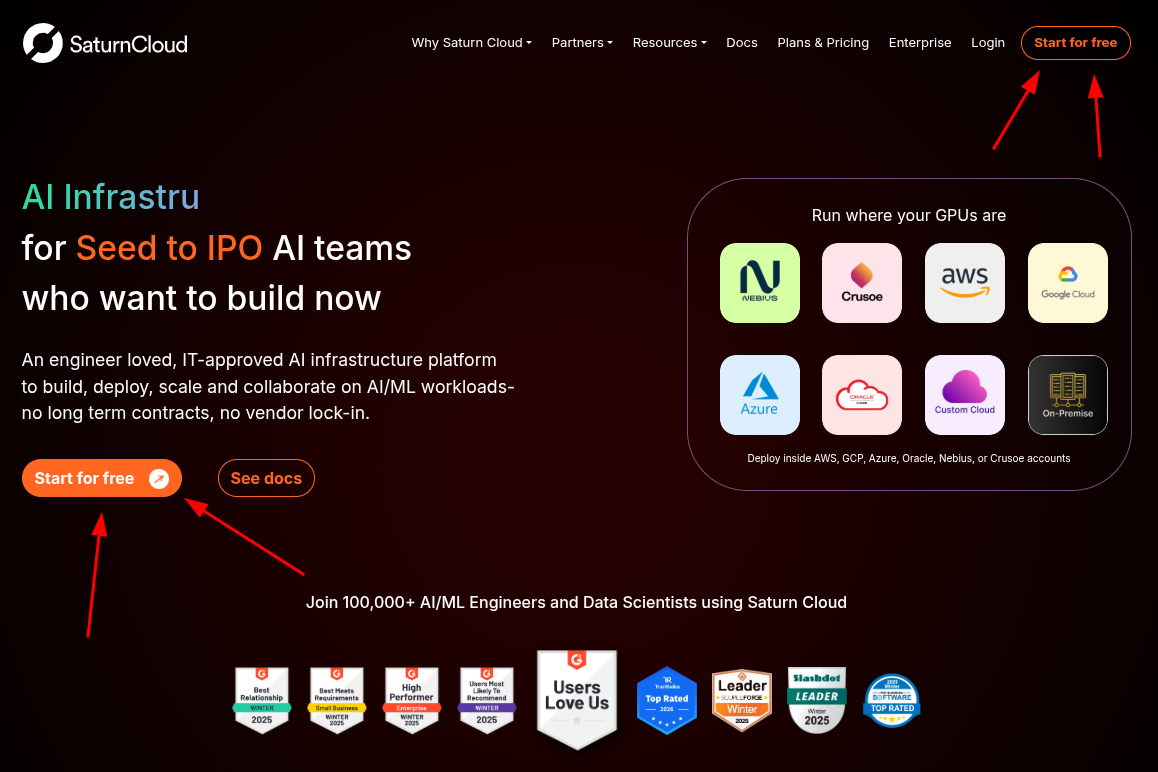
Sign up by visiting saturncloud.io and clicking on Start for Free. Follow the prompts and you’ll soon be logged in to your new account. If you are an Enterprise customer, you will need to use the custom url provided to you.
Saturn Cloud resources
A resource is a complete environment for running code. Each resource is independent, so you can split out the different types of activities you’re doing. You can have a resource for each project you’re working on, each analysis you’re doing, and so on.
A resource is one of the following:
- Jupyter Server: This resource type allows you to interactively run code via JupyterLab or by connecting via SSH from command line, or an IDE like PyCharm or VSCode.
- R Server: If you are primarily doing R development, you can use an R server to interactively use the R IDE or by connecting via SSH.
- Job: A task that runs on command or on a schedule. (Hosted Pro and Enterprise accounts only)
- Deployment: A continuously running activity like a hosted dashboard or API. (Hosted Pro and Enterprise accounts only)
- Prefect Cloud Flow: A special type of resource specific for running Prefect jobs which are created differently than the other types of resources. (Enterprise accounts only)
Each user can have multiple resources, and resources can be cloned (including by other users with sufficient permissions). With the exception of R servers, each resource may optionally have a Dask cluster associated with it, allowing the resource to run computations across multiple machines.
Creating a resource
When you log into Saturn Cloud you’ll first see the Welcome to Saturn Cloud message. If you are creating a Jupyter server or R server, select Run Code in an IDE. If you are creating a job or deployment, select Deploy Code for Production. (Hosted Pro and Enterprise accounts only)
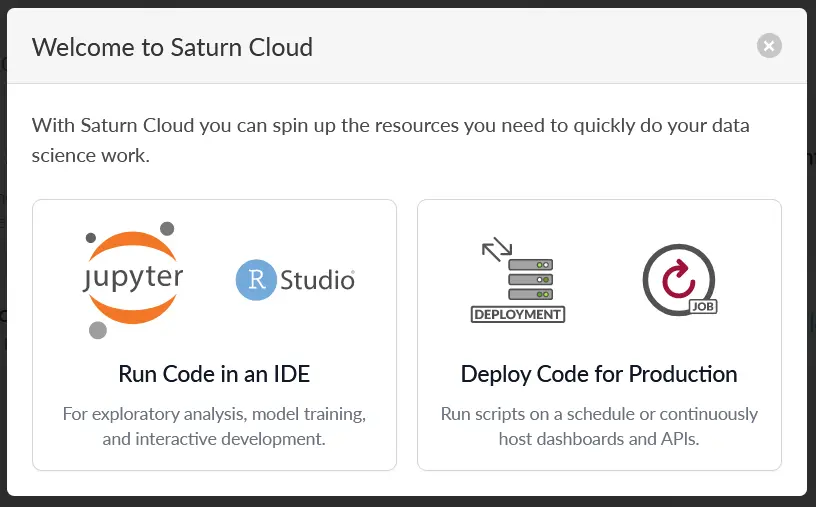
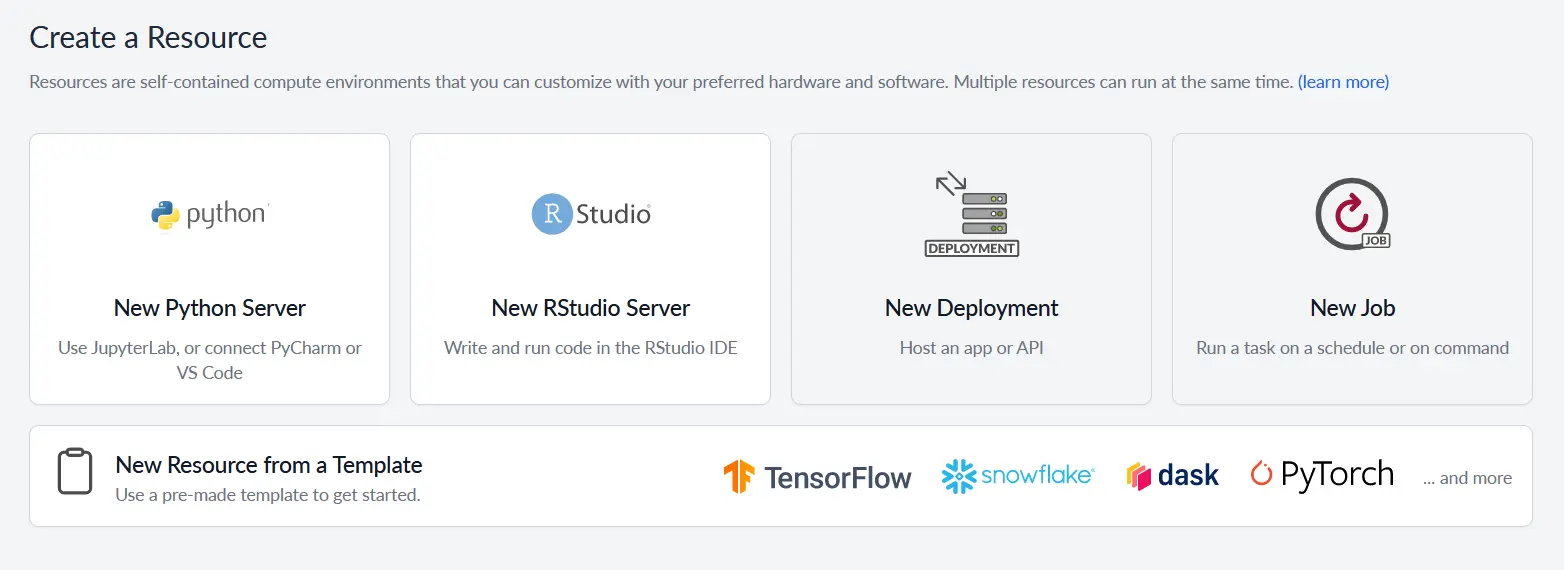
You can also close the message to continue to the Resources page. On the Resources page you can see your existing resources, or create a new one in either of the following ways:
- Set up your own custom resource with your specifications by pressing one of the New buttons at the top.
- Select one of the pre-created template resources. These templates are set up to have the appropriate settings and code for a particular task.
Start a resource
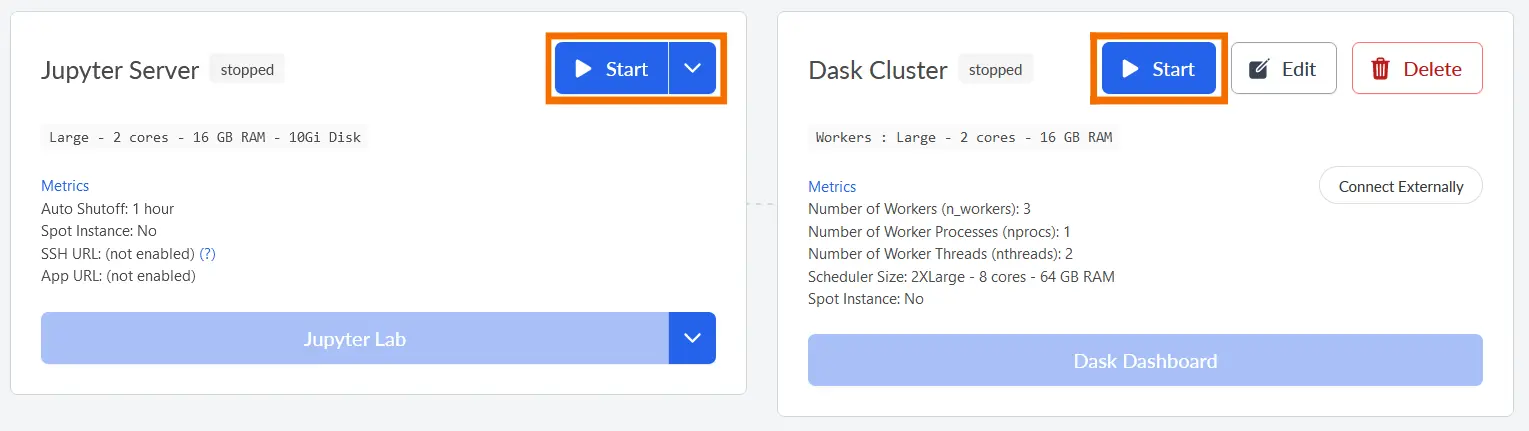
Once a resource is created, you’ll need to turn it on. Press the blue Start button on the resource’s page to start the server. If you have a Dask cluster attached to the resource, you’ll need to start that separately from this page.
As your machine starts up, the card will display pending, and you will see a progress bar showing the steps and overall progress toward starting the server.
In the case of Jupyter server and R servers, when the machine is ready the card will show running. You’ll see the JupyterLab or R server button available so that you can use those IDES on the resource. For other resource types (jobs, deployments, or Prefect Cloud flows) the action that happens when the resource starts will be different.
Once you’re in the IDE, you can write, run, and save code.
Stop the resource
When you’re done using the resource, shut it down by clicking the red Stop button on the card. By default, the resource will automatically shut off after the browser window has been inactive for an hour (this only applies to some resource types). You can also Restart your resource from the card using the red dropdown button.
Choose your path
Now that you have a resource running, here are the most common next steps based on what you want to accomplish:
Data Analysis & Exploration: Load and analyze data from various sources, then scale your analysis with Dask for larger datasets.
Model Development: Train models with GPUs for machine learning, then deploy your trained models as APIs for production use.
Customize your resource
Most users need to customize their environment and connect their existing work. Here are the essential setup tasks:
- Install software and packages. Add the specific libraries and software your code requires.
- Connect a git repo. Version control your code and collaborate with others.
- Add secrets to your resources. Store API keys and credentials safely for accessing data and services.
- Use other IDEs (e.g., PyCharm, VSCode). Connect from your preferred development environment via SSH.
- Create a Dask cluster. Enable distributed computing for larger workloads.
- Create a custom image. Build environments with pre-installed software for faster startups.