This article was published when data science tooling like Dask and R was a primary focus for Saturn Cloud. Today, Saturn Cloud is the enterprise AI platform for any GPU infrastructure.
Saturn Cloud provides customizable, ready-to-use cloud environments
for collaborative data teams.
Try Saturn Cloud and join thousands of users moving to the cloud without having to switch tools.
Introduction
With the innovation in cloud technologies, more organizations are migrating to using more apps in their workspace. Some of these applications require user name and password.
Usernames and passwords are the primary targets of cyber attacks in most organisations.
SSO helps reduce the number of attacks as well as secure, manage, and simplify organization information, code, and data.
In this tutorial, we will learn how to use Okta as the authentication provider for JupyterHub
SSO (Single Sign-on):
Single sign-on (SSO) is a system that enables users to securely authenticate with multiple applications and websites using just one set of credentials.
It brings to an end the resentment of thinking about a strong password and always forgetting your password to an application.
With Single sign-on(SSO), organizations can secure, manage, and simplify their user, password, code, data and optimize their systems
In a nutshell, SSO builds a trust relationship that is often based upon a certificate that is exchanged between the identity provider and the service provider. some examples include; Azure AD, Google Sign on, Github Sign on, etc
Intro to Okta
Okta is an identity cloud platform that provides a secure system to authenticate and link all your devices into one digital fabric
With Okta, you’re up and running on day one, with every app and program you use to work, instantly available. Whether you’re at your desktop or on the go, Okta seamlessly connects you to everything you need.
Okta provides cloud-based workspace and customer identity platforms. With Okta, you can solve varieties of problems which include application password fatigue, Disparate databases, system optimization, and implementing a dynamic authentication flow
As Okta announced earnings today after the bell, it revealed that it’s buying cloud identity startup Auth0 for a hefty $6.5 billion. The company had a valuation of $1.92 billion when it raised $120 million led by Salesforce Ventures last July.
Okta Identity solutions
In this session, we will set up Okta workplace identity as our authentication for Jupyterhub.
Setup Okta application:
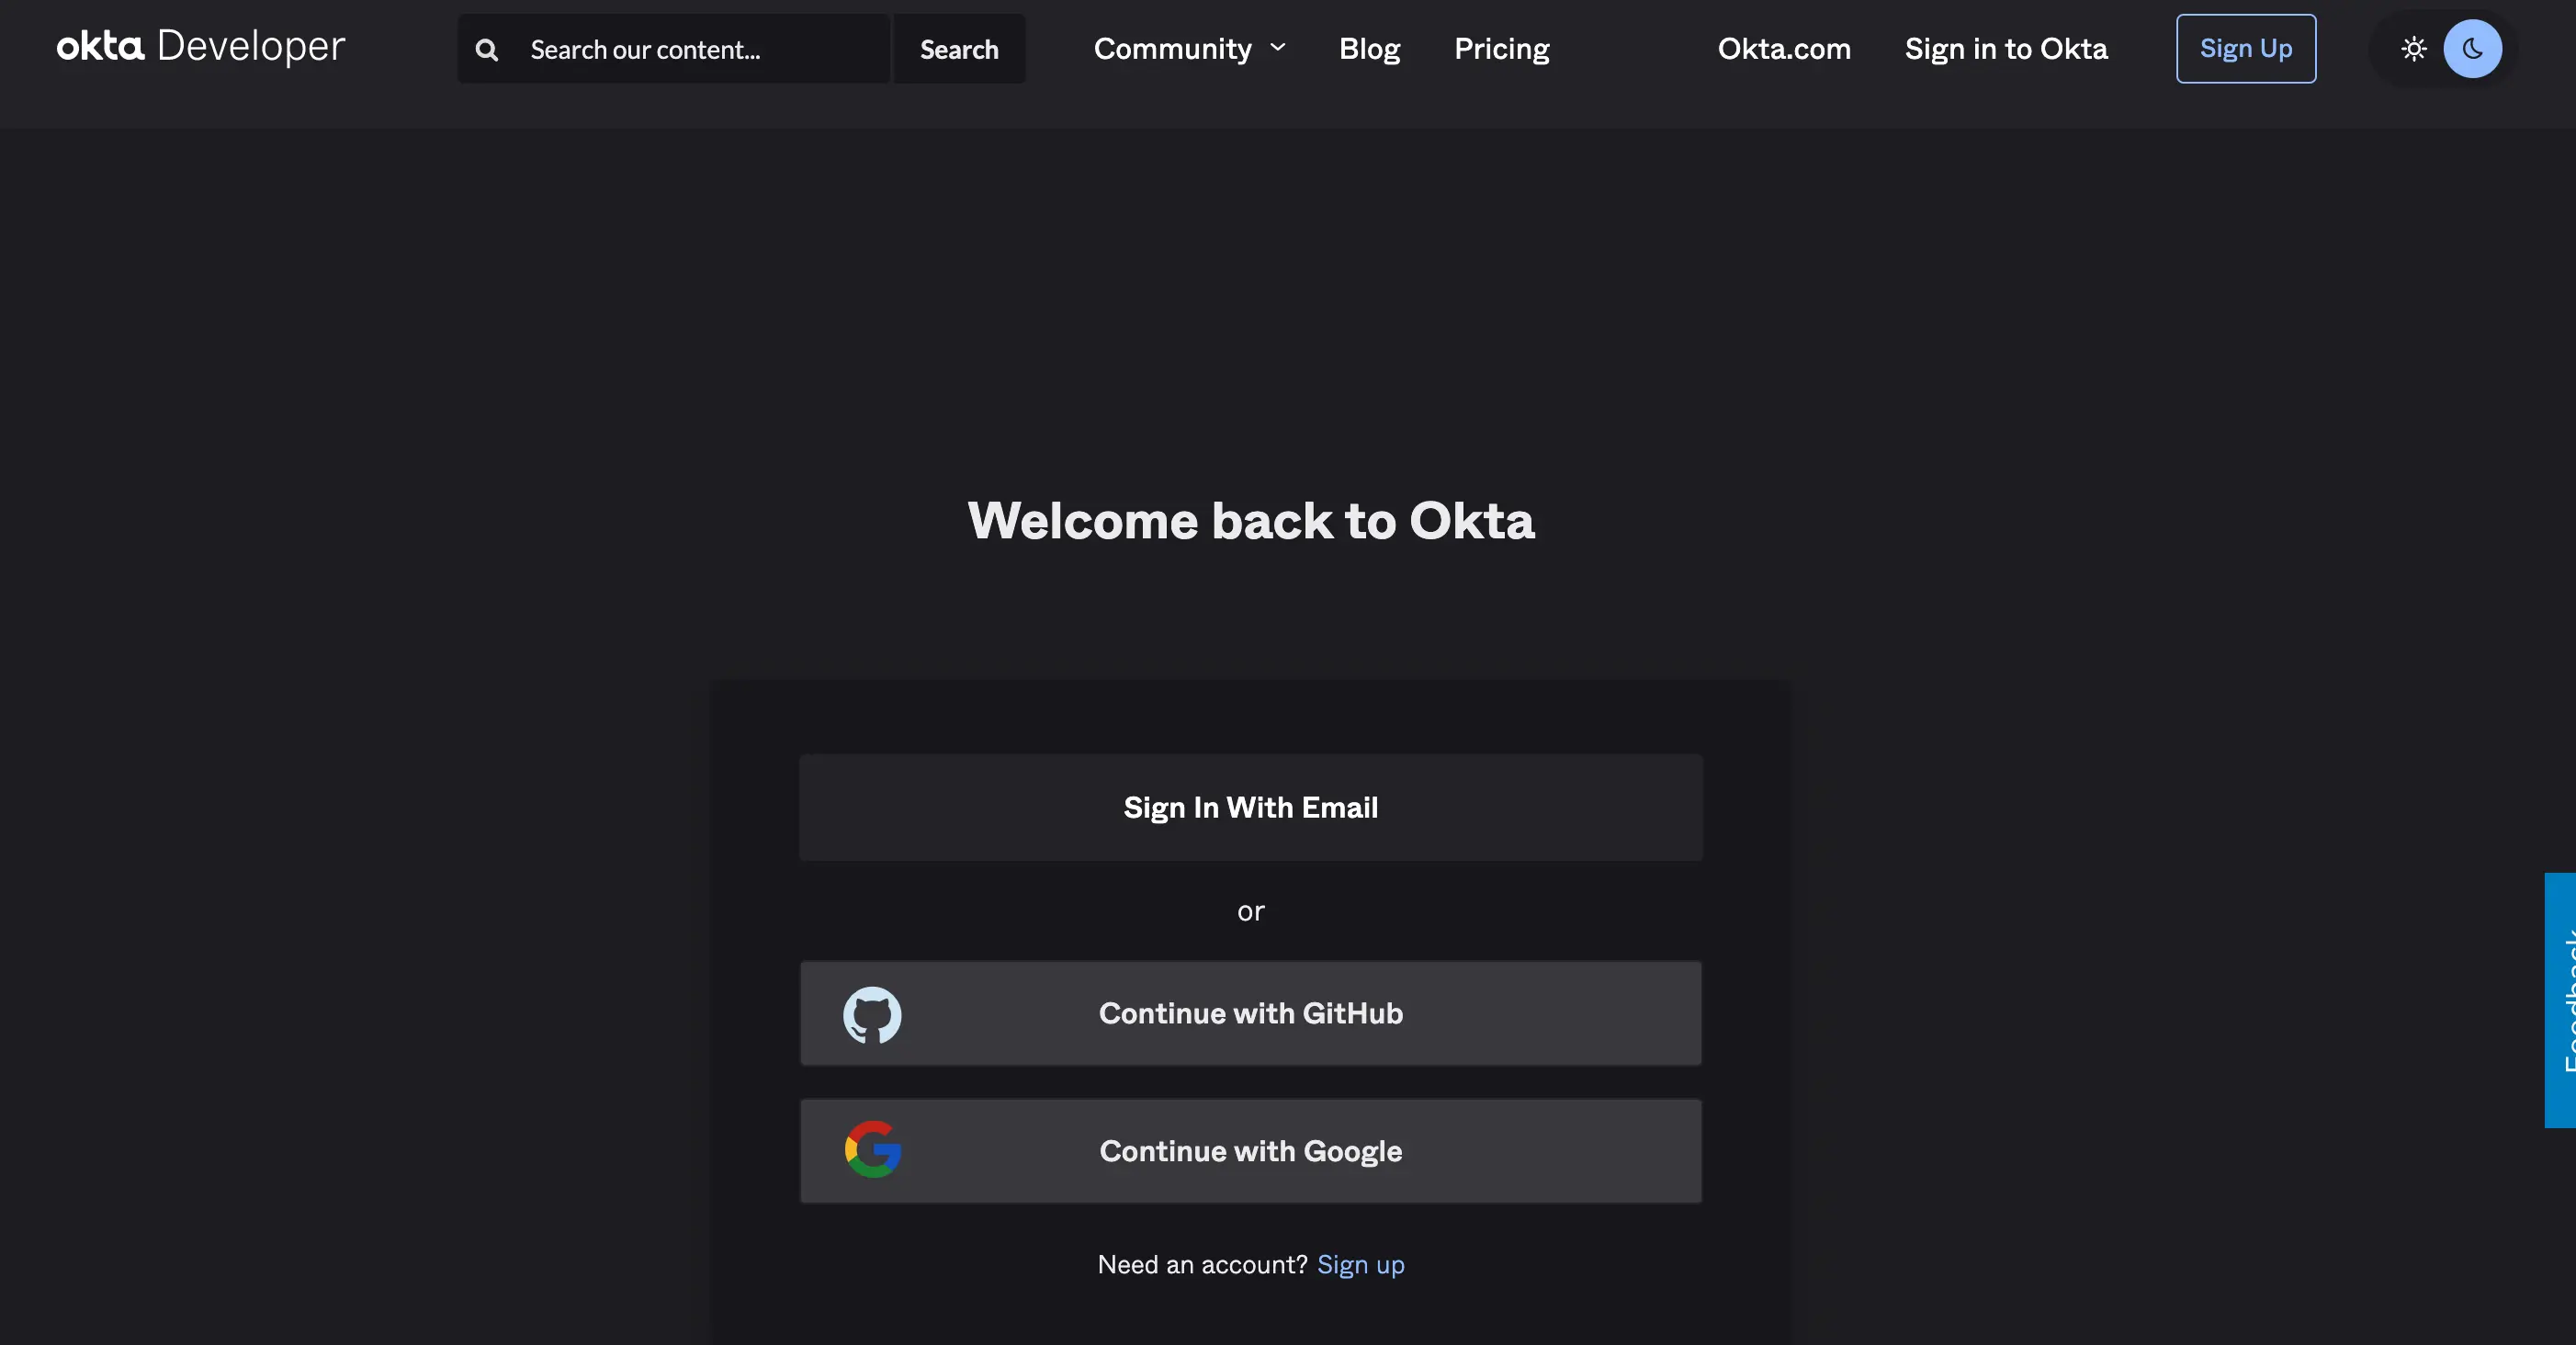
To set up Okta workplace identity, we can either use the developer portal (developer.okta.com) or we can create our own custom organization workspace (https://www.okta.com/free-trial/)
First, we will sign in (you can use either your work email, google account, or GitHub account)
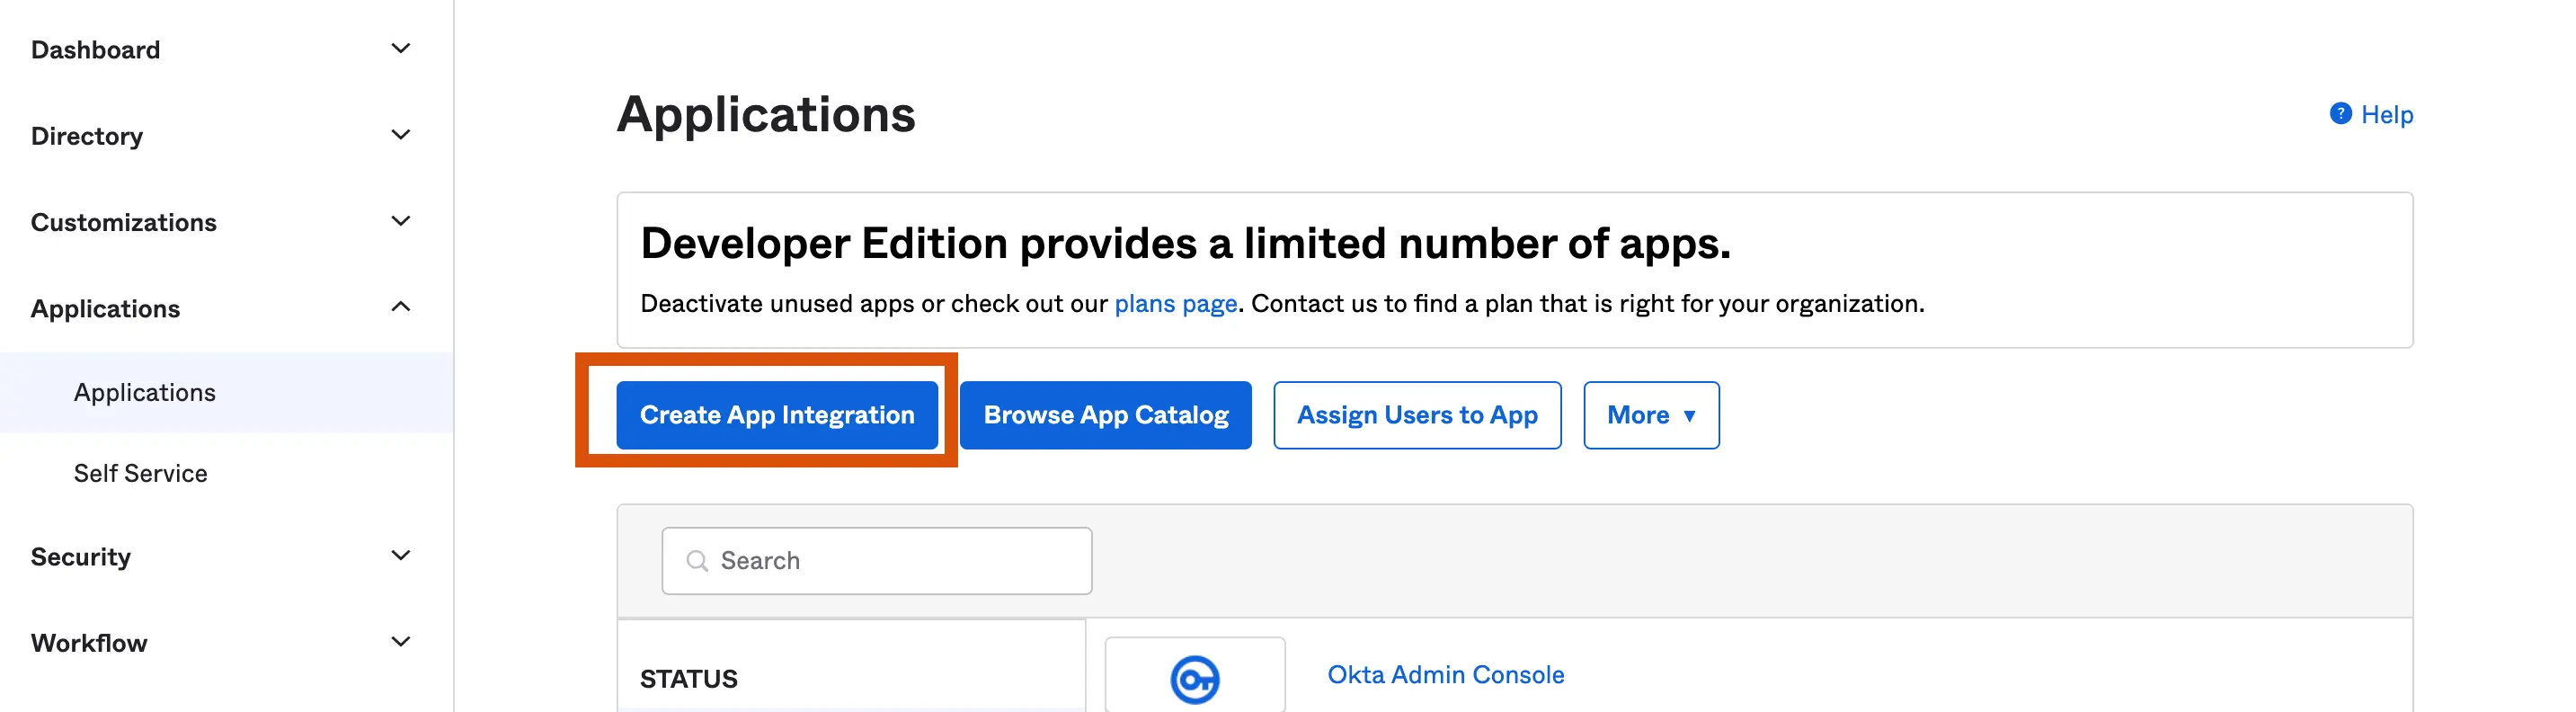
After this, we will navigate to the »Applications » Applications tab to create an application integration.
Create app integration: This allows us to create a new custom app integration
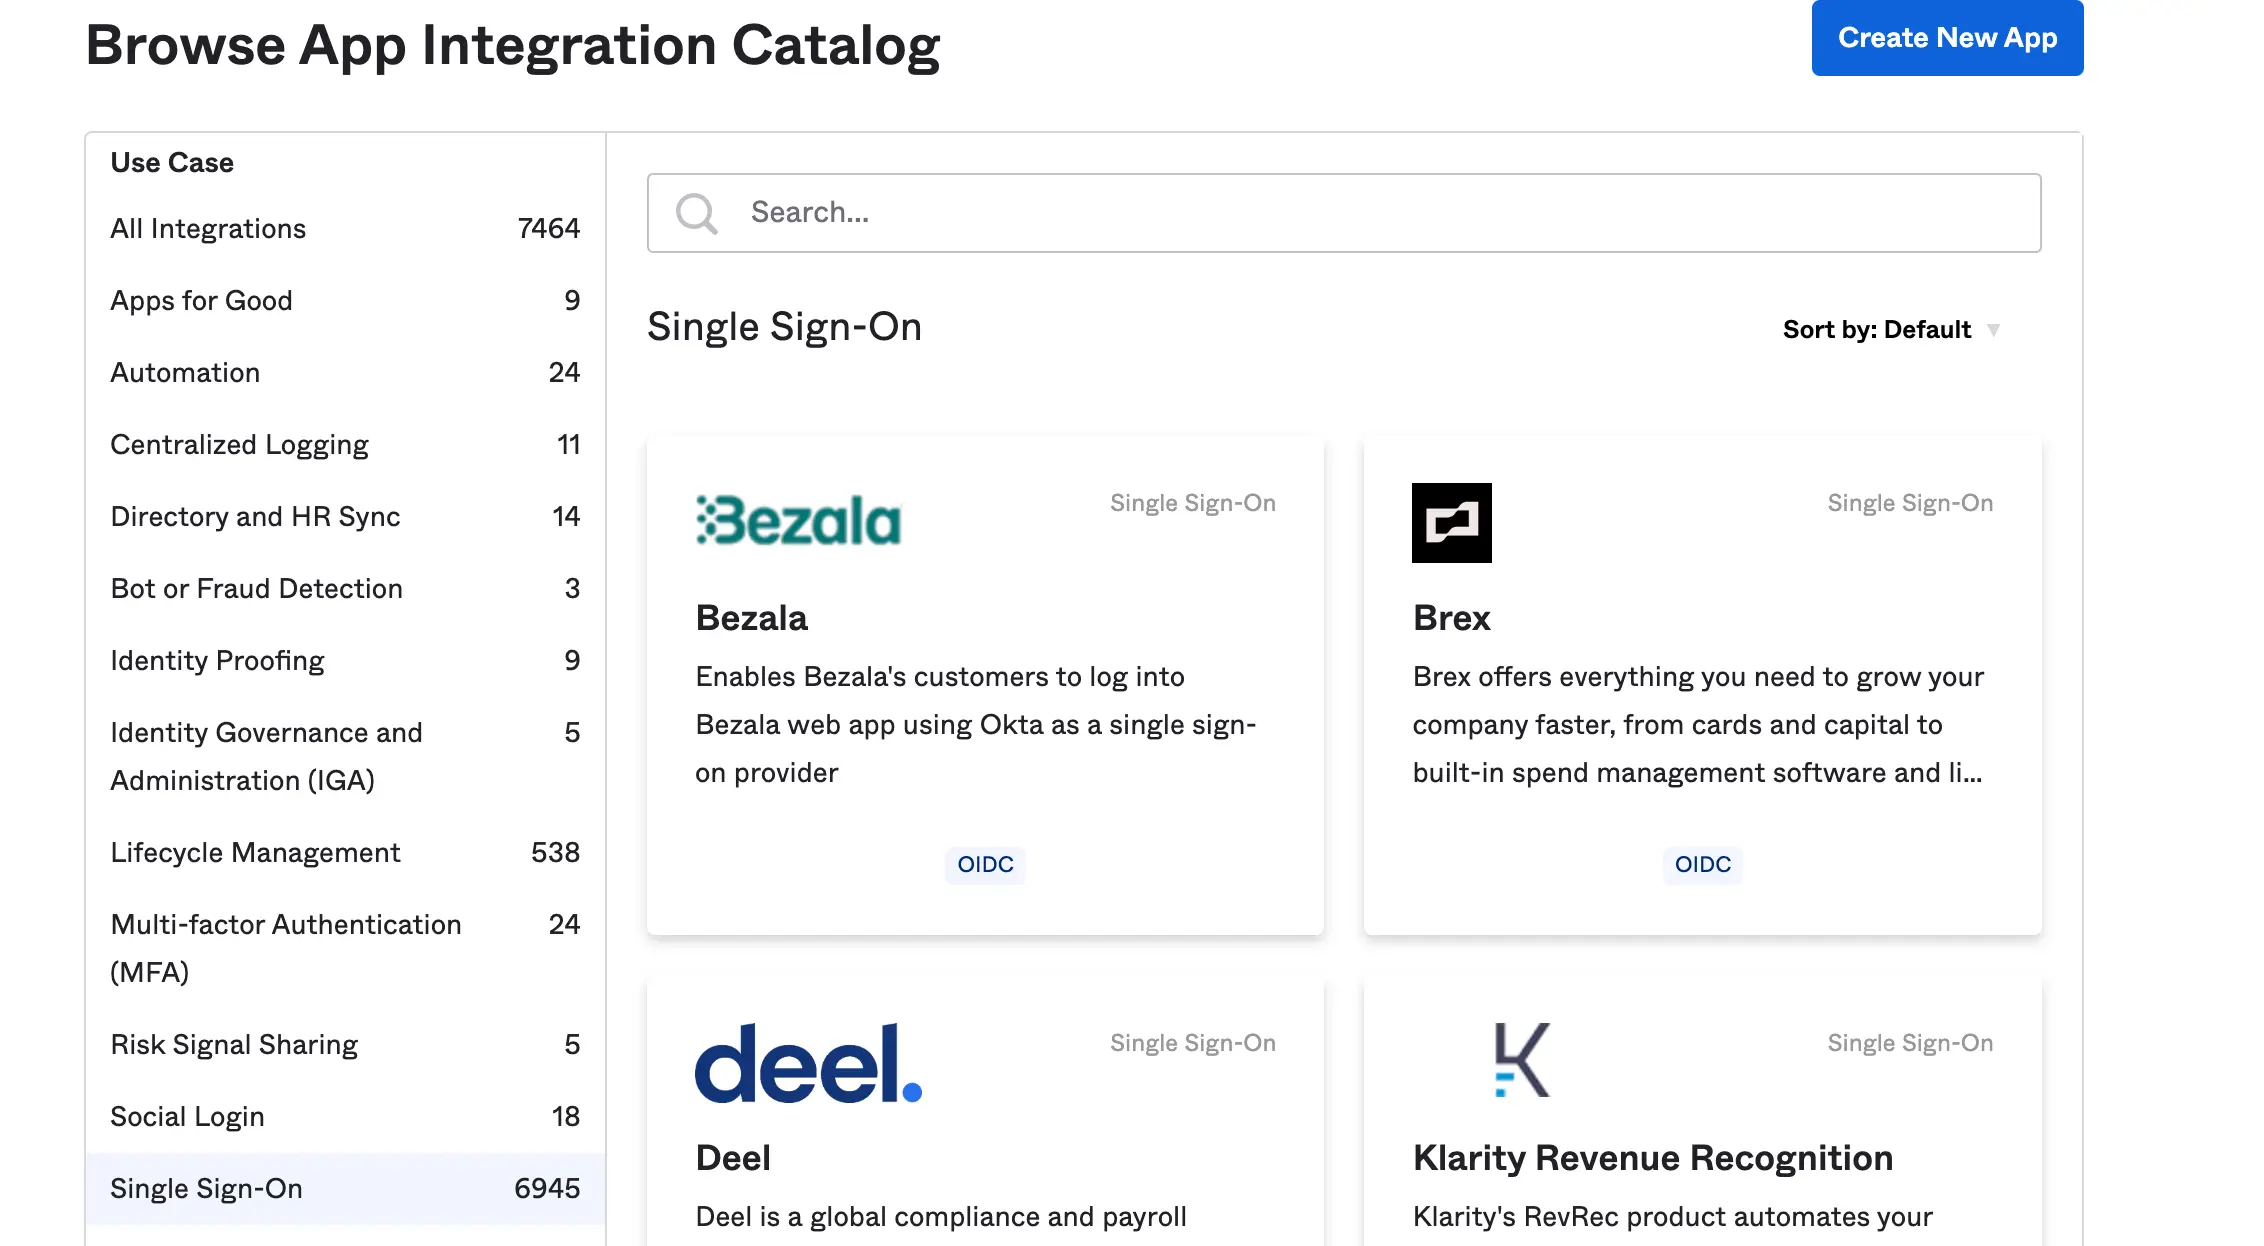
Browse app catalog: This allows us to use a convenient ready to use app extension
we will create a new app integration for Jupyterhub and name it “My app” and we will use OIDC as the sign method and web application as the application type
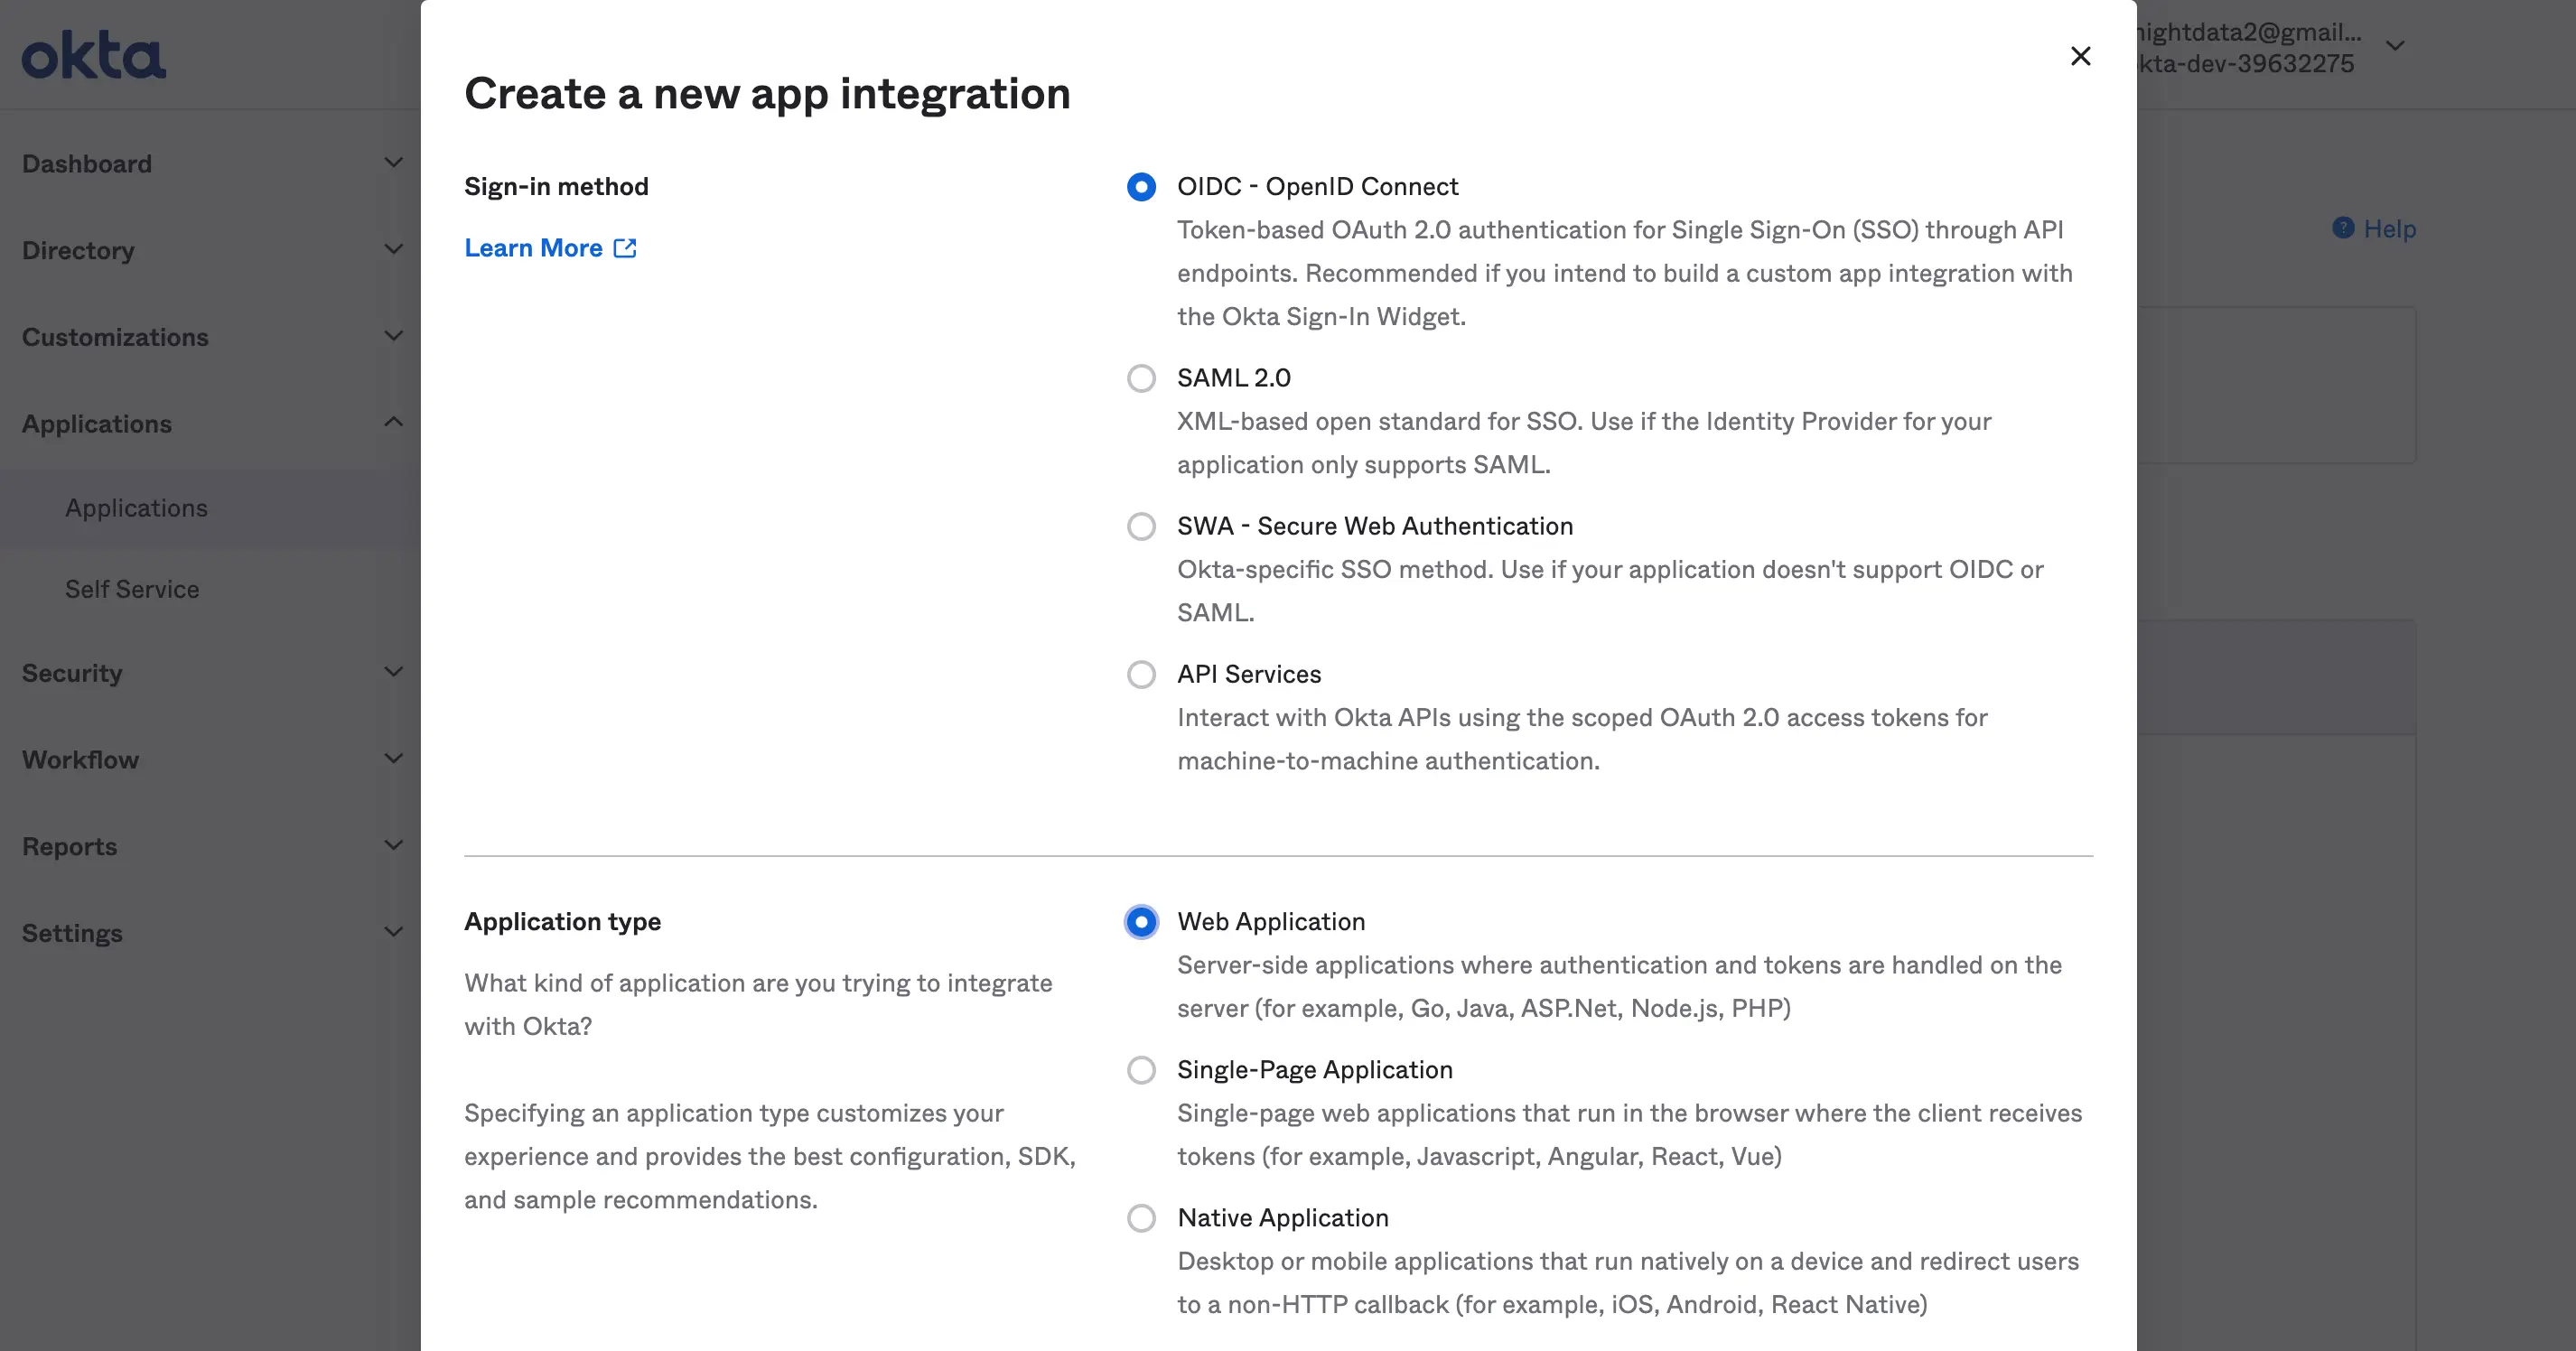
sign in method: This method allows us to pick the identity protocol method we want to use for our application. For this tutorial, we will use the OIDC (read more about OpenID connect here)
Application type: This allows you to pick a preferred authentication application type you intend to use.
After this, we will go further to configure our app integration.
let’s set up our callback URL (Redirect URI) which is the URL that navigates the user to your application after the authentication passes. We will also set the grant type to use implicit and allow access to every user in the organization.
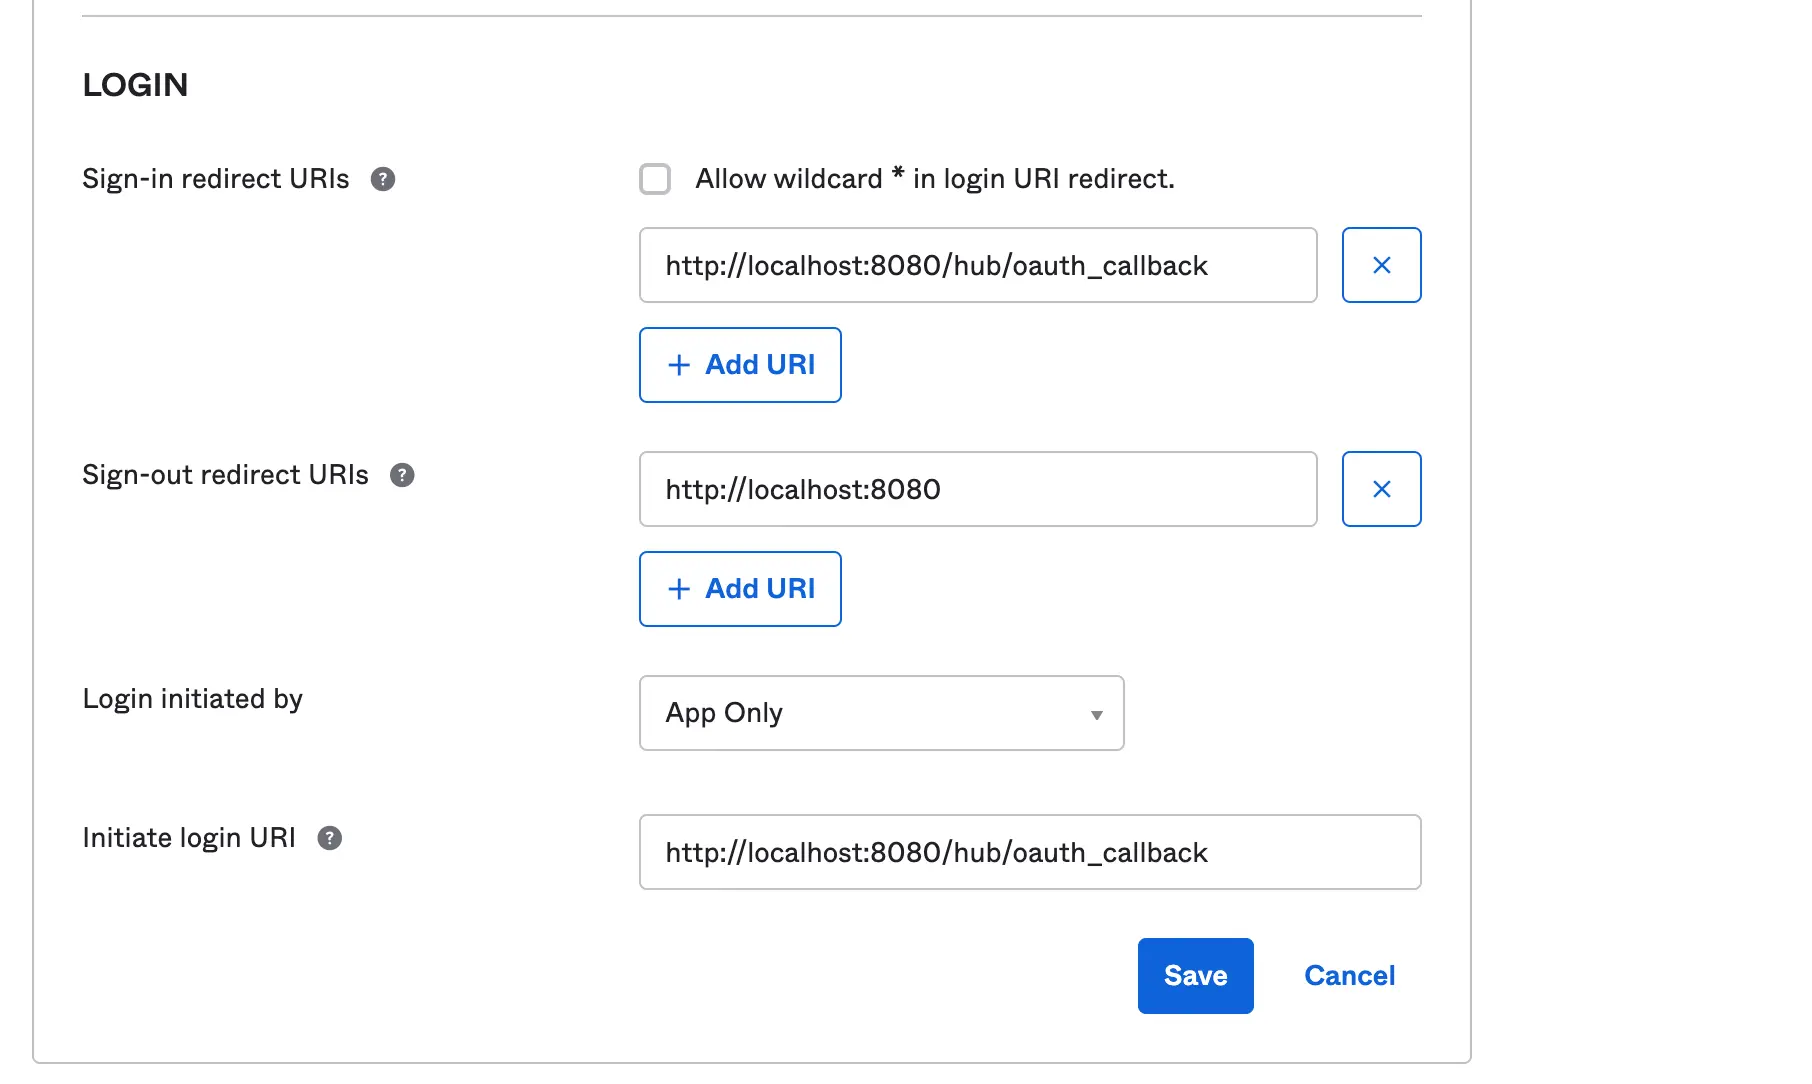
Our sign-in and initial login Redirect URL will be the same https:<domain>/hub/oauth_callback
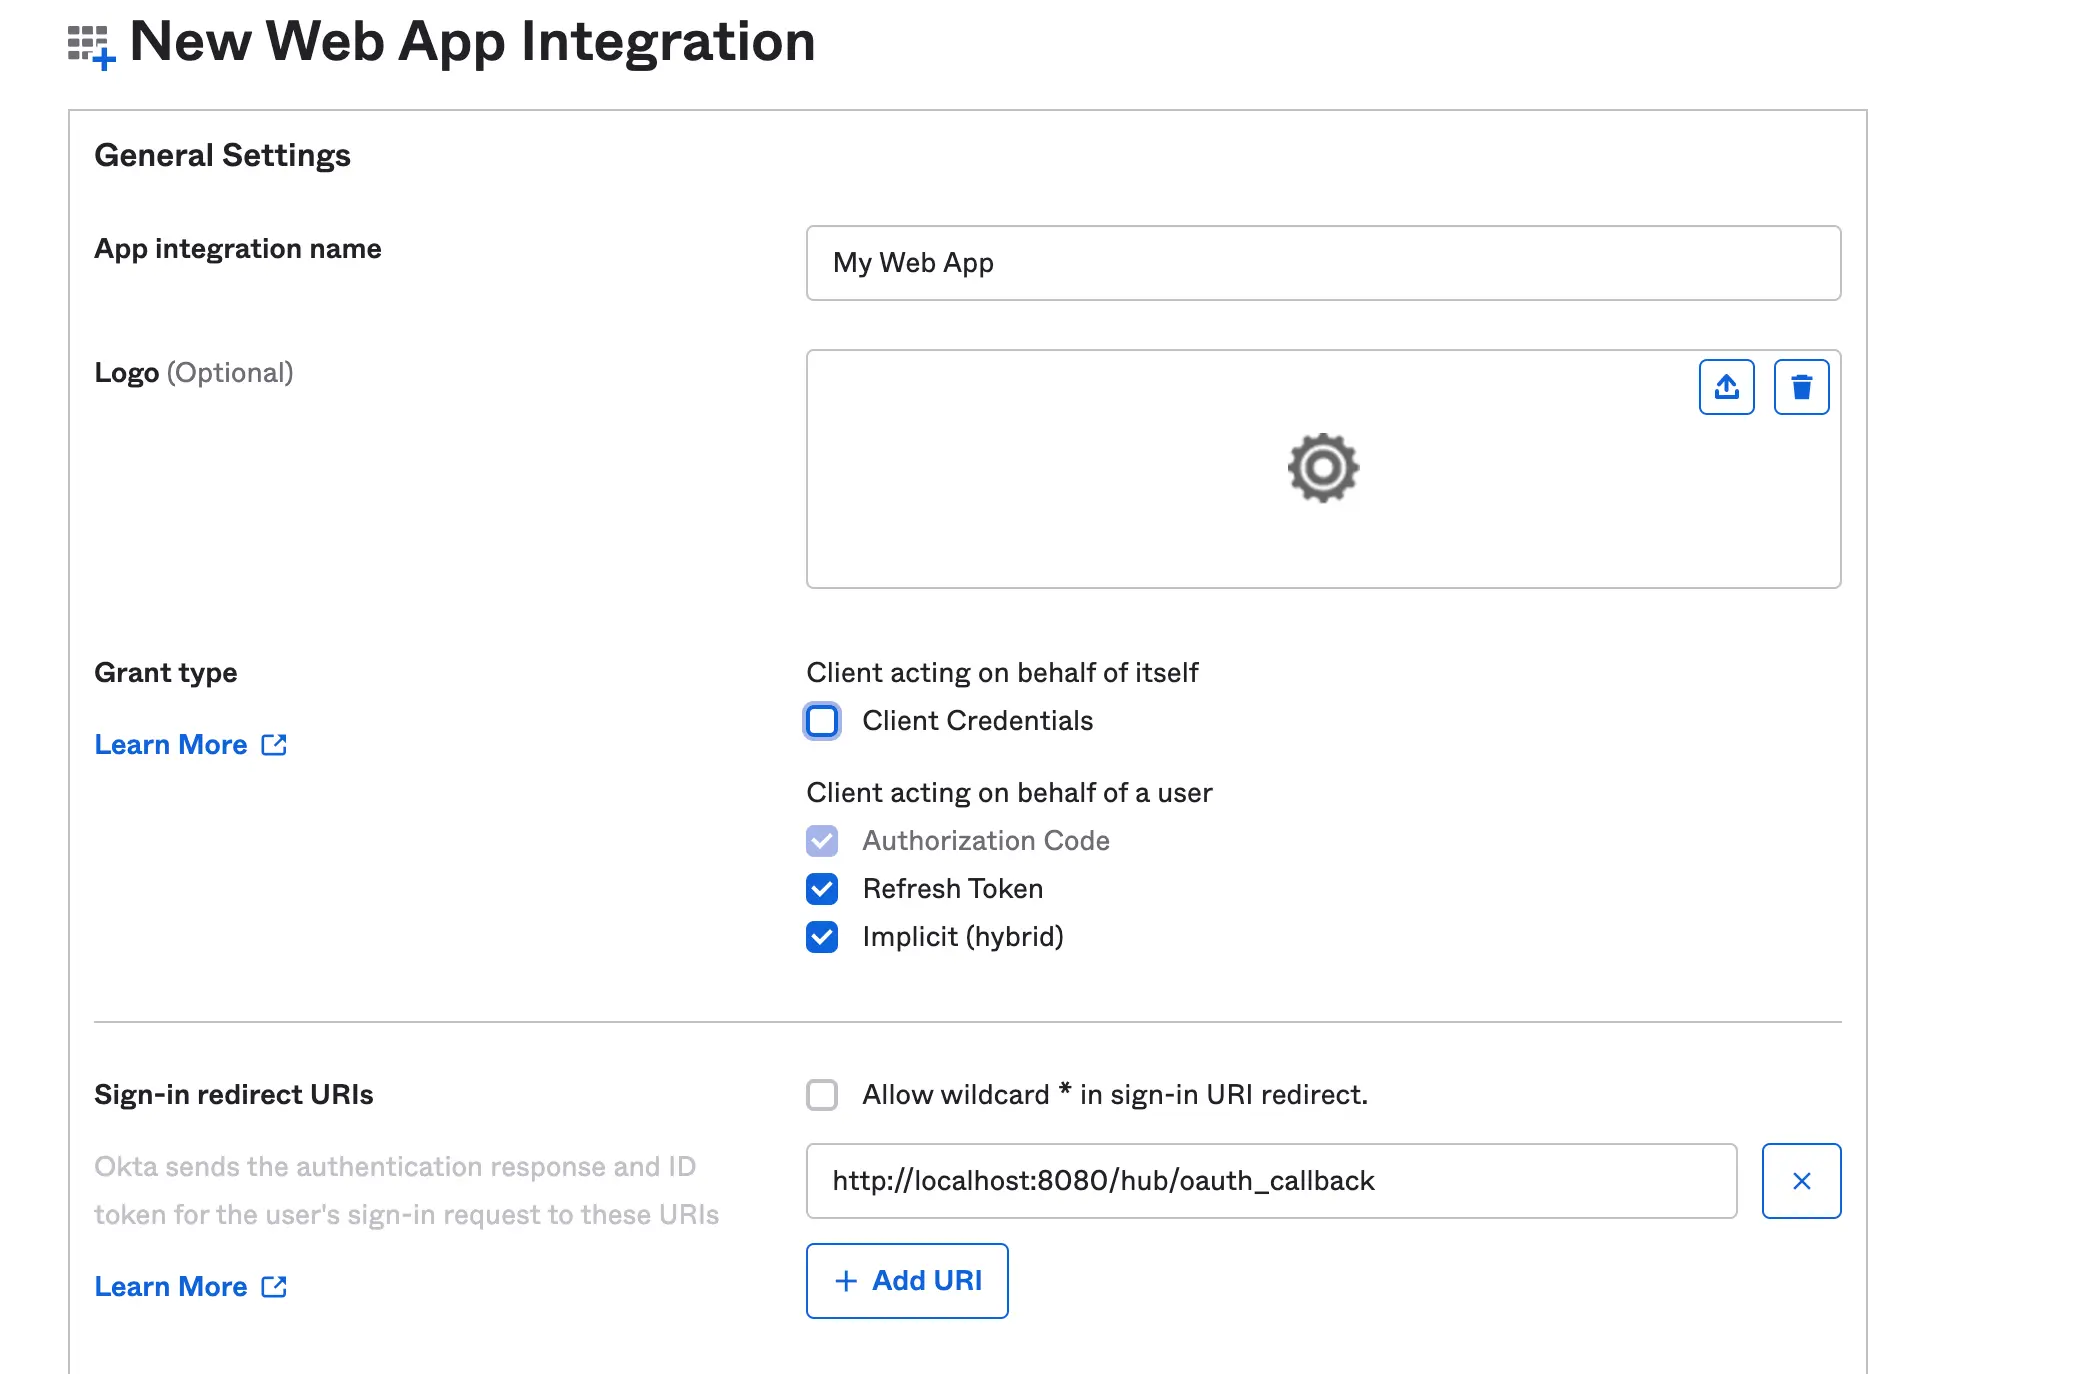
Grant Type: This is a method that allows your application to obtain an access token and grant limited access to any user.
Redirect URI: This is basically part of the authentication step or flow. With the Redirect URI, you set a location where the authorization server sends the user once the app has been successfully authorized. In Okta we have sign-out URI, Sign In URI, Login URI and Logout URI.
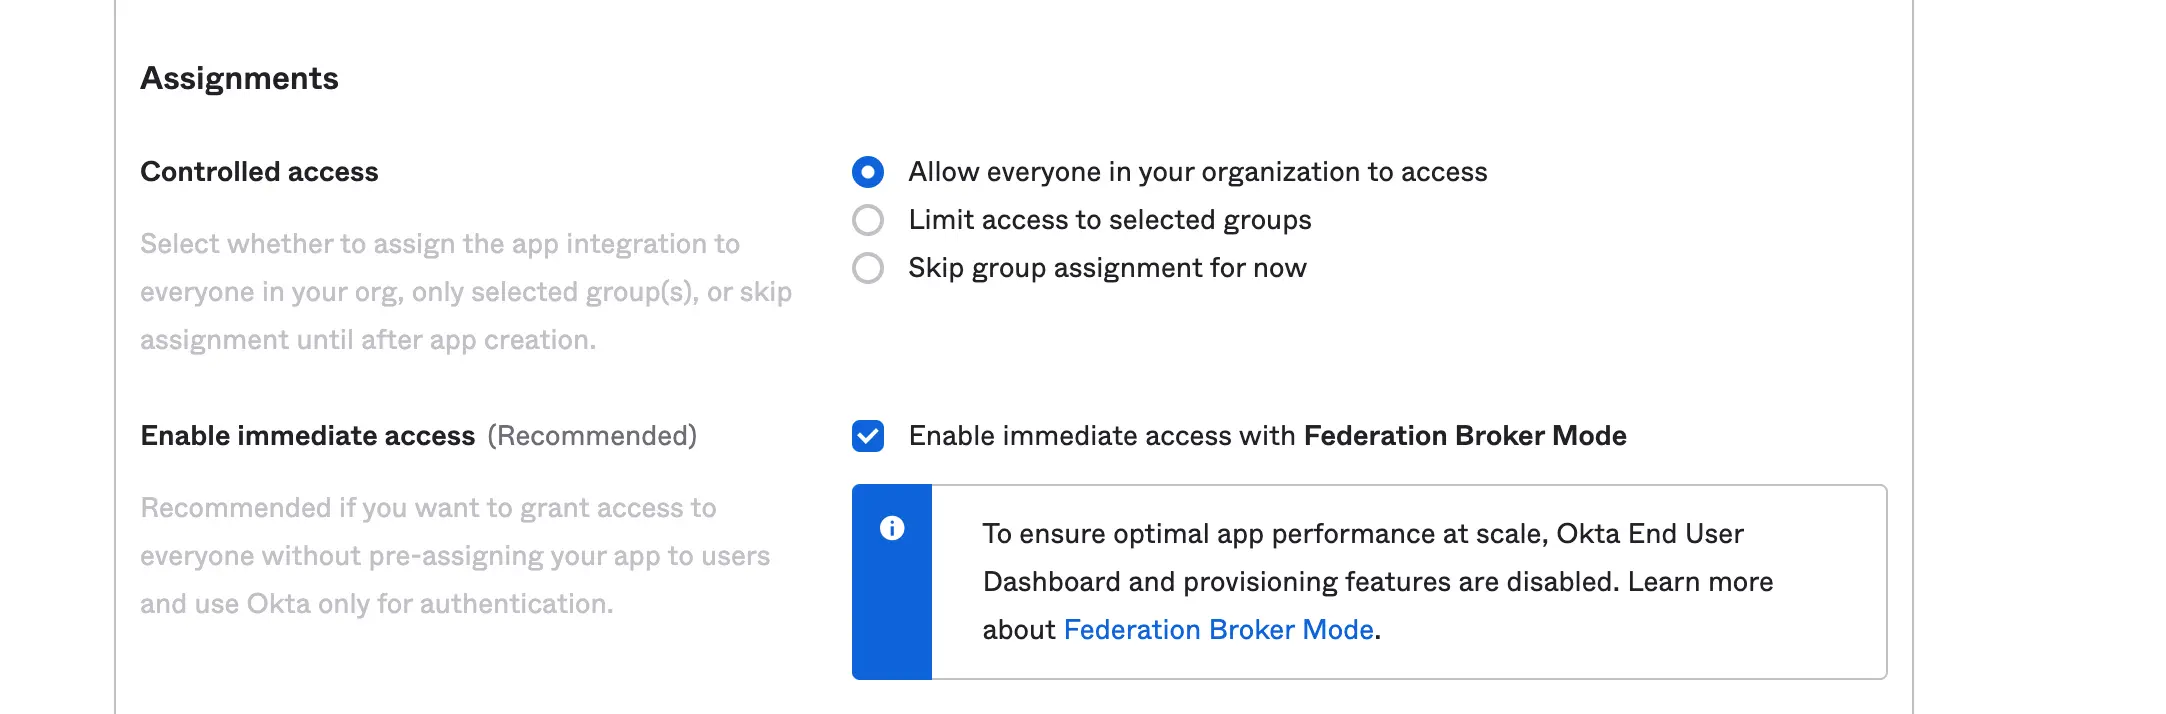
Assignment: This allows you to limit your application authentication access. You can define who kind of user you want to grant access to. Furthermore, you can look to configure dynamic limit access with the Sign On Policy
Last, we are going to configure our application scope. Scope allows you to manage the API endpoint on what kind of resources you do intend to obtain from the user.
For this tutorial, we will grant all the okta.users scopes which allow us to read users’ profiles.
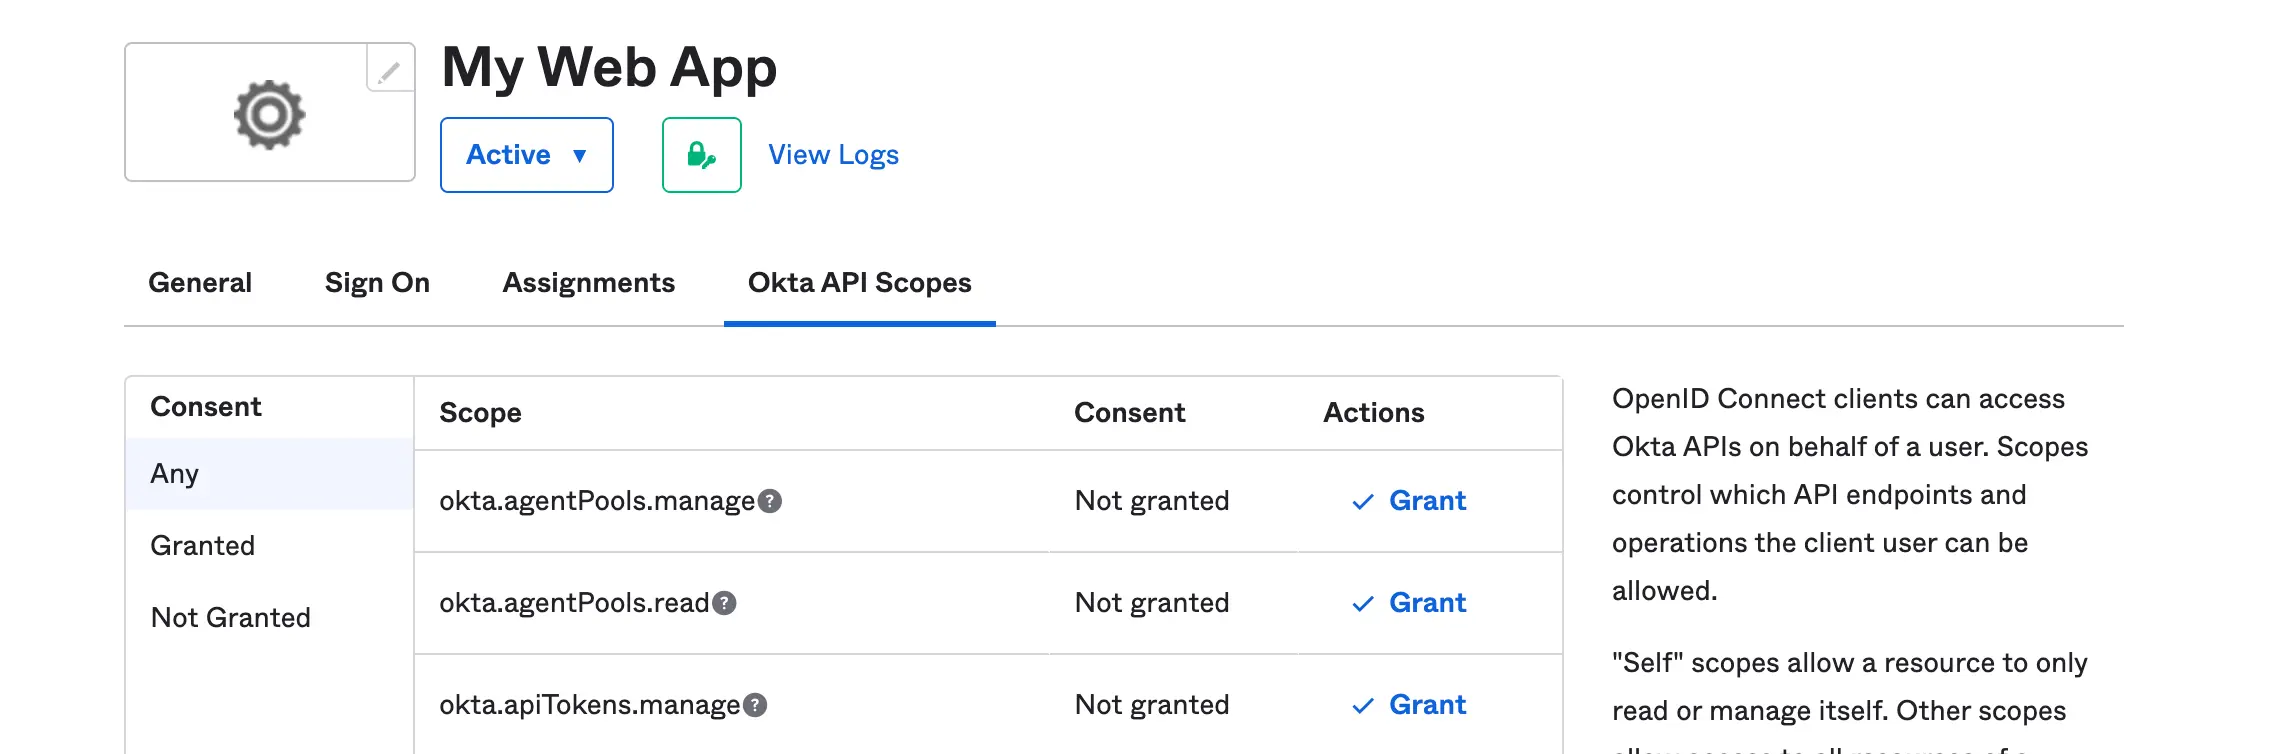

Scopes: This is a technique that allows us to configure the kind of resources we want from an endpoint.
Setting up Jupyterhub and using Okta as an Authentication
JupyterHub can be setup on AWS on EKS. You can also install Jupyterhub on Azure with AKS.
Both of these instructions use helm to install Hub. Configuring the helm chart to use the SSO that you just setup is just a matter of tweaking the jupyterhub configuration.
- Generate and save the JupyterHub configuration file
$ helm show values JupyterHub/JupyterHub > /tmp/JupyterHub.yaml
- Let’s install JupyterHub via Helm
$ helm install JupyterHub JupyterHub/JupyterHub \\ --values /tmp/JupyterHub.yaml
- Navigate or open the config file using this command
$sudo nano tmp/JupyterHub.yamland append Okta authentication configuration.
By default, JupyterHub authentication comes with a Name and Password authentication but we will have to change it and use Okta Configuration script. Let’s proceed by appending the script below to our configuration file so we can securely connect to your JupyterHub with Okta
# defualt user name and password authentication
hub:
  revisionHistoryLimit:
  config:
    JupyterHub:
      admin_access: true
      authenticator_class: dummy
# replace the above authentication with Okta on Generic Oauth configuration
hub:
  config:
    GenericOAuthenticator:
      login_service: "Okta"
      client_id: xxxxxxxxxxxxx
      client_secret: xxxxxxxxxxx
      authorize_url: https://dev-xxxxx.okta.com/oauth2/v1/authorize
      oauth_callback_url: http://xxxxx:8080/hub/oauth_callback
      token_url: https://dev-xxxxxx.okta.com/oauth2/v1/token
      userdata_url: https://dev-xxxxxx.okta.com/oauth2/v1/userinfo
      scope:
        - openid
        - profile
        - offline_access
      username_key: preferred_username
    JupyterHub:
      authenticator_class: generic-oauth
- After modifying our configuration file according, let’s update our JupyterHub Kubernetes
$ helm upgrade JupyterHub JupyterHub/JupyterHub \\
--values /tmp/JupyterHub.yaml
#output
Release "jupyterhub" has been upgraded. Happy Helming!
NAME: jupyterhub
LAST DEPLOYED: Thu Dec 15 18:12:29 2022
NAMESPACE: default
STATUS: deployed
REVISION: 56
TEST SUITE: None
NOTES:
.      __                          __                  __  __          __
      / / __  __  ____    __  __  / /_  ___    _____  / / / / __  __  / /_
 __  / / / / / / / __ \  / / / / / __/ / _ \  / ___/ / /_/ / / / / / / __ \
/ /_/ / / /_/ / / /_/ / / /_/ / / /_  /  __/ / /    / __  / / /_/ / / /_/ /
\____/  \__,_/ / .___/  \__, /  \__/  \___/ /_/    /_/ /_/  \__,_/ /_.___/
              /_/      /____/

       You have successfully installed the official JupyterHub Helm chart!

### Installation info

  - [Kubernetes](https://saturncloud.io/glossary/kubernetes) namespace: default
  - Helm release name:    jupyterhub
Saturn Cloud provides customizable, ready-to-use cloud environments
for collaborative data teams.
Try Saturn Cloud and join thousands of users moving to the cloud without having to switch tools.
Check out other resources on setting up JupyterHub:
- 8 Popular Alternatives to JupyterHub 2023
- How to Set up JupyterHub on Azure
- How to Set up JupyterHub Authentication with Okta
- How to Set up JupyterHub Authentication with Azure Active Directory(AD)
- How to Set Up JupyterHub on AWS
- Setting up JupyterHub Securely on AWS
- How to Setup Jupyter Notebooks on EC2
- Setting up HTTPS and SSL for JupyterHub
- Using JupyterHub with a Private Container Registry
- Setting up JupyterHub with Single Sign-on (SSO) on AWS


