How to Show Images in Jupyter Notebook

How to Show Images in Jupyter Notebook
Jupyter Notebook is one of the most popular tools for data scientists to perform data analysis, data cleaning, and data visualization. It allows you to write and execute code, make notes, and create visualizations all in one place. One of the most common tasks in data analysis is to display images, and in this blog post, we will show you how to show images in Jupyter Notebook.
Step 1: Import the Required Libraries
The first step is to import the libraries that we need to display images in Jupyter Notebook. We will be using the Pillow library to read the image and the IPython.display library to display the image.
from PIL import Image
from IPython.display import display
Step 2: Load the Image
The next step is to load the image that we want to display. We will use the Image.open() method from the Pillow library to load the image.
img = Image.open('image.jpg')
Step 3: Display the Image
Now that we have loaded the image, we can display it using the display() method from the IPython.display library.
display(img)
And that’s it! You have successfully displayed an image in Jupyter Notebook.

Additional Tips
Displaying Multiple Images
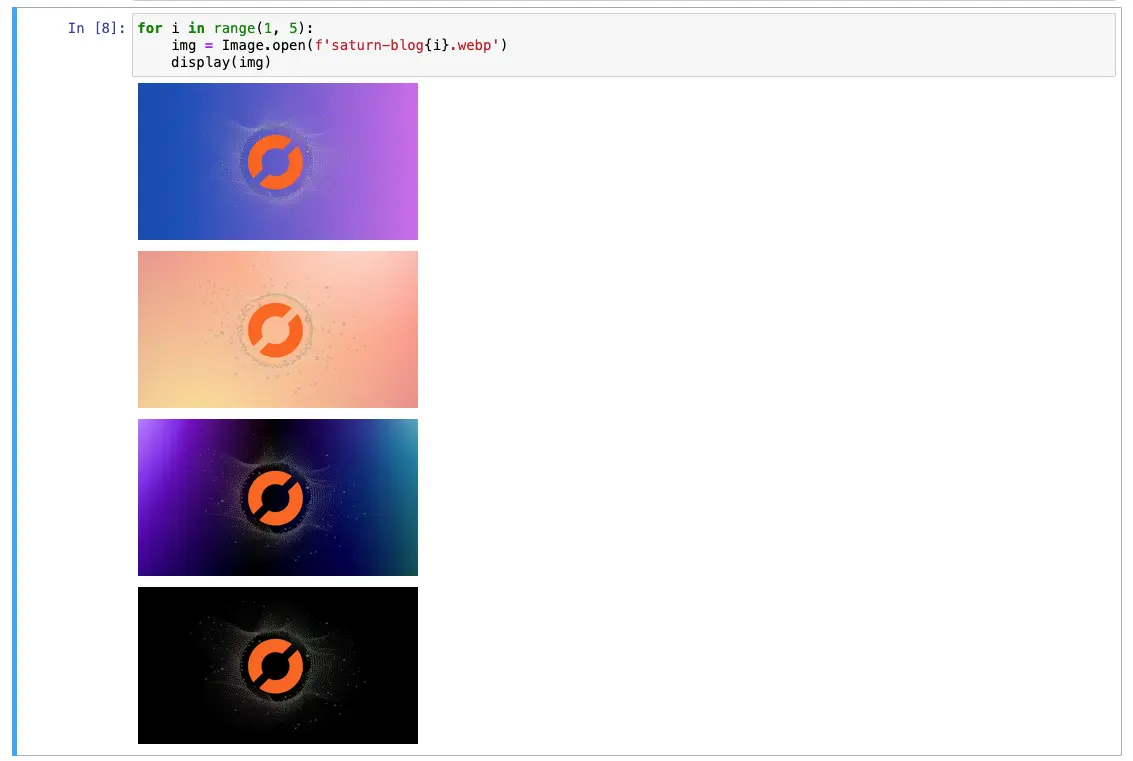
If you want to display multiple images in Jupyter Notebook, you can use a loop to load and display each image.
for i in range(1, 5):
    img = Image.open(f'image_{i}.jpg')
    display(img)

Resizing the Image
If you want to resize the image before displaying it, you can use the Image.resize() method from the Pillow library.
img = Image.open('image.jpg')
img_resized = img.resize((400, 400))
display(img_resized)

Displaying Images from URLs
If you have an image URL, you can use the Image.open() method to load the image from the URL and then display it using the display() method.
import urllib.request
from io import BytesIO

url = 'https://example.com/image.jpg'
with urllib.request.urlopen(url) as url:
    img = Image.open(BytesIO(url.read()))

display(img)

Conclusion
In this blog post, we have shown you how to display images in Jupyter Notebook using the Pillow and IPython.display libraries. We hope that this tutorial has been useful for you and that you can now easily display images in your Jupyter Notebook. If you have any questions or comments, please leave them below.
About Saturn Cloud
Saturn Cloud is a portable AI platform that installs securely in any cloud account. Build, deploy, scale and collaborate on AI/ML workloads-no long term contracts, no vendor lock-in.
Saturn Cloud provides customizable, ready-to-use cloud environments
for collaborative data teams.
Try Saturn Cloud and join thousands of users moving to the cloud without having to switch tools.


