
In the world of data science, image processing is a crucial skill. One common task is converting color images to grayscale, which can simplify subsequent analyses. Today, we’ll explore how to accomplish this using NumPy arrays.
Table of Contents
- Introduction
- Why Convert to Grayscale?
- Step 1: Import Necessary Libraries
- Step 2: Load the Image
- Step 3: Understand the Image Structure
- Step 4: Convert to Grayscale
- Step 5: Display the Grayscale Image
- Conclusion
Introduction
NumPy, short for Numerical Python, is a powerful library that supports large, multi-dimensional arrays and matrices, along with a collection of mathematical functions to operate on these arrays. It’s a fundamental package for scientific computing with Python.
Why Convert to Grayscale?
Color images are often represented as three-dimensional NumPy arrays, with dimensions corresponding to the height, width, and color channels of the image. Converting these to grayscale can reduce computational complexity and noise, making subsequent image processing tasks more manageable.
Step 1: Import Necessary Libraries
First, we need to import the necessary libraries. We’ll use matplotlib to read the image, NumPy for the conversion, and matplotlib.pyplot to display the image.
import matplotlib.image as mpimg
import numpy as np
import matplotlib.pyplot as plt
Step 2: Load the Image
Next, we load the image using mpimg.imread(). This function reads an image from a file into an array.
img = mpimg.imread('image.png')
Step 3: Understand the Image Structure
It’s important to understand the structure of the image data. A color image is typically represented as a 3D array, where the third dimension represents color channels (Red, Green, Blue).
print('Image dimensions:', img.shape)
Output example:
Image dimensions: (1282, 1920, 3)
Step 4: Convert to Grayscale
Now, we’ll convert the image to grayscale. We’ll use the formula 0.2989 * R + 0.5870 * G + 0.1140 * B, which corresponds to the way humans perceive color intensity.
def rgb2gray(rgb):
    return np.dot(rgb[...,:3], [0.2989, 0.5870, 0.1140])

gray = rgb2gray(img)
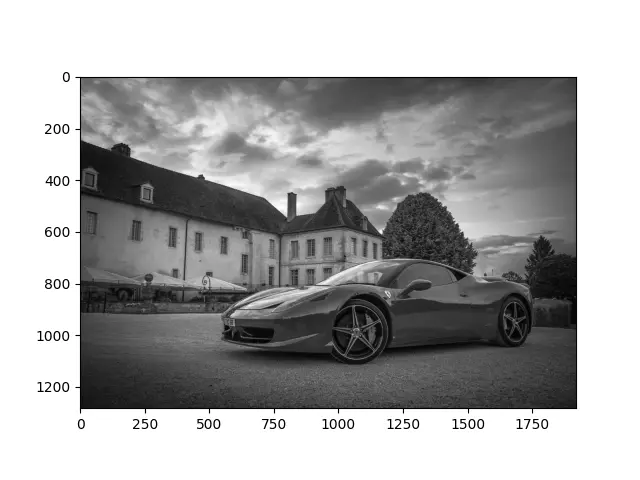
Step 5: Display the Grayscale Image
Finally, we’ll display the grayscale image using plt.imshow(), with the colormap set to ‘gray’.
plt.imshow(gray, cmap=plt.get_cmap('gray'))
plt.show()
Input:

Output:
Conclusion
Converting color images to grayscale using NumPy is a straightforward process. It’s an essential step in many image processing pipelines, helping to simplify data and reduce computational requirements.
Remember, the key to mastering these skills is practice. So, load up different images and try converting them to grayscale.
