
This article was published when data science tooling like Dask and R was a primary focus for Saturn Cloud. Today, Saturn Cloud is the enterprise AI platform for any GPU infrastructure.
As a data scientist or software engineer, you may need to upload files to Amazon S3 for storage, backup, or sharing purposes. Amazon S3 (Simple Storage Service) is a highly scalable, secure, and durable cloud storage service that allows you to store and retrieve any amount of data from anywhere on the web. In this tutorial, we will show you how to upload a file to Amazon S3 using NodeJS, a popular server-side JavaScript runtime environment.
Table of Contents
- Prerequisites
- Step-by-Step
- Best Practices for Uploading Files to Amazon S3
- Common Errors and How to Handle Them
- Conclusion
Prerequisites
Before we start, you should have the following:
- An AWS account with access keys.
- NodeJS and NPM installed on your local machine.
- A basic understanding of JavaScript, NodeJS, and AWS S3.
Step-by-Step
Step 1: Set up an S3 Bucket
The first step is to create an S3 bucket in your AWS account. An S3 bucket is a container for storing objects, such as files, in the Amazon S3 cloud. To create an S3 bucket, follow these steps:
- Log in to your AWS account and navigate to the S3 console.
- Click on the “Create bucket” button.
- Enter a unique name for your bucket, select a region, and choose the default settings for versioning, logging, and permissions.
- Click on the “Create bucket” button to create the bucket.

Once you have created an S3 bucket, you can upload files to it using NodeJS.
Step 2: Install the AWS SDK for NodeJS
To interact with AWS services using NodeJS, you need to install the AWS SDK for NodeJS. The AWS SDK provides a set of JavaScript libraries for accessing and managing AWS services, including Amazon S3. To install the AWS SDK for NodeJS, run the following command in your terminal:
npm install aws-sdk
Step 3: Set up AWS Credentials
To access your AWS account programmatically, you need to provide your access keys to the AWS SDK. You can obtain your access keys from the AWS console by following these steps:
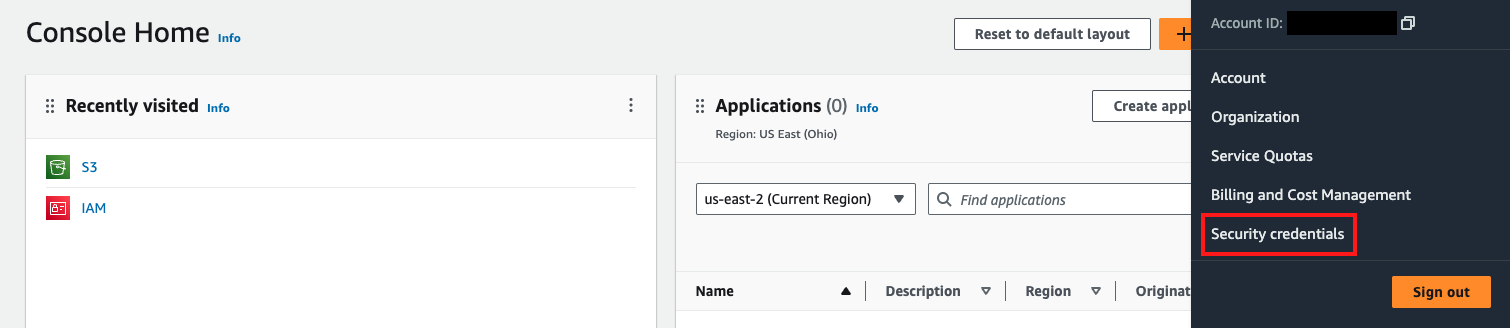
- Log in to your AWS account and navigate to the IAM (Identity and Access Management) console.
- Click on the “Users” tab and select your IAM user.
- Click on the “Security credentials” tab and expand the “Access keys” section.
- Click on the “Create access key” button to generate a new access key pair.
- Download the access key file and keep it in a safe place.

Once you have obtained your access keys, you can set them up in your NodeJS code using the AWS SDK. The easiest way to do this is to set them up as environment variables, like this:
process.env.AWS_ACCESS_KEY_ID = 'your-access-key-id'
process.env.AWS_SECRET_ACCESS_KEY = 'your-secret-access-key'
Alternatively, you can set them up programmatically in your NodeJS code, like this:
const AWS = require('aws-sdk');

const s3 = new AWS.S3({
  accessKeyId: 'your-access-key-id',
  secretAccessKey: 'your-secret-access-key'
});
Step 4: Upload a File to S3
Now that you have set up your S3 bucket and AWS credentials, you can upload a file to S3 using NodeJS. To do this, you need to use the AWS SDK’s S3 API to create a new object in your S3 bucket and upload the file data to it. Here is an example NodeJS code that uploads a file to S3:
const AWS = require('aws-sdk');
const fs = require('fs');
const s3 = new AWS.S3();
const uploadFile = (fileName, bucketName) => {
const fileContent = fs.readFileSync(fileName);
const params = {
Bucket: bucketName,
Key: fileName,
Body: fileContent,
};
s3.upload(params, (err, data) => {
if (err) {
console.error('Error uploading file:', err);
} else {
console.log(`File uploaded successfully. ${data.Location}`);
}
});
};
// Usage
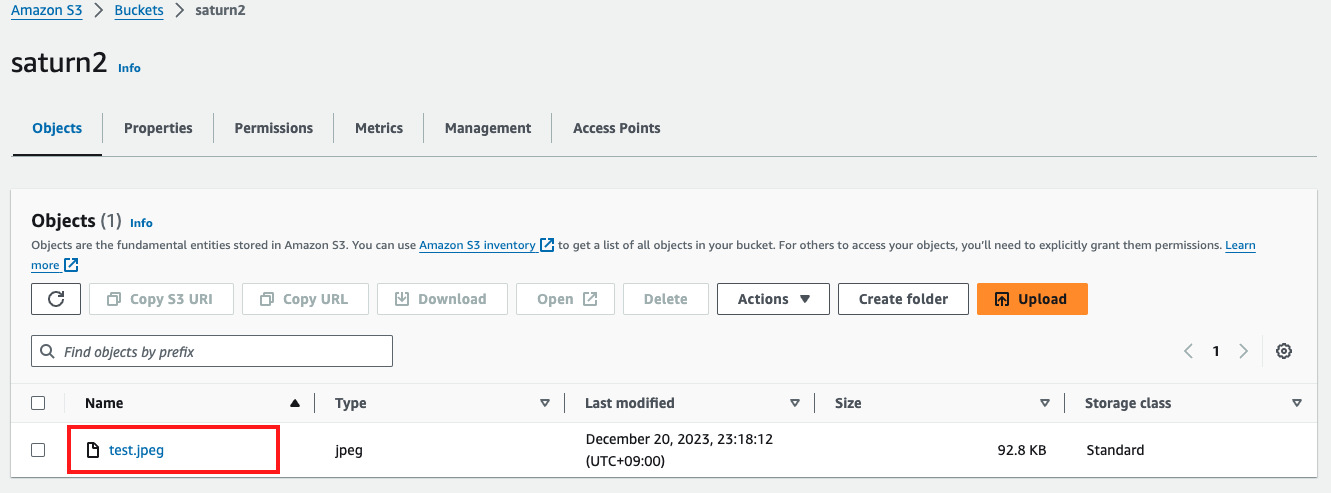
uploadFile('test.jpeg', 'saturn2');
The provided Node.js code demonstrates a simple function for uploading a file to Amazon S3 using the AWS SDK for JavaScript. It first imports the necessary modules, ‘fs’ for file system operations and ‘AWS’ for interfacing with Amazon Web Services, specifically the S3 service. The uploadFile function takes two parameters: fileName representing the local file to be uploaded and bucketName indicating the destination S3 bucket. Inside the function, it reads the file content synchronously using fs.readFileSync, constructs the S3 upload parameters with the bucket name, file key, and content, and then utilizes the upload method of the S3 instance to perform the upload. The callback function logs either an error message if the upload fails or a success message with the URL of the uploaded file if successful. Lastly, the code provides an example of how to use the uploadFile function, specifying the local file (‘test.jpeg’) and the target S3 bucket (‘saturn2’).
When it says that File uploaded successfully. https://saturn2.s3.us-east-2.amazonaws.com/test.jpeg, it means that the file has been uploaded successfully to your S3 bucket.
Best Practices for Uploading Files to Amazon S3
- Use Server-Side Encryption (SSE): Enable SSE to encrypt your files at rest, providing an additional layer of security.
- Set Content-Type: Explicitly set the Content-Type header for your files to ensure proper handling by browsers and applications.
- Use Transfer Acceleration: Leverage Amazon S3 Transfer Acceleration for faster file uploads.
Common Errors and How to Handle Them
Error 1: InvalidAccessKeyId or SignatureDoesNotMatch
This error usually indicates an issue with your AWS credentials. Double-check your access key ID and secret access key.
AWS.config.update({
  accessKeyId: 'your-access-key-id',
  secretAccessKey: 'your-invalid-secret-access-key',
  region: 'your-region',
});
Error 2: NoSuchBucket or The specified key does not exist
Ensure that the specified S3 bucket exists and that the key (file path) is correct.
uploadFile('example.txt', 'nonexistent-bucket');
Error 3: Access Denied
Verify that your IAM user has the necessary permissions to upload files to the specified S3 bucket.
Error 4: Slow Upload Speeds
Consider using Amazon S3 Transfer Acceleration for faster uploads. Check your internet connection and AWS region for optimal performance.
Conclusion
In this tutorial, we have shown you how to upload a file to Amazon S3 using NodeJS. We first set up an S3 bucket and obtained our AWS access keys. We then installed the AWS SDK for NodeJS and set up our AWS credentials. Finally, we wrote a sample NodeJS code that uploads a file to S3 using the AWS SDK’s S3 API. With this knowledge, you can now integrate Amazon S3 into your NodeJS applications for storing and retrieving files in the cloud.
