
This article was published when data science tooling like Dask and R was a primary focus for Saturn Cloud. Today, Saturn Cloud is the enterprise AI platform for any GPU infrastructure.
In the world of data science, making predictions on large datasets is a common task. Amazon SageMaker, a fully managed machine learning service, provides a powerful platform for this purpose. In this blog post, we’ll guide you through the process of making predictions with SageMaker on a Pandas DataFrame.

Table of Contents
- Prerequisites
- Step 1: Setting Up Your Environment
- Step 2: Importing Your Data
- Step 3: Preprocessing Your Data
- Step 4: Loading Your SageMaker Model
- Step 5: Making Predictions
- Step 6: Postprocessing Your Predictions
- Conclusion
Prerequisites
Before we start, ensure you have the following:
- An AWS account
- A trained ML model uploaded to S3 Storage. In this example, we already trained and uploaded an RandomForest Model to our S3 Bucket.
- Basic knowledge of Python and Pandas
- Familiarity with AWS SageMaker
Step 1: Setting Up Your Environment
First, install the necessary libraries. You’ll need boto3, sagemaker, and pandas. You can install them using pip:
pip install boto3 sagemaker pandas
Step 2: Importing Your Data
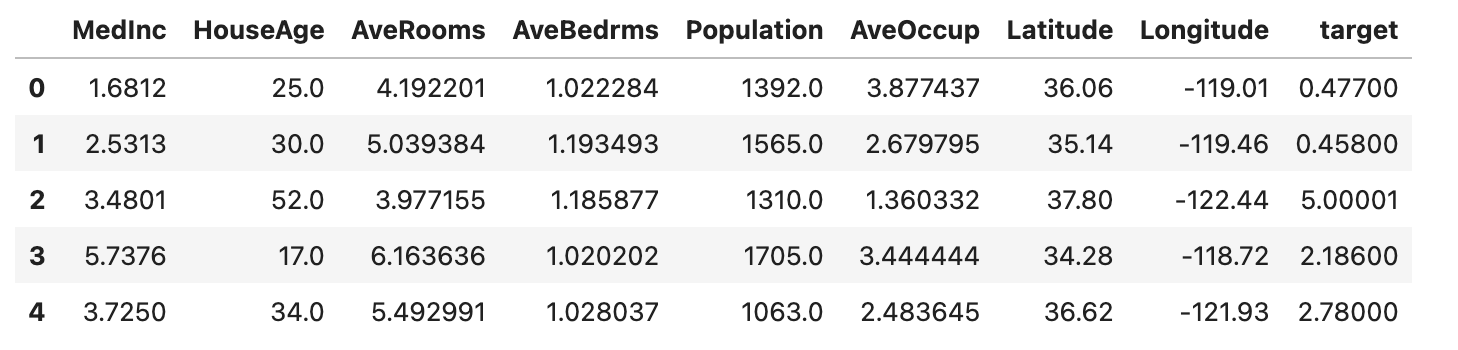
Next, import your data into a Pandas DataFrame. For this tutorial, we’ll use a CSV file stored in an S3 bucket.
import pandas as pd
# Load your test data
test_data = pd.read_csv('s3://your-bucket-name/your-data.csv')
test_data.head()
Output:
Step 3: Preprocessing Your Data
Before making predictions, preprocess your data to ensure it’s in the right format. This might involve cleaning, normalizing, or encoding your data.
# Preprocessing code here
Step 4: Loading Your SageMaker Model
Load your pre-trained SageMaker model. You can do this using the boto3 client.
import boto3

sagemaker = boto3.client('sagemaker-runtime')
endpoint_name = "your-endpoint-name"

# csv serialization
response = runtime.invoke_endpoint(
    EndpointName=predictor.endpoint,
    Body=test_data[feature_names].to_csv(header=False, index=False).encode("utf-8"),
    ContentType="text/csv",
)
Step 5: Making Predictions
Now, you can make predictions using the invoke_endpoint method. This method takes your data in CSV format and returns the predictions.
predictions = response["Body"].read()
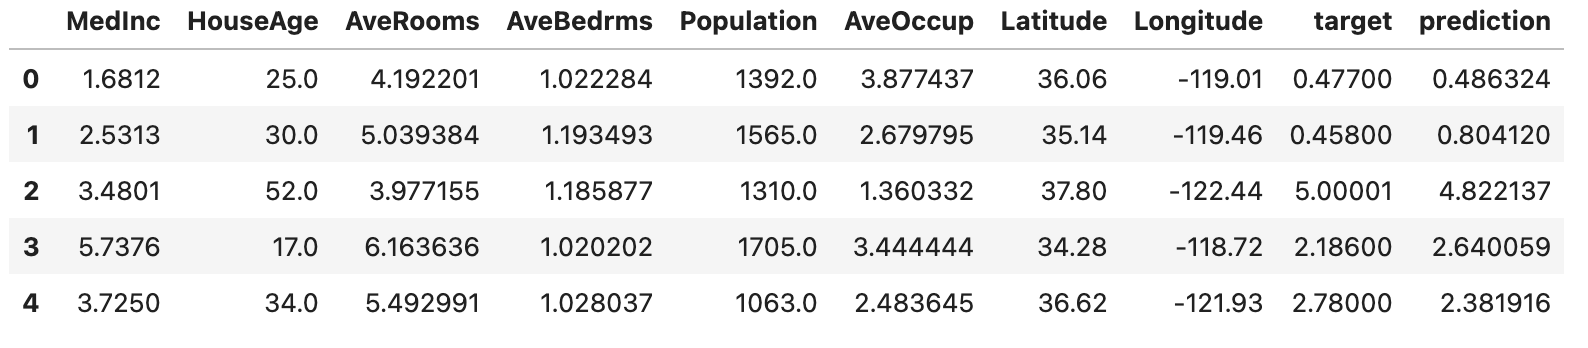
Step 6: Postprocessing Your Predictions
Finally, postprocess your predictions as needed. This might involve converting them back into a DataFrame, or further analysis.
import ast
# Convert bytes to string and then to DataFrame
data_str = bytes_data.decode('utf-8')
actual_list = ast.literal_eval(data_str)

# Add the predicted list to the original DF
test_data['prediction'] = actual_list
test_data.head()
Conclusion
Amazon SageMaker provides a powerful, scalable solution for making predictions on large datasets. By integrating it with Pandas, you can leverage the power of these two tools to make your data science tasks easier and more efficient.
Remember, this is just a basic guide. Depending on your specific use case, you might need to adjust or add steps. For example, you might need to split your data into training and test sets, or tune your model’s hyperparameters.
We hope this guide has helped you understand how to make predictions with SageMaker on a Pandas DataFrame.
