
This article was published when data science tooling like Dask and R was a primary focus for Saturn Cloud. Today, Saturn Cloud is the enterprise AI platform for any GPU infrastructure.
As a data scientist or software engineer, you may need to add a user to a Google Cloud project. This can be a simple process, but it is important to know the steps involved to ensure that the user is added correctly and has the appropriate permissions.
In this article, we will walk through the process of adding a user to a Google Cloud project. We will cover the following topics:
- Why you may need to add a user to a Google Cloud project
- How to add a user to a Google Cloud project
- How to manage user permissions in a Google Cloud project
Table of Contents
- Introduction
- Why You May Need to Add a User to a Google Cloud Project
- How to Add a User to a Google Cloud Project
- How to Manage User Permissions in a Google Cloud Project
- Conclusion
Why You May Need to Add a User to a Google Cloud Project
There are several reasons why you may need to add a user to a Google Cloud project. For example:
- You may be working on a project with a team, and you need to give your team members access to the project resources.
- You may have hired a contractor or consultant to work on a project, and you need to give them access to the project resources.
- You may have created a new Google Cloud project, and you need to give yourself access to the project resources.
Regardless of the reason, adding a user to a Google Cloud project is a straightforward process.
How to Add a User to a Google Cloud Project
To add a user to a Google Cloud project, you will need to follow these steps:
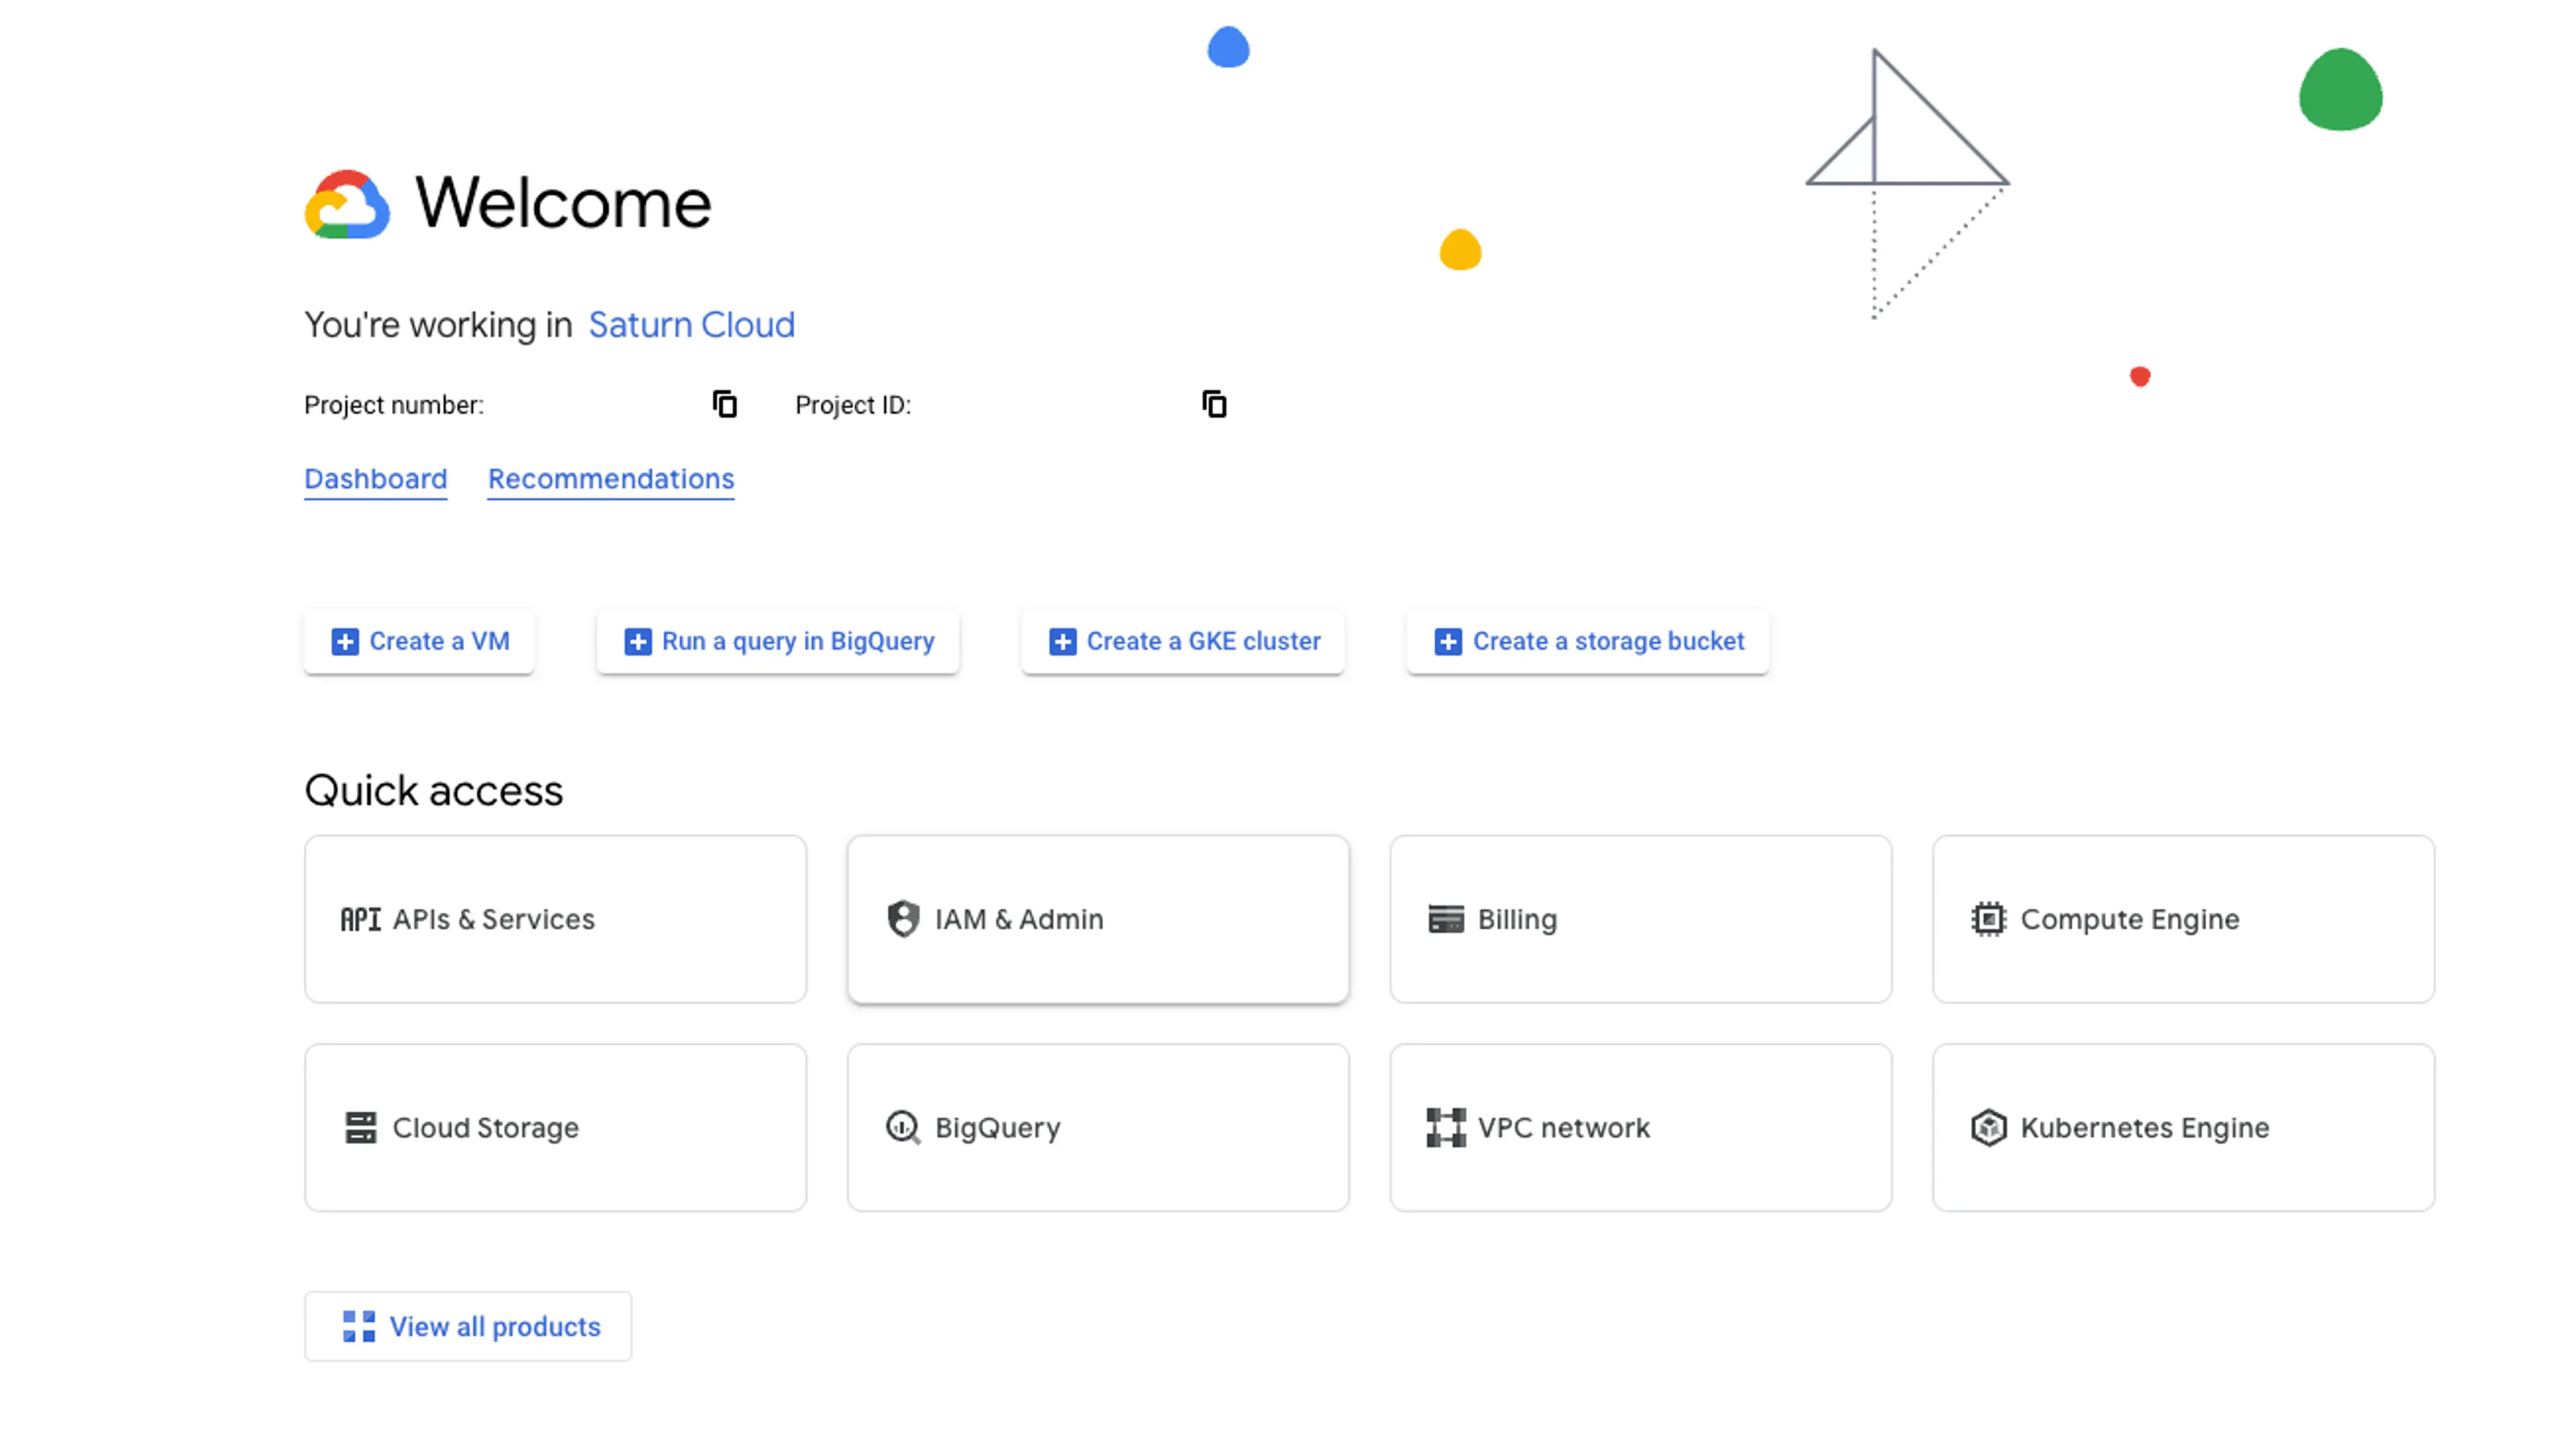
- Sign in to the Google Cloud Console.
- Select the project that you want to add the user to.
- Click on the “IAM & Admin” tab in the left-hand menu.
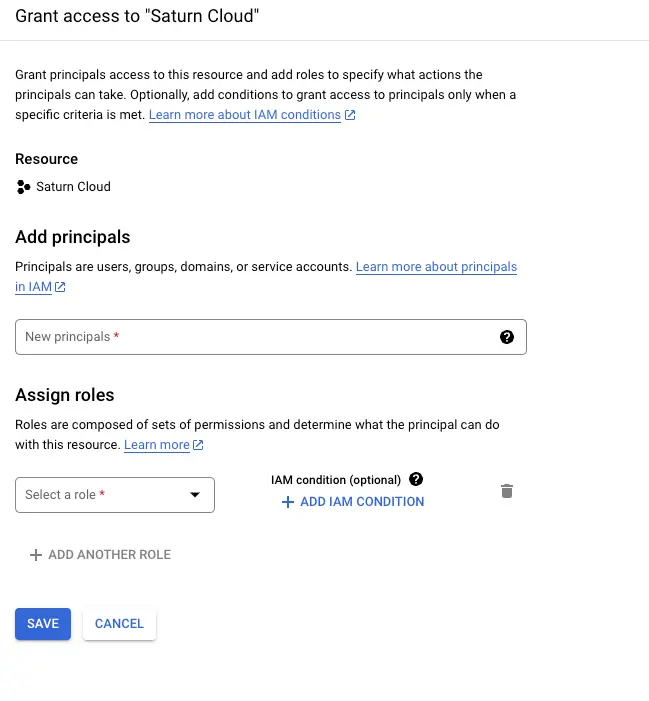
- Click the “GRANT ACCESS” button.
- In the “New principals” field, enter the email address of the user you want to add.
- Select the appropriate role for the user from the dropdown menu.
- Click the “Save” button to add the user to the project.
It is important to note that the user will need to have a Google account in order to be added to the project. If the user does not have a Google account, they will need to create one before they can be added to the project.
How to Manage User Permissions in a Google Cloud Project
Once you have added a user to a Google Cloud project, you may need to manage their permissions. You can do this by following these steps:
- Sign in to the Google Cloud Console.
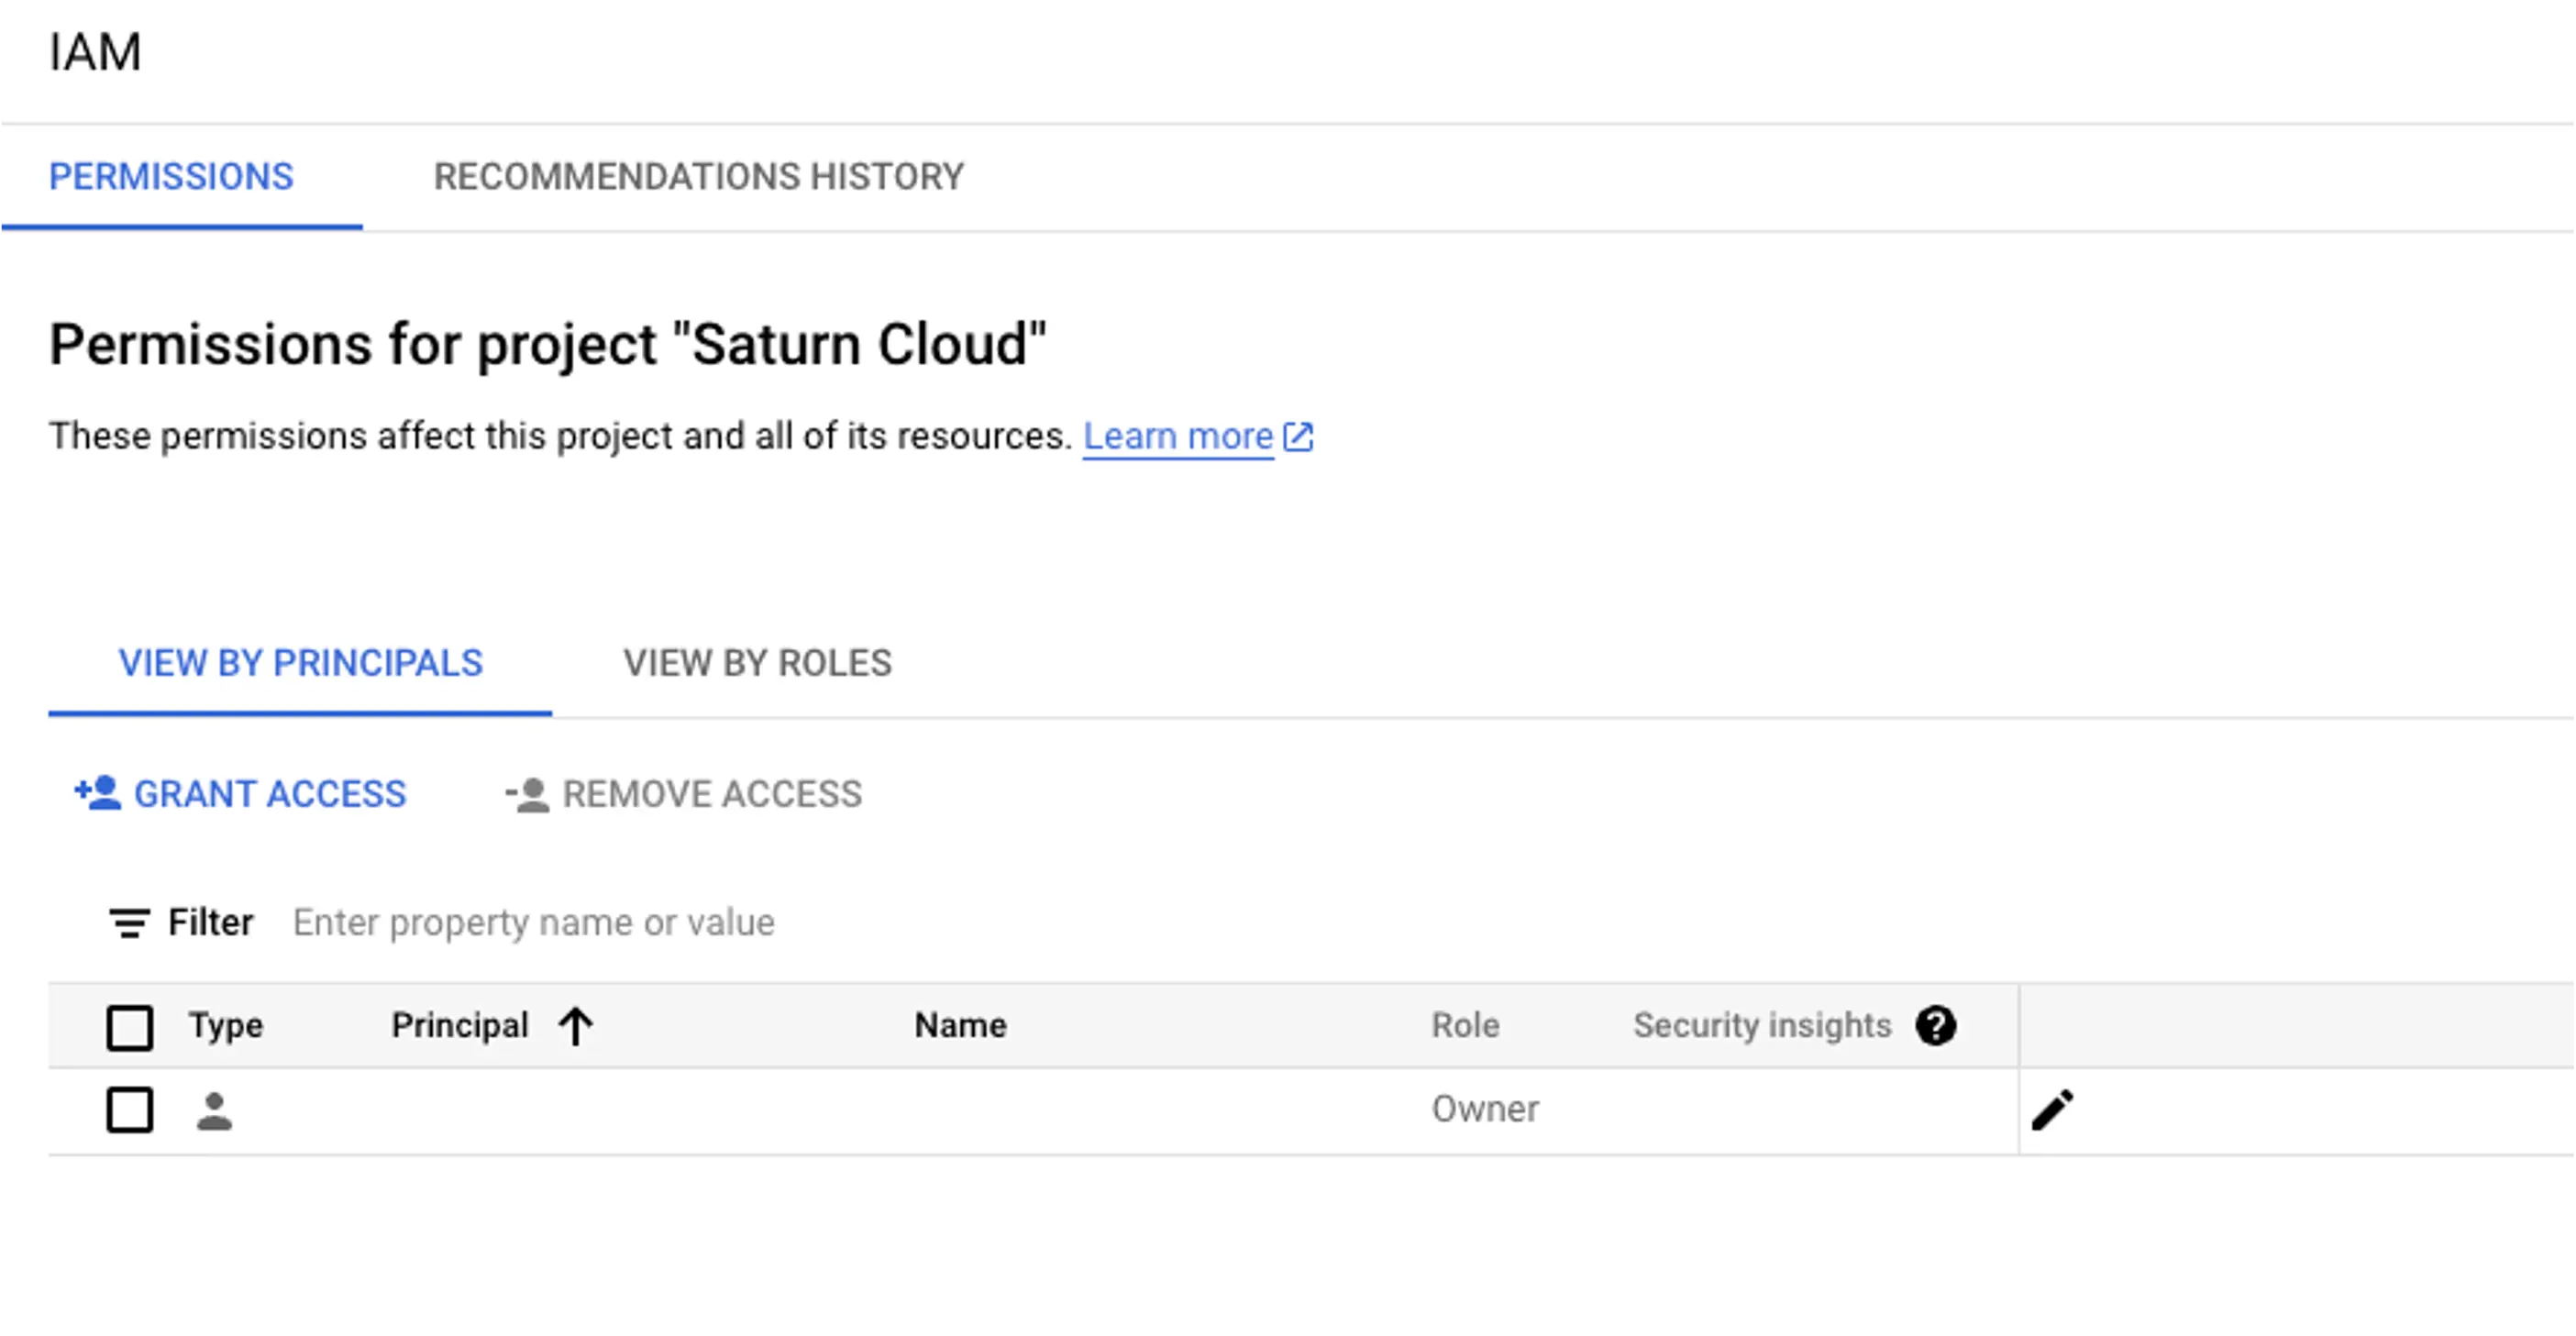
- Select the project that you want to manage user permissions for.
- Click on the “IAM & Admin” tab in the left-hand menu.
- Locate the user that you want to manage permissions for in the list of members.
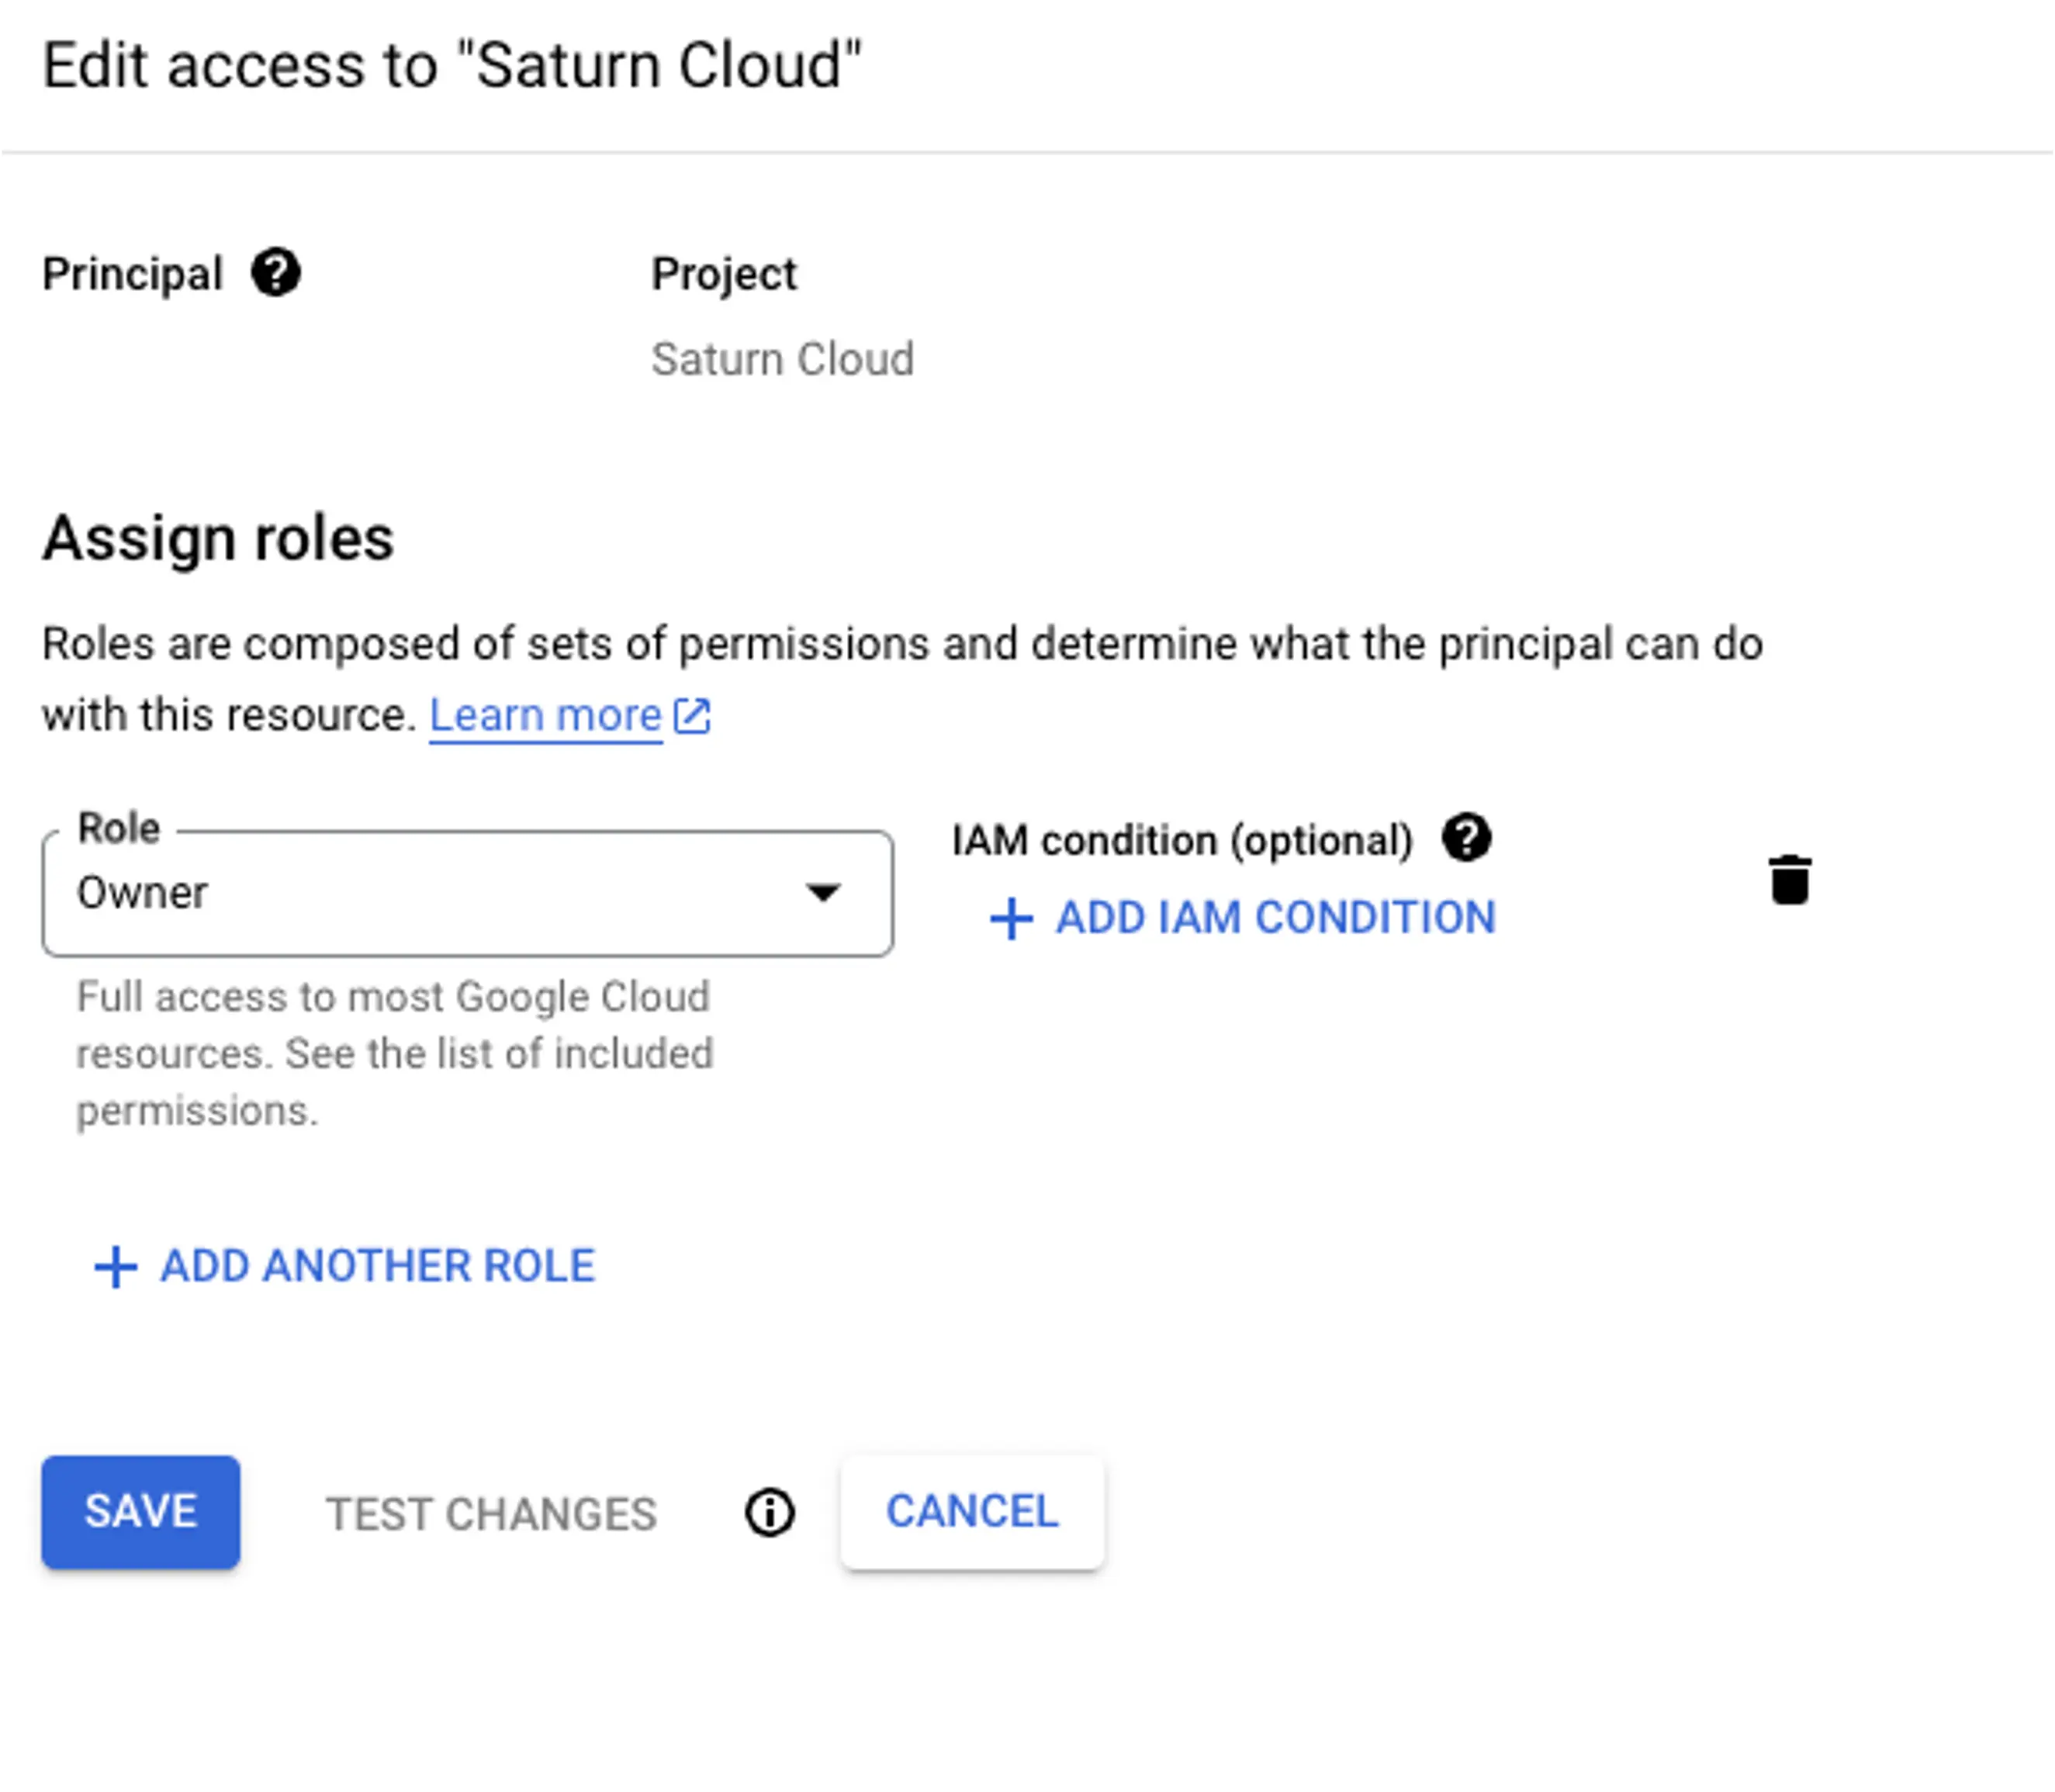
- Click on the pencil icon next to the user’s name to edit their permissions.
- Select the appropriate role for the user from the dropdown menu.
- Click the “Save” button to update the user’s permissions.
It is important to ensure that users only have the necessary permissions to perform their job functions. Giving users too many permissions can be a security risk and can lead to data breaches.
Conclusion
Adding a user to a Google Cloud project is a straightforward process that can be completed in just a few steps. By following the steps outlined in this article, you can ensure that the user is added correctly and has the appropriate permissions.
It is important to remember that managing user permissions is an ongoing process. You should regularly review the permissions of users in your Google Cloud projects to ensure that they only have the necessary permissions to perform their job functions.

