This article was published when data science tooling like Dask and R was a primary focus for Saturn Cloud. Today, Saturn Cloud is the enterprise AI platform for any GPU infrastructure.
One of the surprising challenges for data scientists is figuring out how to deploy your code. You may have made a cool dashboard with R and Shiny, or want to deploy a machine learning model as an API with a framework in Python like Flask or FastAPI. While these tools are often easy to get running on your local machine, if you run them locally then your application is usually only available on your local machine (and will stop running the moment your power off your machine). Ideally, you want your dashboard or ML model API to be continuously available to a large group of users beside you. Making your code continuously online and running is what people typically mean by “putting code into production.”
There are many different ways to deploy code into production. From leaving a desktop PC always on in your closest and opening your home router to external traffic all the way to using a large Kubernetes cluster with Docker images. As a data scientist, these different approaches can each be confusing and deciding between each one can be overwhelming. This blog is going to provide several different approaches to deploying data science code.
The article is going to go through step by step four different ways of deploying data science code, and describe the pros and cons of each. The article assumes the code your deploying is a dashboard for business stakeholders, a API to host a model or code, or even a script you want to run on a schedule. For more details on those three different methods, see the previous blog post on formats for deploying data science code.
The rest of this article is going to assume you have already developed one of those three different deployment code bases. For any of the methods, you’ll need to know what your run command is that starts your application,
typically something like python runapp.py or Rscript runapp.R which will start your application. For APIs and dashboards, you’ll need to know the port to use for the
traffic and explicitly set it in the app (like, 80, 433, or 8000). You’ll need to set the app to receive external traffic by setting the host value to 0.0.0.0.
1. Simple and scrappy - deploy code on a machine in your home
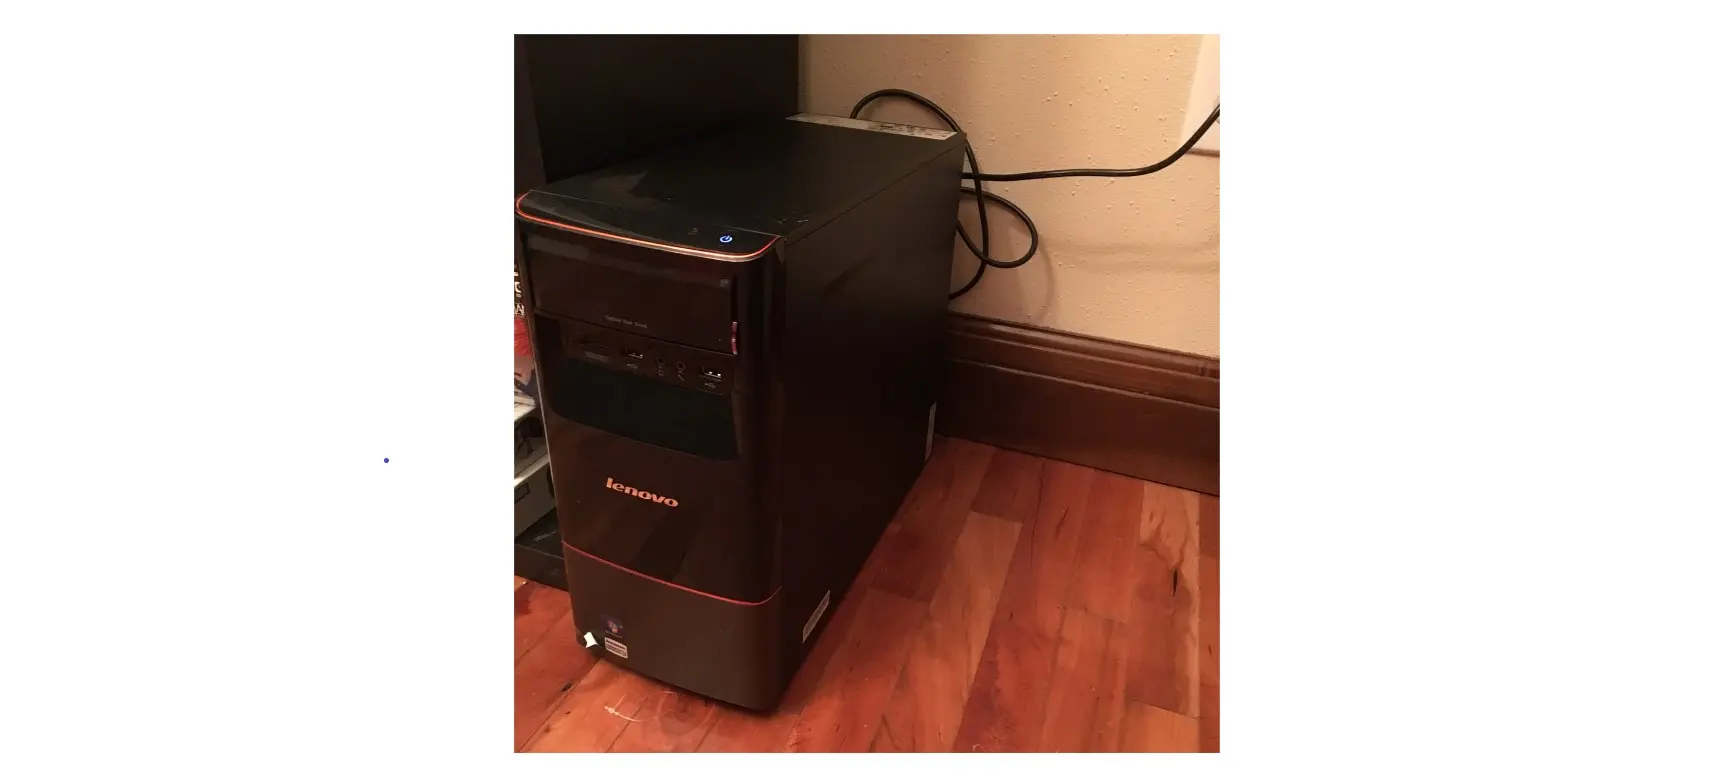
Do you have a spare computer in your house? Good news! You can deploy data science code. By taking a spare computer and leaving it always on you can host an application. This can be a great way to get started with learning how deploying code works, and if you have a personal side project it is a reasonable solution. The basic idea is that you can open your houses internet to external traffic then forward it to your spare computer. This is done via settings in your router. Provided your computer is always on your application should always be available.
Pros
- Free if you have a spare computer (or get a used one for cheap).
- Quick to set up.
- Doesn’t rely on other people or services.
Cons
- Unstable - If your home internet or power cuts out, or if your internet service provider changes your home IP address your system will go down.
- Not enterprise friendly - You often can’t do this for a work thing.
- Security risks - It’s very unlikely but theoretically possible that by opening your router to external traffic a nefarious actor to try and gain access to your spare computer and hack your systems. This probably won’t happen but you never know.
- Hidden costs - you do have to pay for your own electricity and internet.
Steps to deploying on a machine in your home
- Take your spare computer and install the programming languages and libraries you need to get your application running.
- Start your application, ensuring you have the right port and host set.
- Log into your router and set port forwarding. How to do this depends entirely on your router manufacturer and model, so if you do not know how to do this check the back of the router for instructions or try googling the model. When you’ve logged in you should be able to see (1) the IP address of your spare computer within the local network and (2) an area to set up port forwarding. Set your router to forward the port to the IP address of your spare computer.
- From any computer on your home network, Google “What is my IP address” which will give you the IP address of your home.
Then, if you go to http://{ip-address}:{port} in your browser, a tool like Postman, or a command like curl you should connect to your application!
In this case:
{ip-address}is the IP of your home, and{port}is the particular port of your application that you opened your router to.
Congrats! You’ve now set up your code so that anyone else in the world can use your dashboards or APIs. You could runs a script on a schedule, all without having to interact with a single cloud resource. The downside is this is running just within your house, so maybe having the application run on more centralized hardware would be helpful, which leads to the next method.
2. More stable and more expensive - deploy code on a machine on the cloud

Rather than running code on a computer you own running in your closet and praying you don’t ever lose power, you can instead rent time on a computer from a company like Google, Amazon, or Microsoft. This gives you a place to run code that should always be available and doesn’t require you to use your personal resources. For corporate uses often companies already have cloud accounts, so you can use existing infrastructure that someone at your company already manages. But the core logic of what you’re doing is the same as running code from a spare computer in your closet! You’re just using a computer owned by someone else.
Pros
- Way more stable than managing your own hardware
Cons
- More expensive than managing your own hardware if your application needs a decent amount of RAM or a GPU
- Can be more complex to maintain depending on what components of the cloud you use
Steps for deploying on a cloud virtual machine
- Go to Google Cloud Platform, AWS, or Azure, and create a virtual machine (called an EC2 instance if you’re using AWS). You’ll need to set the security policy to allow outside traffic to the port for your application. You also might have the option to set the IP address of the application to be fixed–you’ll want to do that so the address of your computer doesn’t change if you shut it down. Keep track of what IP address your virtual machine is assigned.
- Remotely connect to the virtual machine. If you’re using Windows, you can connect via Remote Desktop and interact with the Windows UI just like a local computer. If you’re using Linux, you can connect via SSH and use the command line.
- Install whatever programming languages and libraries you need.
- Start your application, ensuring you have the right port and host set.
Then, if you go to http://{ip-address}:{port} in your browser, a tool like Postman, or a command like curl you should connect to your application!
In this case:
{ip-address}is the IP of your virtual machine, and{port}is the particular port of your application that you opened your virtual machine to.
You’ve now deployed code on the cloud for anyone to use. If this is your first time deploying code onto the cloud, it can feel like magic since you’re making a computer somewhere else do something for you!
The downside of deploying on the cloud this way comes when you have to deploy your second application, and you have to repeat all these steps. Deployment tools like Docker and Kubernetes are great for making code more easily deployed and reproducible, and we have a whole separate blog post on Docker for data scientists.
But even using methods like Docker and Kubernetes or the latest cloud systems can still be quite a hassle to manage the infrastructure for deploying code. It would be so much easier if you could easily spin up and down data science infrastructure and have everything managed for you, which leads to the next method of deploying code.
3. Use Saturn Cloud, a data science platform built for deploying code
One great option for deploying your data science code is by using a platform designed for data scientists. Saturn Cloud provides a straightforward way to deploy your code for other people to use. And because the platform is designed for data scientists, it should fit right into your existing workflows. It abstracts away the complications of deploying code on the cloud, while still providing the benefits of those tools. It will even let you export your work out of the platform, not locking you in. As a data scientist, this allows you to spend more time building the models, dashboards, and APIs and less time having to manage how they are deployed. Saturn Cloud is also a more general data science development platform, so you can write code in JupyterLab or R and have it deployed in seconds.
Pros
- Abstracts away most of the hassle of deploying code.
- Provides a powerful UI you can use for both deploying code and running analyses.
Cons
- Your engineering team may have an existing way of deploying code and would rather you use that.
Steps for using Saturn Cloud
Before following these steps you’ll need to create a free Saturn Cloud account, or use one of our team plans.
- Take the code you’ve written for your application and store it in a git repository. Your application must be set to listen to traffic on port
8000. Note that while you could write the code itself on a local machine, you could also use a Saturn Cloud Python or R workspace to do development on the cloud. - Create a new Saturn Cloud deployment resource that will host your code. Edit the following settings:
- Run Command - The command to use when starting your application
- Git Repository - The repository that contains your code. Note what directory on the resource the git repository is saved to.
- Working Directory - The location that your repository is saved to from the git repository step.
- Start Script - Use this to specify any additional commands to run at startup, like installing particular packages required by the application.
- Subdomain - the URL to host the app on.
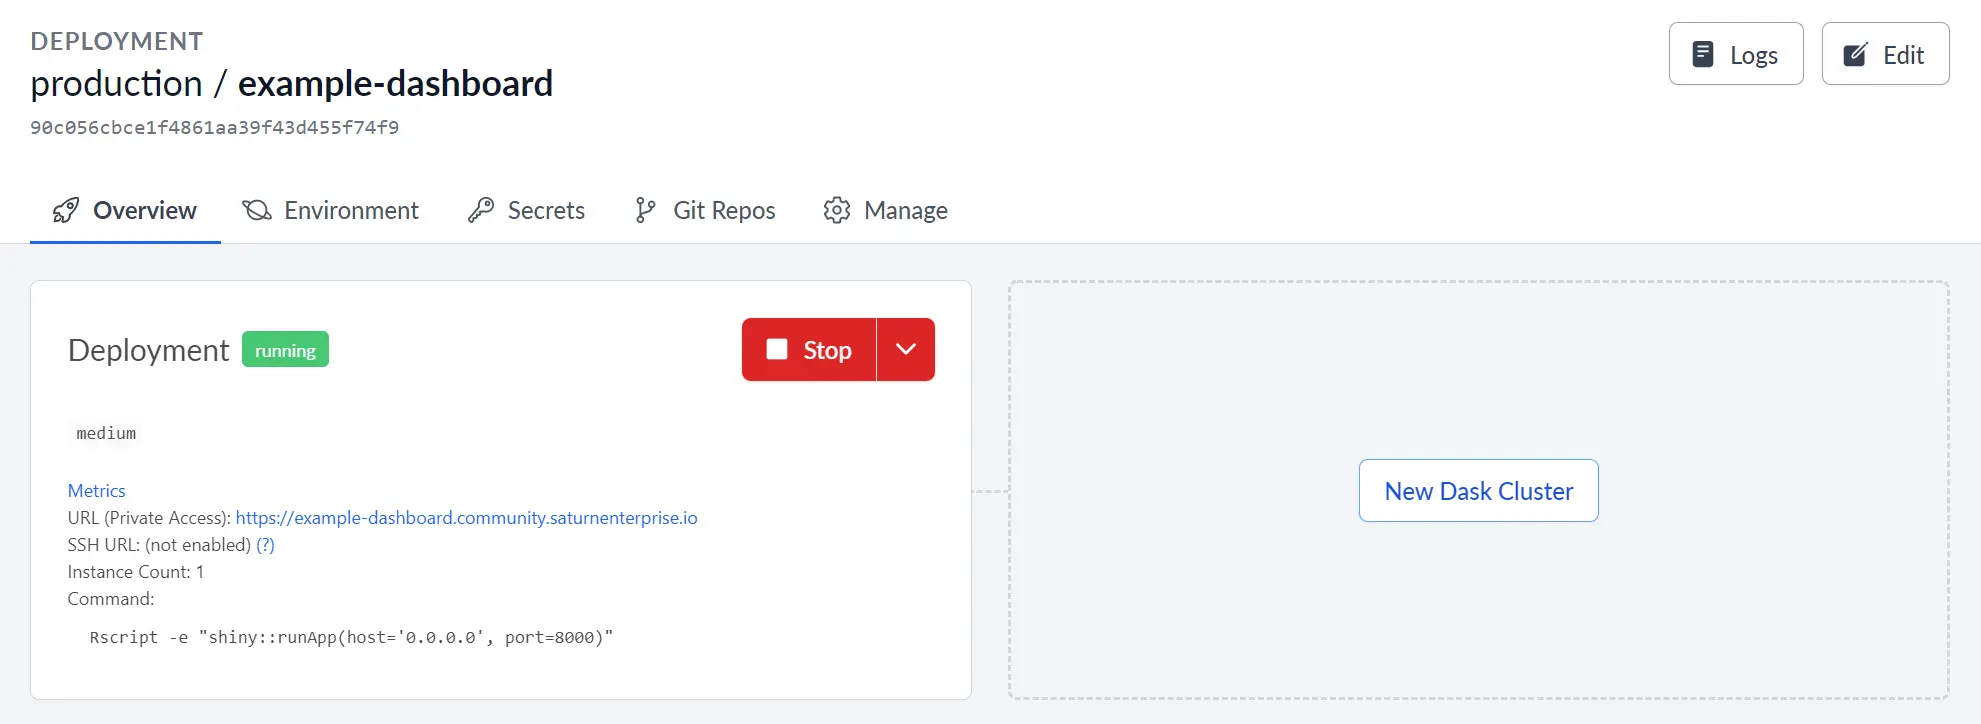
Once the resource is created, you can hit start to turn on the resource. Below the start button, it will provide you with the URL to connect to your application. You’re done!
Hopefully, one of these four different methods for deploying code works for your situation. While some of them may seem more simple or complex than others, they are all great ways to get started. The knowledge you gain from using one method will be useful as you try others as well. So go ahead and get started, and if you want to try out Saturn Cloud click the button below!


