
This article was published when data science tooling like Dask and R was a primary focus for Saturn Cloud. Today, Saturn Cloud is the enterprise AI platform for any GPU infrastructure.
OpenCV, or Open Source Computer Vision Library, is a powerful tool for data scientists who work with image processing. This blog post will guide you through the process of installing OpenCV using Conda and Spyder, two popular tools in the data science community.
Table of Contents
Introduction 1.1 What is OpenCV? 1.2 What are Conda and Spyder?
Installation Steps 2.1 Step 1: Install Anaconda 2.2 Step 2: Create a New Conda Environment 2.3 Step 3: Activate the Conda Environment 2.4 Step 4: Install OpenCV 2.5 Step 5: Install Spyder in the Same Environment 2.6 Step 6: Launch Spyder
What is OpenCV?
OpenCV is a library of programming functions mainly aimed at real-time computer vision. It’s used extensively in applications like object detection, facial recognition, and machine learning.
What are Conda and Spyder?
Conda is an open-source package management system and environment management system. It’s widely used by data scientists to install and manage software packages and their dependencies.
Spyder, on the other hand, is an open-source integrated development environment (IDE) for Python. It’s designed for data scientists and offers powerful features like advanced editing, interactive testing, debugging, and introspection.
Step 1: Install Anaconda
Before we can install OpenCV, we need to install Anaconda, which includes both Conda and Spyder. You can download Anaconda from the official website. Choose the version that matches your operating system and follow the installation instructions.
Step 2: Create a New Conda Environment
Once Anaconda is installed, open the Anaconda Prompt and create a new Conda environment. This will help isolate your OpenCV installation from other Python environments. Here’s how to do it:
conda create -n opencv_env python=3.8
This command creates a new environment named opencv_env with Python 3.7. You can replace opencv_env with any name you prefer.
Step 3: Activate the Conda Environment
Before installing OpenCV, you need to activate the environment you just created. Use the following command:
conda activate opencv_env
Step 4: Install OpenCV
Now that the environment is activated, you can install OpenCV. Use the following command:
conda install -c conda-forge opencv
This command installs OpenCV from the conda-forge channel, which is a community-led collection of recipes, build infrastructure, and distributions for the Conda package manager.
Step 5: Install Spyder in the Same Environment
To use OpenCV with Spyder, you need to install Spyder in the same Conda environment. Here’s how to do it:
conda install spyder
Step 6: Launch Spyder
Now that everything is set up, you can launch Spyder with the following command:
spyder
You should now be able to import and use OpenCV in your Spyder projects. Try running the following code to check if everything is working:
import cv2
print(cv2.__version__)
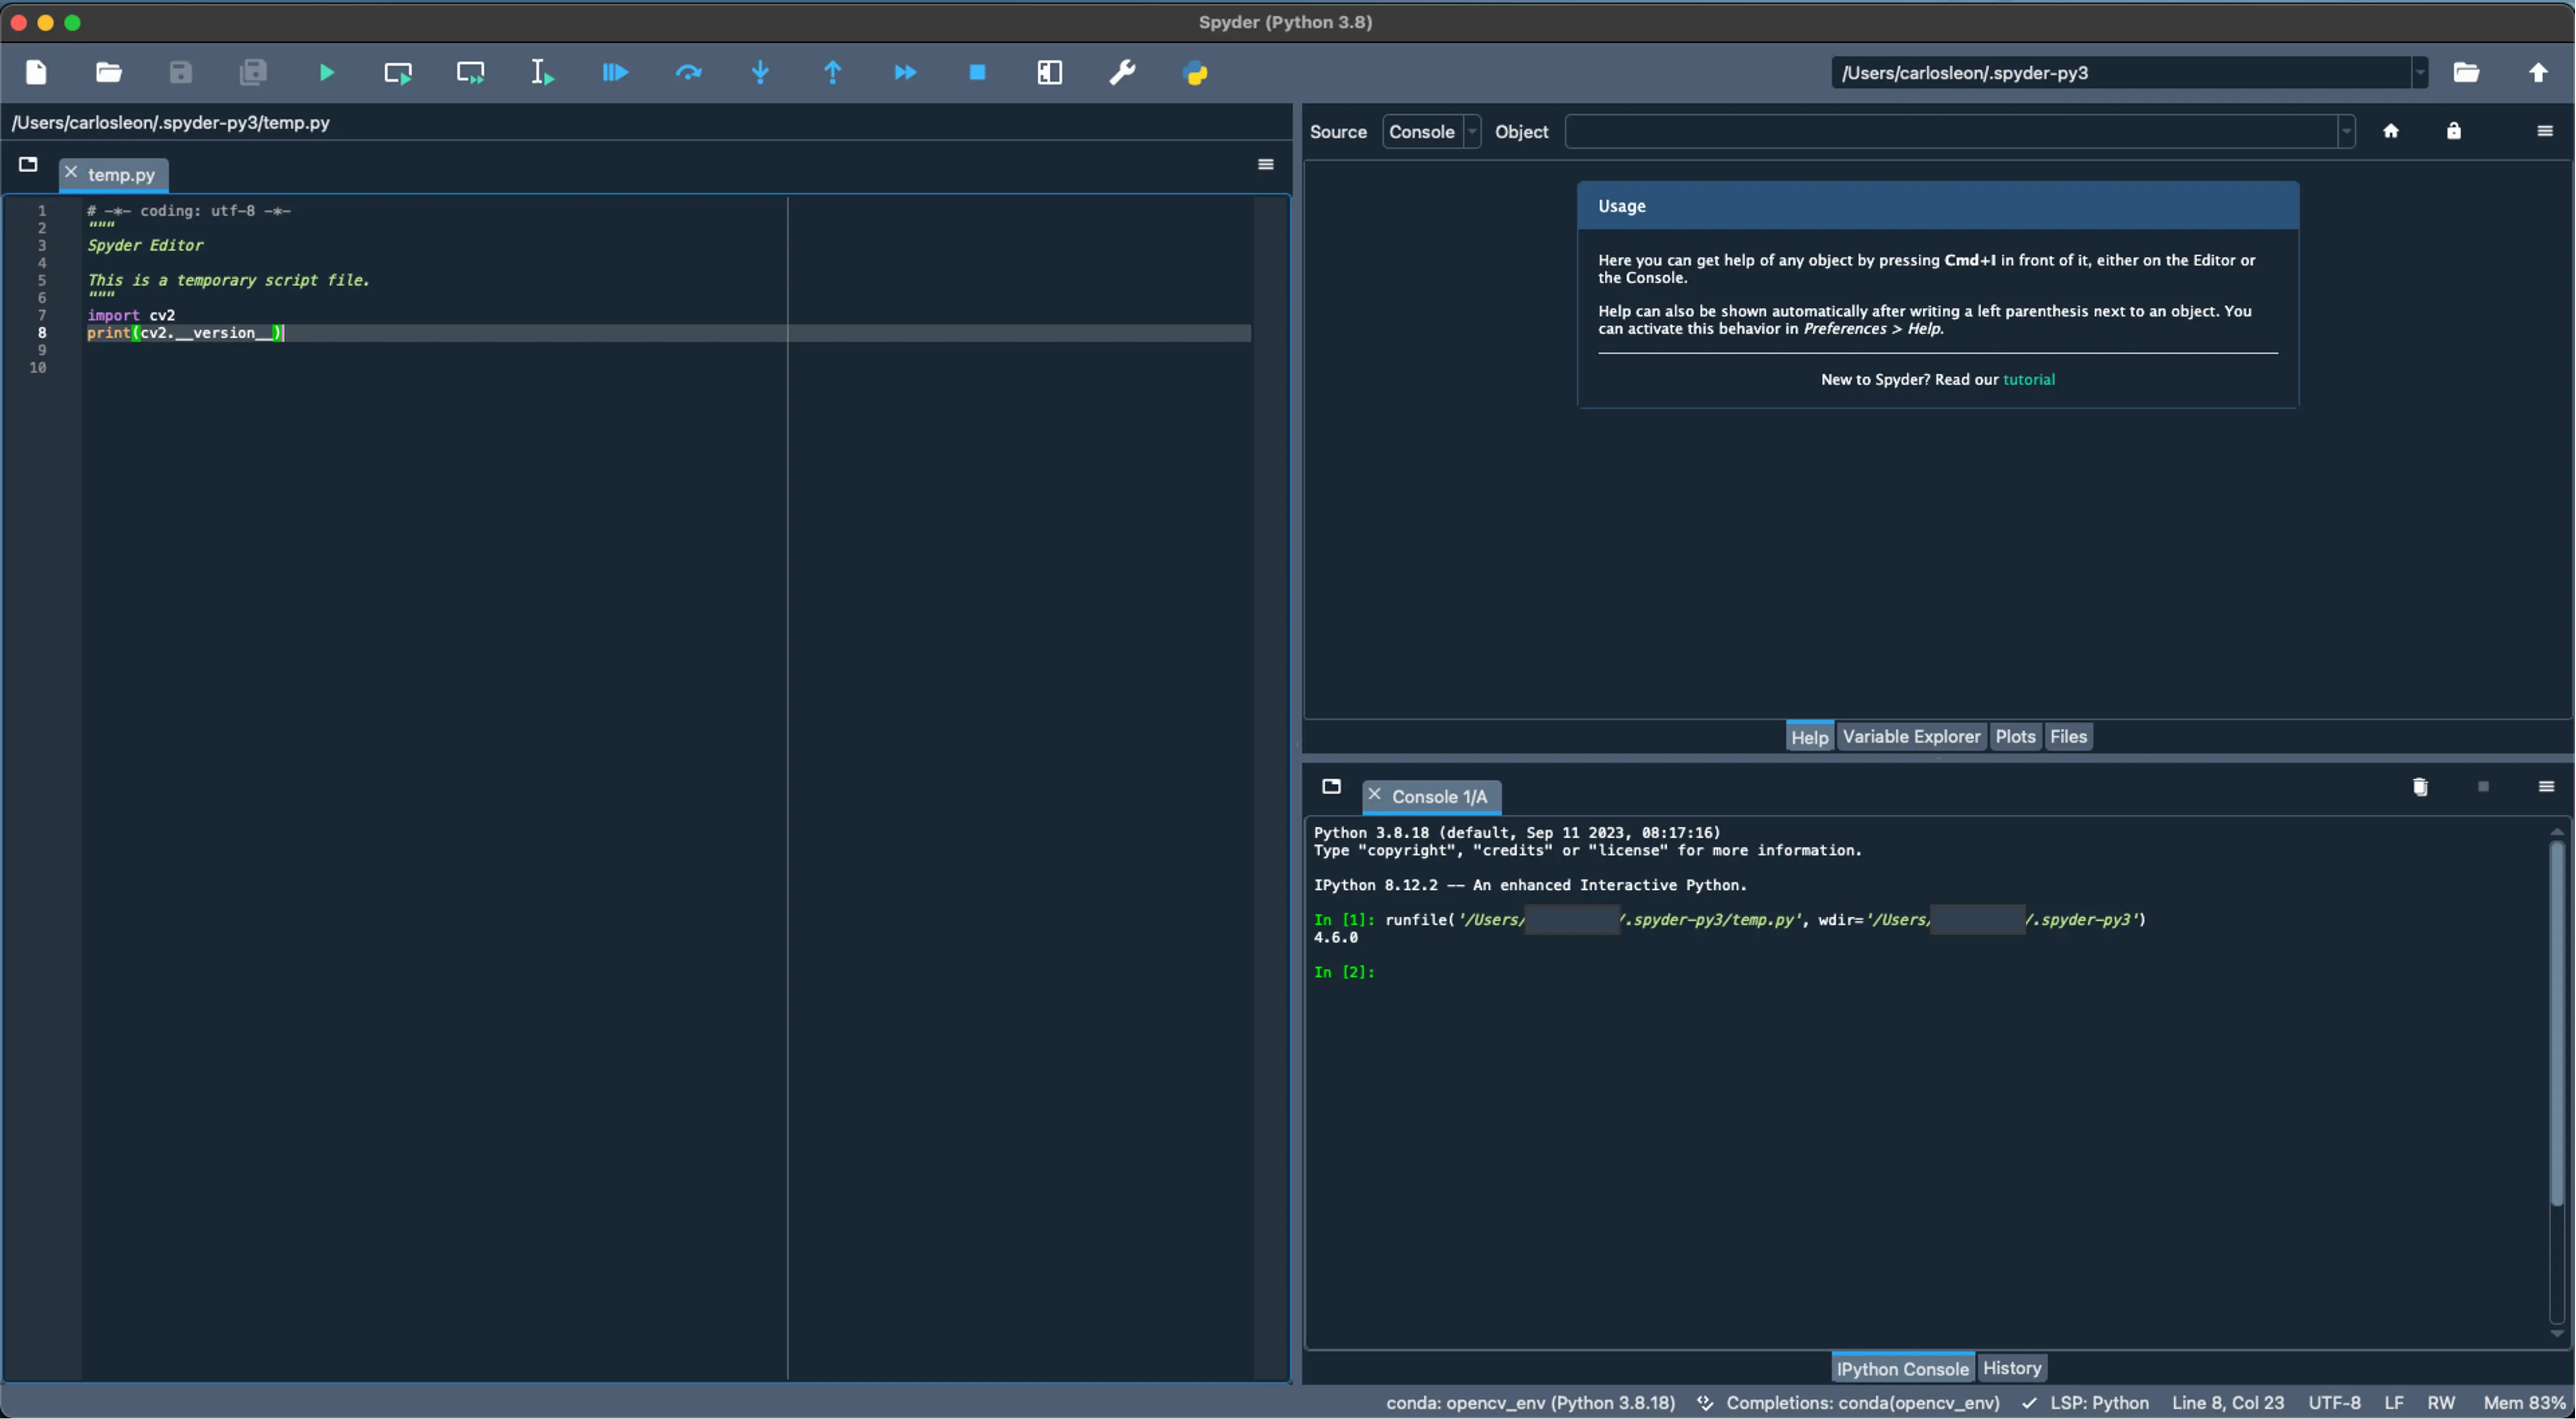
If everything is installed correctly, this will print the version of OpenCV you installed.
Conclusion
Installing OpenCV with Conda and Spyder is a straightforward process that can significantly enhance your data science projects. With these tools, you can leverage the power of OpenCV in an environment that’s optimized for data science work.
Remember, the key to successful installation is ensuring that all components are installed in the same Conda environment. This ensures compatibility and prevents conflicts between different versions of the same package.
We hope this guide has been helpful. If you have any questions or run into any issues, feel free to leave a comment below.

