
This article was published when data science tooling like Dask and R was a primary focus for Saturn Cloud. Today, Saturn Cloud is the enterprise AI platform for any GPU infrastructure.
As a data scientist or software engineer, you may often find yourself needing to transfer large amounts of data to and from your Amazon EC2 instances. One of the most efficient ways to do this is by using rsync, a powerful and versatile utility that can be used to copy files locally or remotely, synchronize files and directories, and even backup your data.
In this article, we will walk you through the process of using rsync to transfer files to an Amazon EC2 instance. We will cover the basics of setting up your EC2 instance, configuring the security group and firewall settings, and setting up rsync on both your local machine and your EC2 instance.
Table of Contents
- Setting up your Amazon EC2 Instance
- Setting up Rsync
- Using Rsync to Transfer Files
- Best Practices for Rsync on EC2
- Common Errors and Troubleshooting
- Conclusion
Setting up your Amazon EC2 Instance
Before we get started, you will need to have an Amazon Web Services (AWS) account and an EC2 instance running. If you don’t have an instance running, you can follow the steps in the AWS documentation to create one.
Once you have your instance running, you will need to configure the security group and firewall settings to allow incoming traffic on port 22, which is the default SSH port. This will allow you to connect to your instance using SSH and transfer files using rsync. You can do this by following these steps:
- Open the Amazon EC2 console at https://console.aws.amazon.com/ec2/.
- In the navigation pane, choose “Security Groups”.
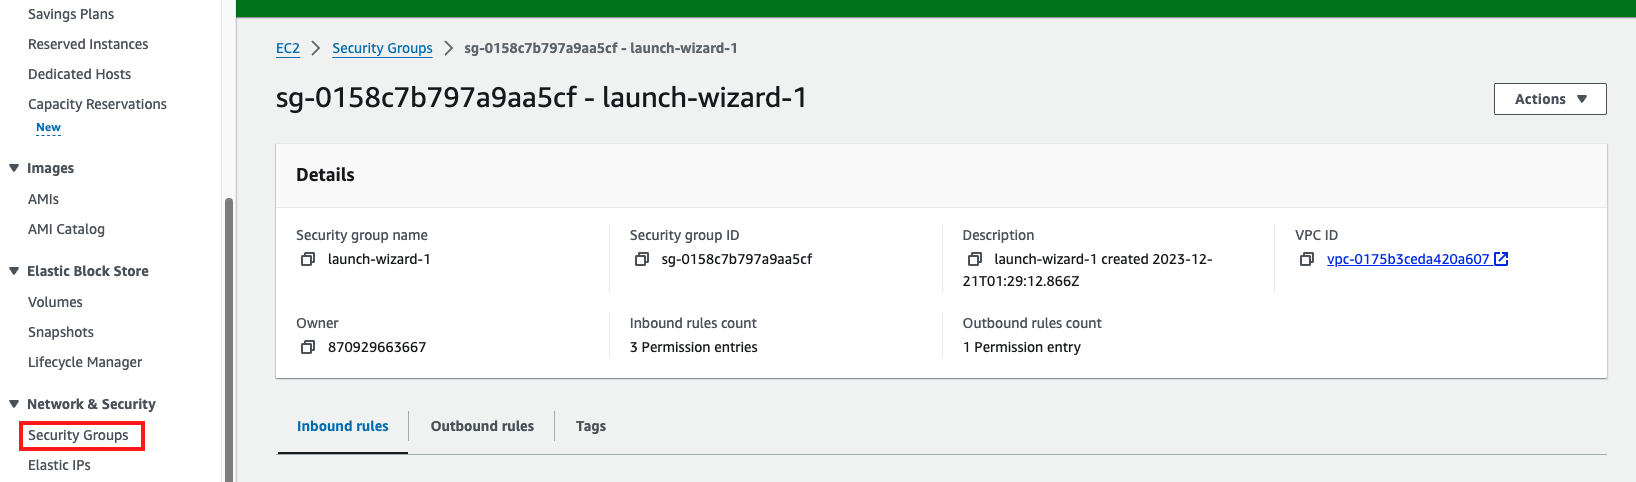
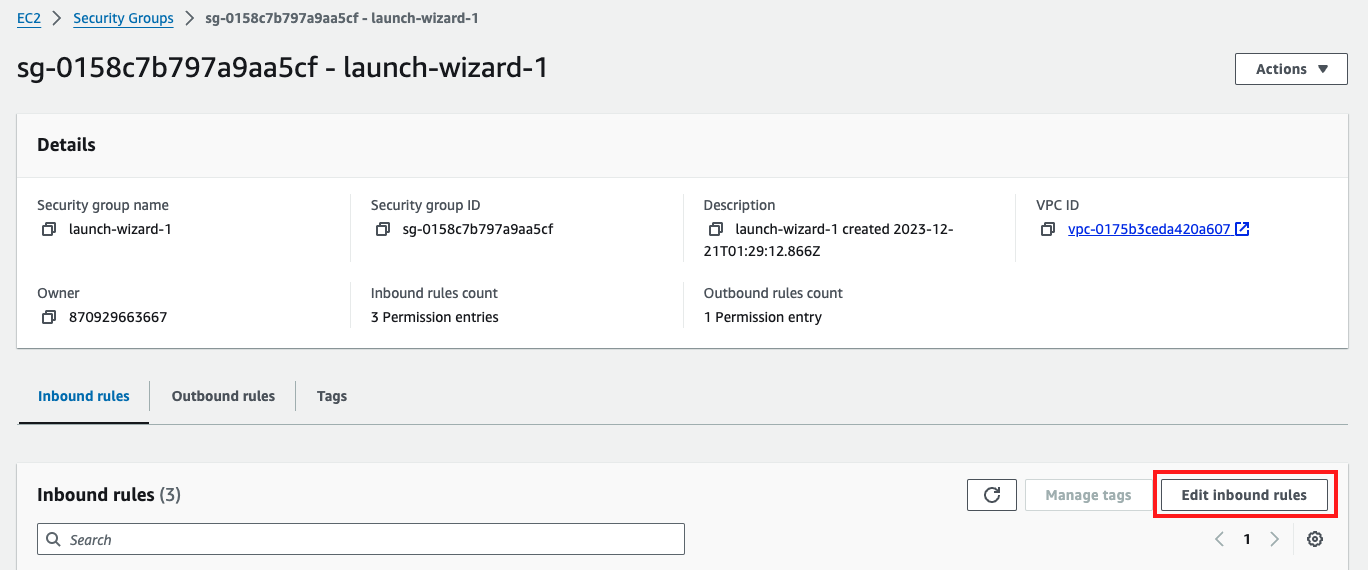
- Select the security group associated with your instance and click “Edit inbound rules”
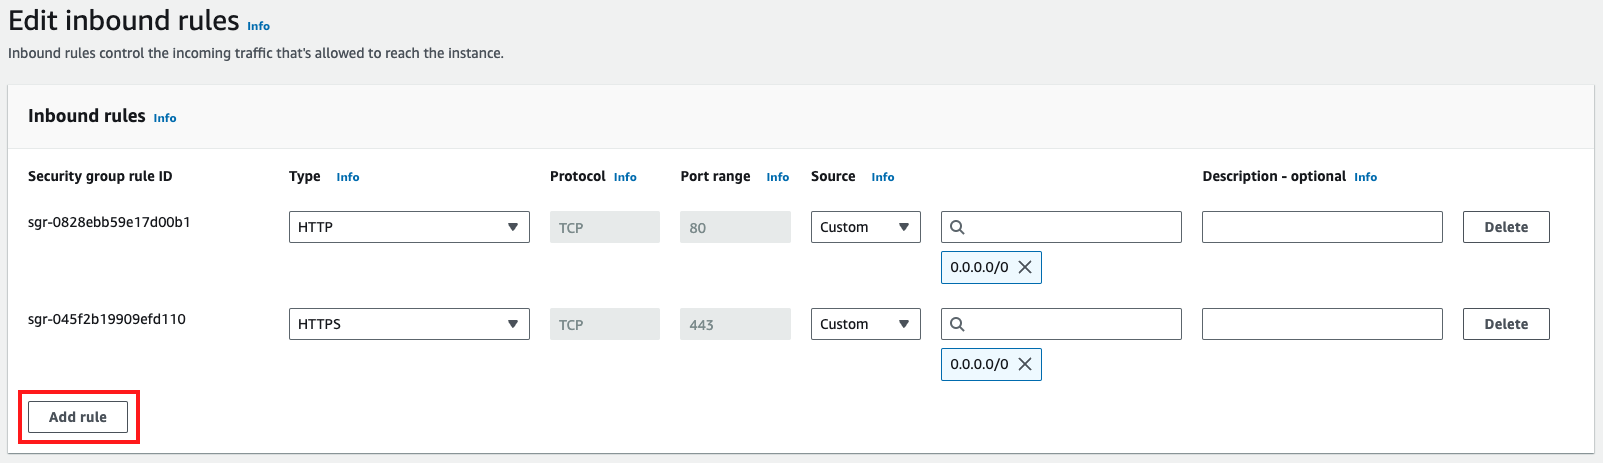
- In the “Edit inbound rules” dialog box, choose “Add Rule”.
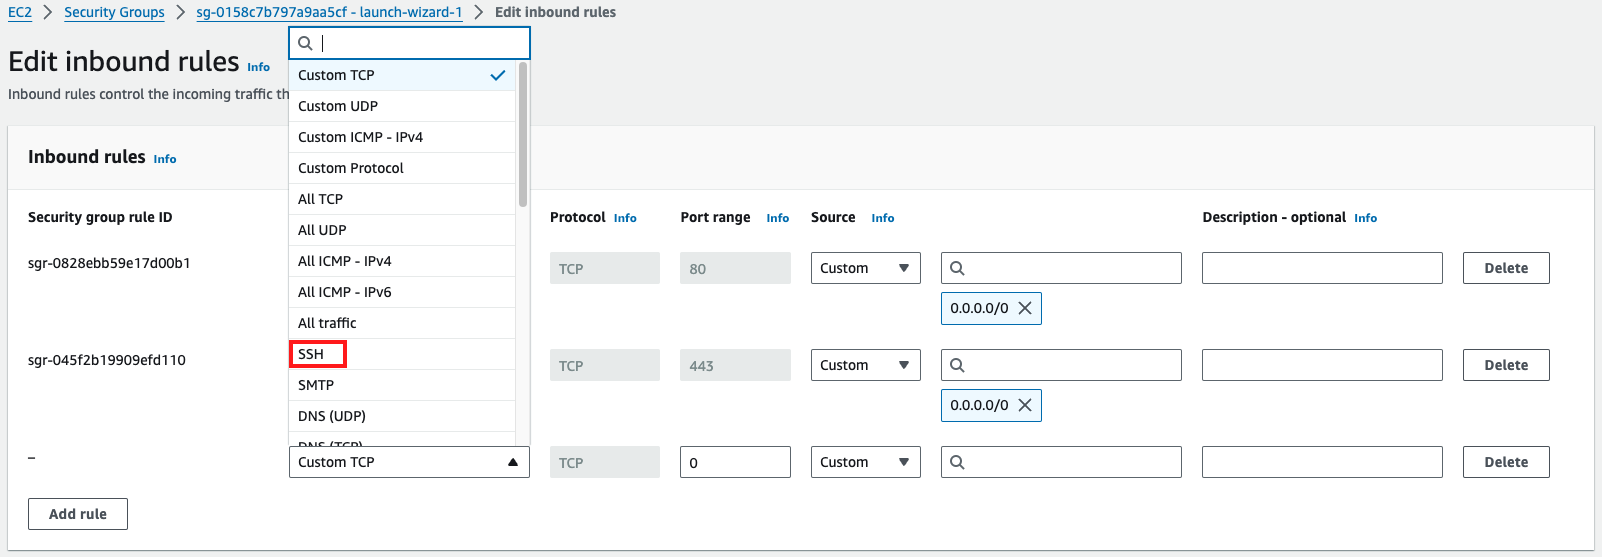
- Choose “SSH” from the “Type” dropdown list, and then choose “Anywhere” from the “Source” dropdown list.
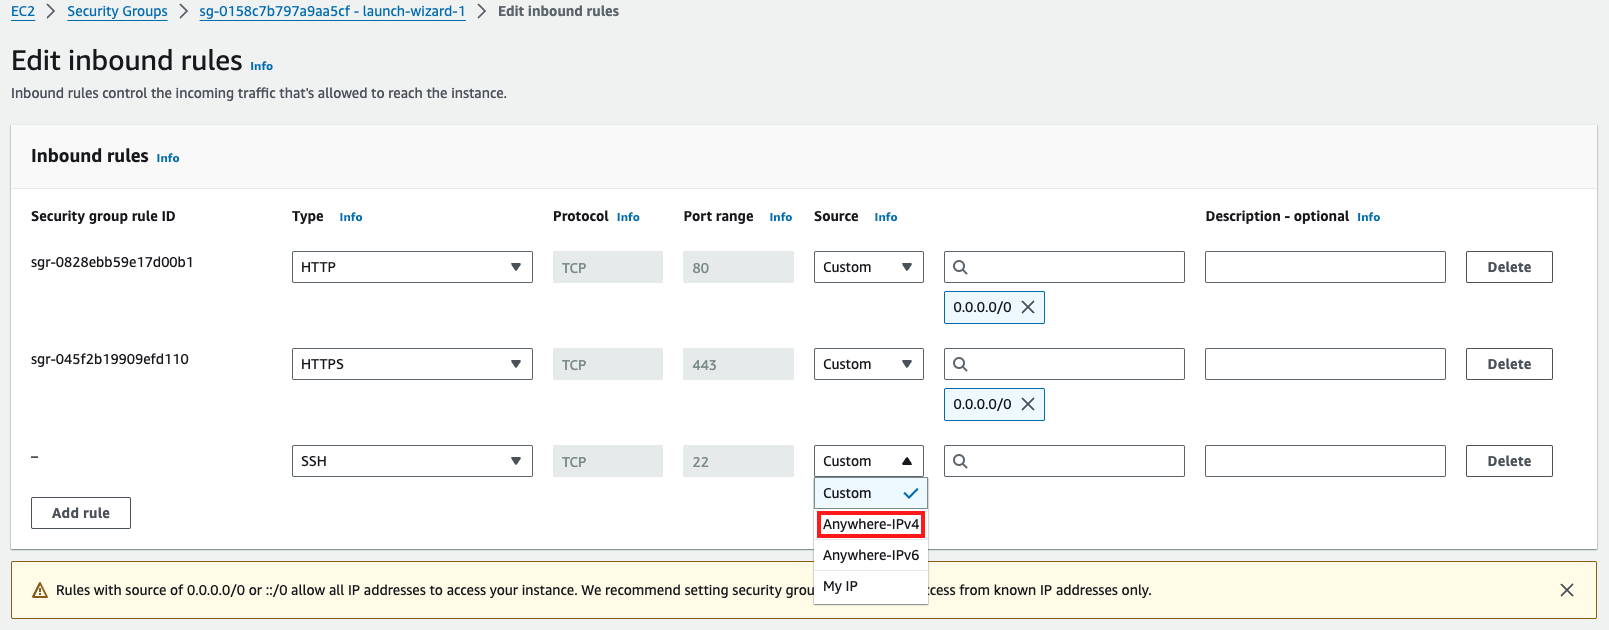
- Choose “Save rules”.
With the security group and firewall settings configured, you can now connect to your instance using SSH and start using rsync.
Setting up Rsync
Before you can use rsync, you will need to install it on both your local machine and your EC2 instance. If you are using a Linux or macOS machine, rsync should already be installed. If you are using a Windows machine, you can download and install rsync from the Cygwin website.
To install rsync on your EC2 instance, connect to your instance using SSH and run the following command:
sudo yum install rsync
This will install rsync on your EC2 instance.
Using Rsync to Transfer Files
Now that you have rsync installed on both your local machine and your EC2 instance, you can start using it to transfer files. The basic syntax for using rsync is as follows:
rsync [OPTIONS] SOURCE DESTINATION
Where:
SOURCEis the source directory or file that you want to copy.DESTINATIONis the destination directory or file where you want to copy the source.
For example, if you want to transfer a file called example.txt from your local machine to your EC2 instance, you can use the following command:
rsync -avz -e "ssh -i /path/to/key.pem" /path/to/example.txt ec2-user@ec2-xx-xx-xxx-xxx.compute-1.amazonaws.com:/path/to/destination/
Where:
-apreserves the file permissions, ownership, timestamps, and recursive directory structure.-venables verbose output.-zcompresses the data during transfer to reduce the amount of data sent over the network.-especifies the remote shell to use for the transfer. In this case, we are using SSH and specifying the path to our private key file./path/to/example.txtis the path to the file you want to transfer.ec2-user@ec2-xx-xx-xxx-xxx.compute-1.amazonaws.comis the username and hostname of your EC2 instance./path/to/destination/is the path to the destination directory on your EC2 instance.
Transferring Directories
If you want to transfer a directory instead of a file, you can use the -r option to enable recursive copying. For example:
rsync -avz -e "ssh -i /path/to/key.pem" -r /path/to/source/ ec2-user@ec2-xx-xx-xxx-xxx.compute-1.amazonaws.com:/path/to/destination/
/path/to/source/is the path to the source directory.
Excluding Files and Directories
Exclude unwanted files or directories with the “–exclude” option:
rsync -avz --exclude 'file.txt' -e "ssh -i /path/to/key.pem" /path/to/source/ ec2-user@ec2-xx-xx-xxx-xxx.compute-1.amazonaws.com:/path/to/destination/
Handling Large Files
For large files, use the “–progress” option to monitor the transfer progress:
rsync -avz --progress -e "ssh -i /path/to/key.pem" /path/to/large/file ec2-user@ec2-xx-xx-xxx-xxx.compute-1.amazonaws.com:/path/to/destination/
Best Practices for Rsync on EC2
- Always use the “-e” option with SSH key for secure connections.
- Utilize the “-a” flag for archive mode to preserve file permissions and ownership.
- Regularly backup important files before syncing.
Common Errors and Troubleshooting
Permission Denied Issues
If you encounter permission issues, ensure the private key has the correct permissions:
chmod 400 /path/to/your/key.pem
Connection Issues
Check your security group settings to allow SSH traffic (port 22) from your local machine.
Disk Space Exhaustion
Monitor the EC2 instance’s disk space to avoid transfer failures due to insufficient storage.
Conclusion
Using rsync to transfer files to and from your Amazon EC2 instances is a quick and efficient way to move large amounts of data. By following the steps outlined in this article, you can set up rsync on both your local machine and your EC2 instance and start transferring files in no time.
Remember to always configure your security group and firewall settings to ensure that your instance is secure and protected from unauthorized access. With the right tools and precautions in place, you can take full advantage of the power and flexibility of Amazon EC2 and rsync to manage your data and applications with ease.

