
This article was published when data science tooling like Dask and R was a primary focus for Saturn Cloud. Today, Saturn Cloud is the enterprise AI platform for any GPU infrastructure.
As a data scientist or software engineer, you might be familiar with Jupyter Notebook, a powerful tool for interactive computing. However, did you know that Jupyter Notebook can also be used for Java programming? In this article, we will explore how to use Jupyter Notebook for Java, including the benefits of using Jupyter Notebook, how to set up Jupyter Notebook for Java, and how to use it for Java programming.
Benefits of Using Jupyter Notebook for Java
Before we dive into the technical details, let’s take a moment to discuss the benefits of using Jupyter Notebook for Java programming. Here are some of the advantages of using Jupyter Notebook over traditional Java Integrated Development Environments (IDEs):
Interactive Computing: Jupyter Notebook allows for interactive computing, which means you can run code and see the output immediately. This is especially helpful for data analysis and visualization, where you can explore your data and see the results in real-time.
Easy Sharing: Jupyter Notebook makes it easy to share your code and results with others. You can export your notebook as an HTML, PDF, or Markdown file, which can be easily shared with others.
Multiple Language Support: Jupyter Notebook supports multiple programming languages, including Java, Python, R, and Julia. This means you can use the same environment for different programming languages, which can save time and increase productivity.
Setting Up Jupyter Notebook for Java
Now that we know the benefits of using Jupyter Notebook for Java, let’s explore how to set it up. Here are the steps to follow:
Step 1: Install Java
The first step is to install Java on your computer. You can download the latest version of Java from the official Java website.
Step 2: Install Jupyter Notebook
Next, you need to install Jupyter Notebook. You can do this using pip, the Python package manager. Open your terminal or command prompt and run the following command:
pip install jupyter
Step 3: Install the Java Kernel for Jupyter Notebook
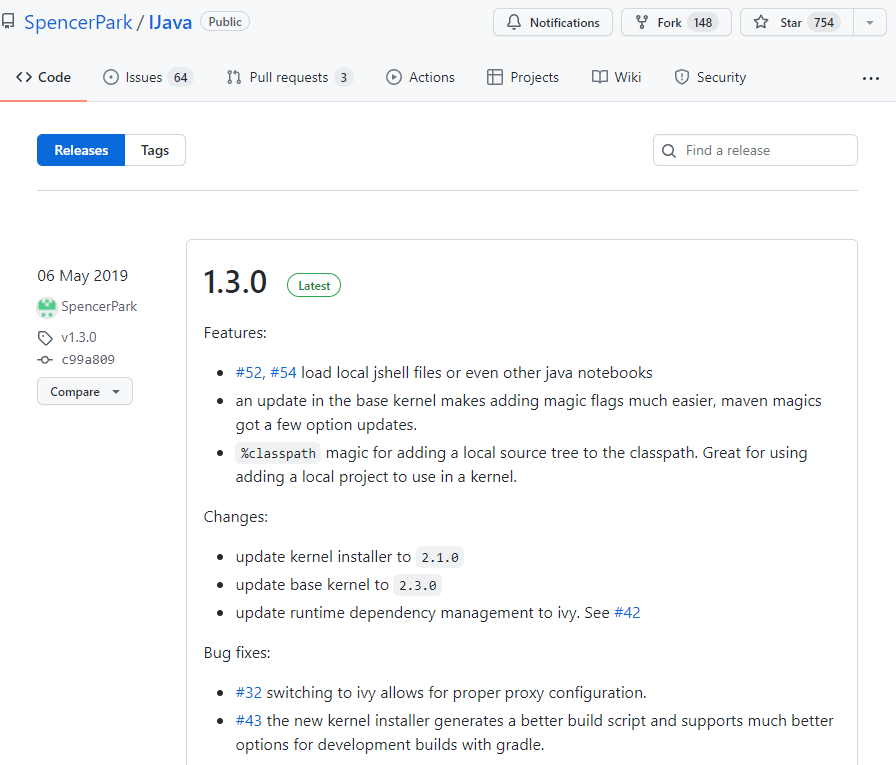
Jupyter Notebook uses kernels to run code in different programming languages. To use Jupyter Notebook for Java, you need to install the Java kernel. First, go to the link here and download the latest compressed file.
When you unzip the downloaded compressed file, there is a java folder and install.py. In the anaconda prompt window or cmd (depending on how you installed jupyter notebook), go to the folder (ijava-1.3.0) where the files are located and enter the command below. If python and java are in the jupyter kernelspec list, it has been successfully installed.
python3 install.py

jupyter kernelspec list
Output:
...
  java                 /usr/local/share/jupyter/kernels/java
Step 4: Start Jupyter Notebook
To start Jupyter Notebook, open your terminal or command prompt and run the following command:
jupyter notebook
This will open Jupyter Notebook in your default web browser.
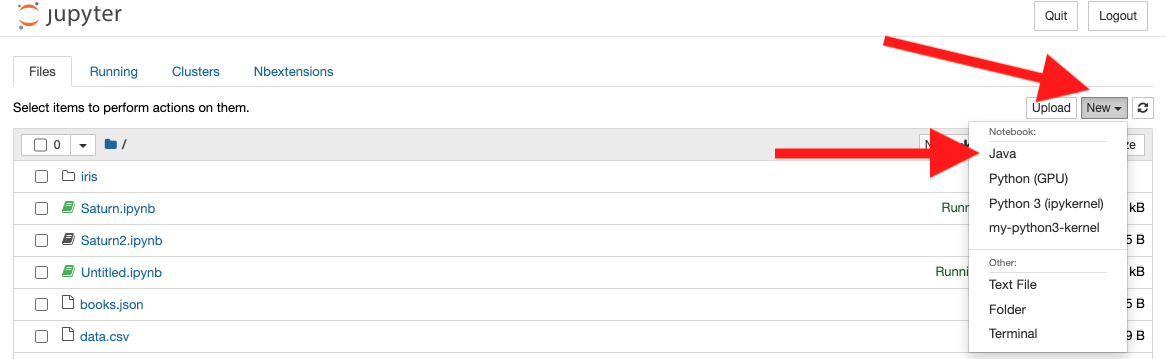
Step 5: Create a New Notebook
To create a new notebook for Java programming, click on the New button in the top right corner of the Jupyter Notebook interface and select Java from the dropdown menu.
Using Jupyter Notebook for Java Programming
Now that we have set up Jupyter Notebook for Java, let’s explore how to use it for Java programming. Here are some tips and tricks to get you started:
Tip 1: Import Libraries
To import libraries in Jupyter Notebook for Java, you can use the %classpath magic command. For example, if you want to import the Apache Commons Math library, you can run the following command:
%classpath add mvn org.apache.commons commons-math3 3.6.1
Tip 2: Define Variables
To define variables in Jupyter Notebook for Java, you can use the %declare magic command. For example, if you want to define a variable x with a value of 10, you can run the following command:
%declare x = 10;
Tip 3: Run Code
To run Java code in Jupyter Notebook, simply type your code in a code cell and press "Shift + Enter" to execute it. Here’s an example of a Java code cell:
public class Hello {
    public static void main(String[] args) {
        System.out.println("Hello, Saturn Cloud!");
    }
}
Output:
Hello, Saturn Cloud!
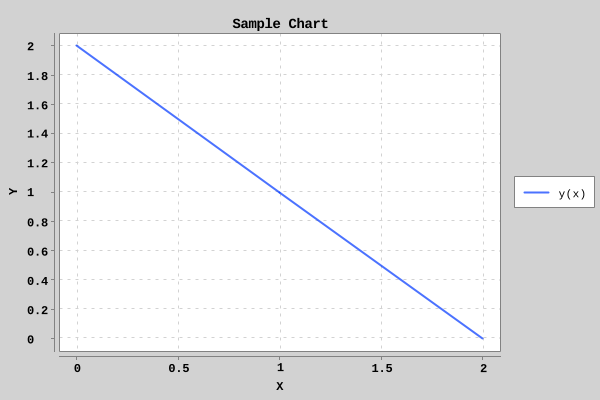
Tip 4: Visualize Data
Jupyter Notebook makes it easy to visualize data in Java. You can use libraries like JFreeChart and JavaFX to create charts and graphs. Here’s an example of a JavaFX code cell that creates a pie chart:
%maven org.knowm.xchart:xchart:3.5.2
import org.knowm.xchart.*;

double[] xData = new double[] { 0.0, 1.0, 2.0 };
double[] yData = new double[] { 2.0, 1.0, 0.0 };

XYChart chart = QuickChart.getChart("Sample Chart", "X", "Y", "y(x)", xData, yData);

BitmapEncoder.getBufferedImage(chart);
Tip 5: Export Your Notebook
Once you have finished your Java programming in Jupyter Notebook, you can export your notebook as an HTML, PDF, or Markdown file. To do this, simply click on "File" in the Jupyter Notebook interface and select "Download as" from the dropdown menu.
Conclusion
In conclusion, Jupyter Notebook is a powerful tool for Java programming, offering benefits such as interactive computing, easy sharing, and multiple language support. By following the steps outlined in this article, you can set up Jupyter Notebook for Java and start using it for your Java programming needs.
