
This article was published when data science tooling like Dask and R was a primary focus for Saturn Cloud. Today, Saturn Cloud is the enterprise AI platform for any GPU infrastructure.
As a data scientist or software engineer, you may have faced the challenge of managing multiple Python environments with different versions and packages. Conda is a popular package management system that allows you to create and manage isolated environments for different projects. JupyterLab is a web-based interactive development environment that provides a powerful interface for data analysis and visualization. In this blog post, we will discuss how to add a Conda environment to JupyterLab, which will help you work efficiently with different environments.
Prerequisites
Before we start, make sure you have the following software installed on your system:
- Conda (either Anaconda or Miniconda)
- JupyterLab
Step 1: Create a Conda Environment
The first step is to create a Conda environment with the required packages. You can create a new environment using the following command:
conda create --name myenv python=3.8 pandas numpy matplotlib
This command will create a new environment named myenv with Python version 3.8 and the packages pandas, numpy, and matplotlib. You can replace these packages with your required packages.
Step 2: Activate the Conda Environment
After creating the environment, activate it using the following command:
conda activate myenv
This will activate the environment and make it the default Python environment for your terminal session.
Step 3: Install the JupyterLab Kernel
To use the Conda environment in JupyterLab, you need to install the Jupyter kernel for the environment. You can do this using the following command:
python -m ipykernel install --user --name myenv --display-name "Python (myenv)"
This command will install the Jupyter kernel for the myenv environment and display it as “Python (myenv)” in the JupyterLab interface.
Step 4: Launch JupyterLab
Now that you have created the Conda environment and installed the Jupyter kernel, you can launch JupyterLab using the following command:
jupyter lab
This will launch JupyterLab in your default web browser.
Step 5: Select the Conda Environment in JupyterLab
Once JupyterLab is launched, you need to select the Conda environment for your notebook. To do this, open a new notebook and select “Python (myenv)” from the kernel dropdown menu in the top right corner of the notebook interface.
Step 6: Test the Conda Environment
To test the Conda environment, you can run the following code in a notebook cell:
# Ensure your Conda environment 'myenv' is activated and JupyterLab is running.

import pandas as pd
pd.DataFrame({'A': [1, 2, 3], 'B': [4, 5, 6]})

import numpy as np
test_array = np.array([1, 2, 3])
result = test_array * 2

# Matplotlib Test
import matplotlib.pyplot as plt
x = np.linspace(0, 10, 100)
y = np.sin(x)
plt.plot(x, y)
plt.title('Sin Wave')
plt.xlabel('X-axis')
plt.ylabel('Y-axis')
plt.show()
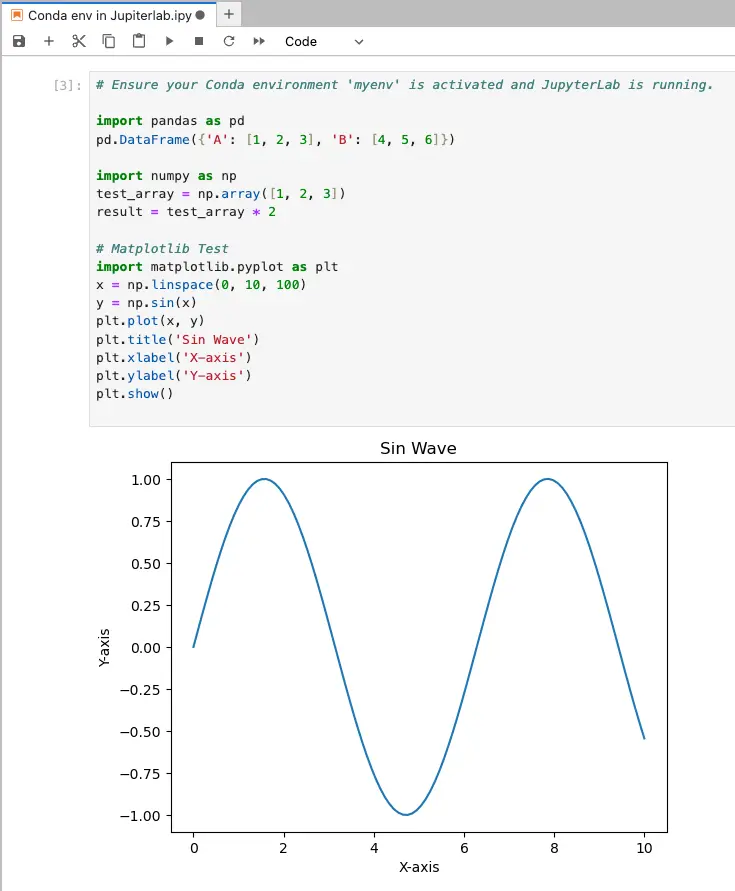
This code will test the functionality of Pandas, NumPy, and Matplotlib within a Jupyter notebook. It imports each library and performs basic operations or plots to verify their functionality. Run this code in your Jupyter notebook within the specified Conda environment to confirm the functionality of these libraries.
Conclusion
In this blog post, we have discussed how to add a Conda environment to JupyterLab. By following these steps, you can easily create and manage multiple Conda environments for different projects and use them in JupyterLab for data analysis and visualization. Managing environments is an essential skill for any data scientist or software engineer, and Conda and JupyterLab provide a powerful combination for achieving this.

