This article was published when data science tooling like Dask and R was a primary focus for Saturn Cloud. Today, Saturn Cloud is the enterprise AI platform for any GPU infrastructure.
Introduction
Have you ever found yourself juggling a complex web of tasks and dependencies, struggling to keep track of everything to ensure everything runs smoothly?
Apache Airflow, an open-source platform, will relieve stress when developing, scheduling, and monitoring workflows. Due to its simplicity and extensibility, it has gained popularity, especially in pipeline orchestration in the Python ecosystem. Whether you’re a data scientist, engineer, or analyst, Airflow can revolutionize your work.
In this article, we’ll discuss the basic concepts of Apache Airflow and how to install and configure Airflow locally.
Why choose Airflow?
Imagine this scenario where you are trying to build a machine-learning pipeline that has many steps, such as:
Streaming real-time data from an e-commerce business to Kafka topics
Reading the data from Kafka topics and processing it using Spark
Training a deep learning model using the data
Containerizing the model and deploying it in Heroku
How can you schedule and automate this workflow?
The workflow is a complex one and needs a solution that is scalable and can handle the complexity. Cron jobs are a simple solution, but with them come many limitations, most notably that they limit you when scaling effectively.
On the other hand, Airflow can schedule and scale complex pipelines quickly. It also enables you to automatically re-run them after failure, manage their dependencies and monitor them using logs and dashboards.
With operators in Airflow, you can connect with many technologies and easily extend them to connect with new technology.
Workflows in Airflow, are defined as Python code which means that:
It is possible to store workflows in version control so that you can roll back to previous versions
Collaboration of multiple people in building the workflows simultaneously
Components are extensible, and you can build on a vast collection of existing components
Key components of Airflow
Airflow organizes jobs into workflows represented as DAGs ( Directed Acyclic Graphs) and contains individual pieces of work called Tasks, arranged with dependencies and data flow taken into account.
When you submit a job/workflow, it is represented as a DAG, which specifies the dependencies between Tasks, and the order in which to execute them and run tries; the Tasks themselves describe the actual work, be it running analysis, streaming data or triggering another system.
Apache Airflow is divided into four core components, which are:
Scheduler - The scheduler is a daemon that is responsible for scheduling jobs. It uses the DAG definitions and the state of tasks in the database to execute different tasks at the correct time, backfilling the data, re-running the pipelines and ensuring the completion of every task.
Executor - It is a mechanism that runs inside the scheduler, and it determines the worker processes that actually execute each task. There are many different types of executors and each of them uses a specific class of worker processes to execute tasks. A few examples are;
LocalExecutor,SequentialExecutor,CeleryExecutorandKubernetesExecutor.Webserver - This is Airflow’s user interface (UI), allowing you to interact without needing a CLI or an API. With it, you can trigger, inspect and debug the behavior of your tasks.
Database - This is where all the information regarding the tasks and pipeline is stored.
Prerequisites
- A machine with any OS installed ( For reference, I’m using Ubuntu 22.04)
- Python 3.9 and above
Create a Python Virtual Environment
First, we will create a new Python environment specific to Apache Airflow. Create a new directory and name it airflow, and navigate to this directory.
While inside the airflow directory, run this command to create a Python environment called airflow_venv but you’re welcome to change it to any name.
python -m venv airflow_venv
To activate the environment, run the following command:
source airflow_venv/bin/activate
You should be able to see an output such as this:

You have successfully created an environment from which you will carry out your project.
Installing Airflow
There are several options that you can consider when installing airflow, and they all differ in terms of complexity.
The options are:
Using released sources - Mostly used when you are familiar with installing and building software from sources and are conscious about the integrity of the software.
Using production Docker images - If you love using Docker stack, you can use the pre-built Apache Airflow images or customize or extend the Docker images if you want to add extra dependencies.
Using official Airflow helm chart - If you aren’t familiar with Docker stack and instead you use Kubernetes, you can install and maintain Airflow using the community-managed Kubernetes installation mechanism via Helm chart.
Using PyPI - If you want to run away from installing and running Airflow using the custom deployment mechanism, you can install via
pipusing the constraint mechanisms.
In this article, we’ll use PyPI as our installation method and install the latest version of Airflow, which is 2.5.3.
Specify a path to the constraints file when installing using the PyPI method.
What is a Constraints file?
It is essential to understand that Airflow is both a library and an application. This affects its installation since the libraries usually keep their dependencies open while applications usually pin them.
The Airflow team has kept the dependencies as open as possible so that, as a user, you can install different versions of libraries if needed.
In order to have a repeatable installation, the constraints files are used to keep a tested and working set of dependencies.
You can create a constraints file by substituting the variables in the template below:
https://raw.githubusercontent.com/apache/airflow/constraints-${AIRFLOW_VERSION}/constraints-${PYTHON_VERSION}.txt
The variables are:
AIRFLOW_VERSION- Airflow version (e.g. 2.5.3) or main, 2-0, for the latest development versionPYTHON_VERSIONPython version e.g. 3.9, 3.10
You can also use “latest” as the version when you install the “latest” stable version of Airflow. The “latest” constraints always point to the “latest” released Airflow version constraints:
The constraints file will look like this based on the Python version from the environment we created:
https://raw.githubusercontent.com/apache/airflow/constraints-2.5.3/constraints-3.10.txt
The installation command will be:
pip install "apache-airflow[celery]==2.5.3" --constraint "https://raw.githubusercontent.com/apache/airflow/constraints-2.5.3/constraints-3.10.txt"
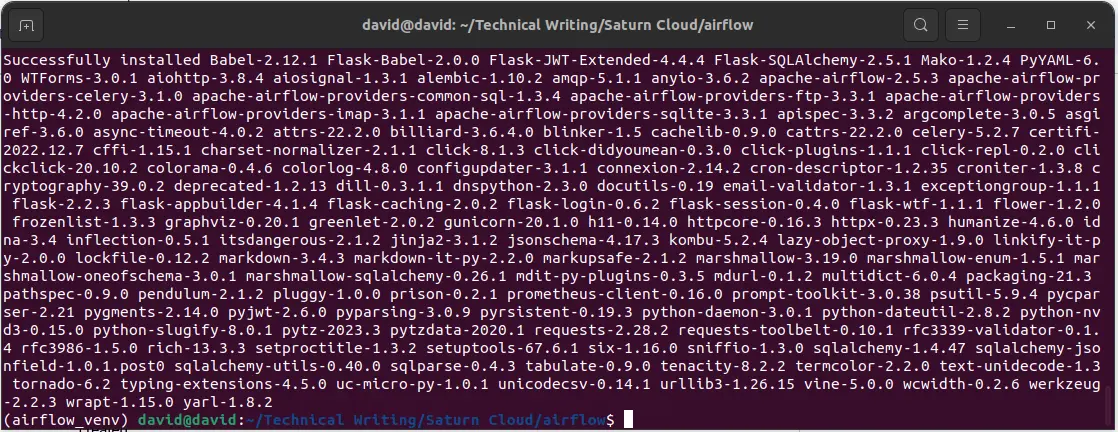
Up to this point, you have installed Airflow just as when installing any other Python package, but we need to configure the Airflow database and user.
Configuring Airflow Database and User
Once you have installed Airflow and it was successful, initialize the database using the following command:
airflow db init
This command will create a folder called airflow in your root directory. When you navigate to the folder, you should be able to see these files:
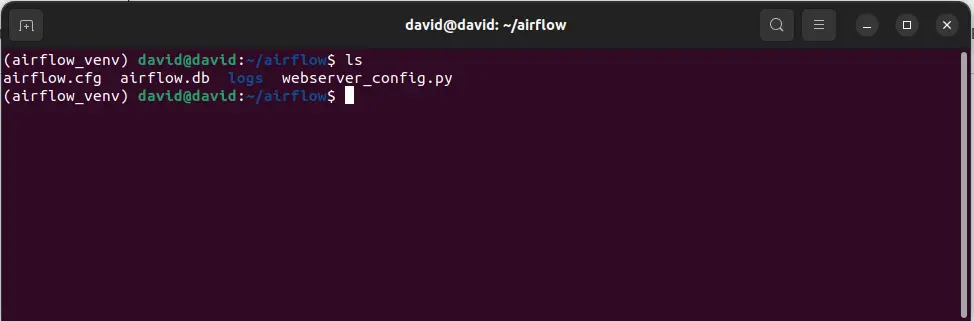
Inside the folder, we have airflow.cfg which is a configuration file and airflow.db which is the metastore used by airflow.
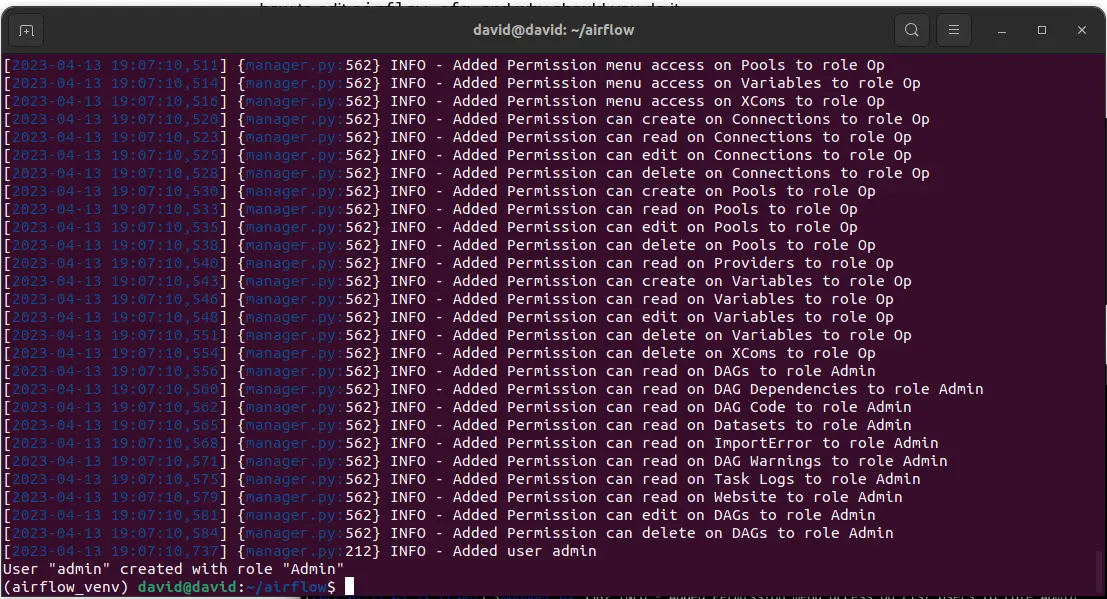
To create an Airflow user, run the following command replacing the variables with your data:
airflow users create \
   --username admin \
   --password admin \
   --firstname <FirstName> \
   --lastname <LastName> \
   --role Admin \
   --email <YourEmail>
After running the command, user creation will take some time, once done you should see that the user with the Admin role was successfully created.
Up to this point, you’ve done some basic configuration, now you can run Airflow.
Running Airflow Webserver and Scheduler
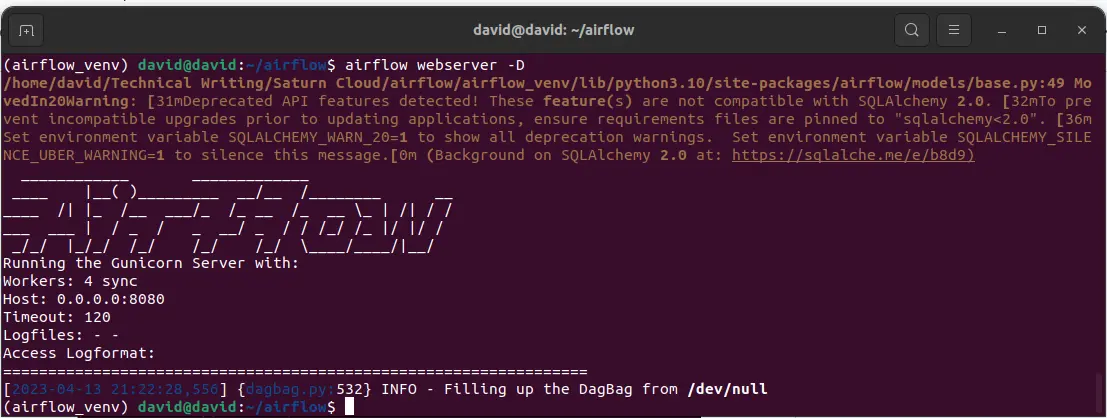
To check if Airflow is working correctly on your machine, you’ll have to spin up the Scheduler and the Webserver. You’ll first start the Webserver as a background process using the following command:
airflow webserver -D
The output should be like this:
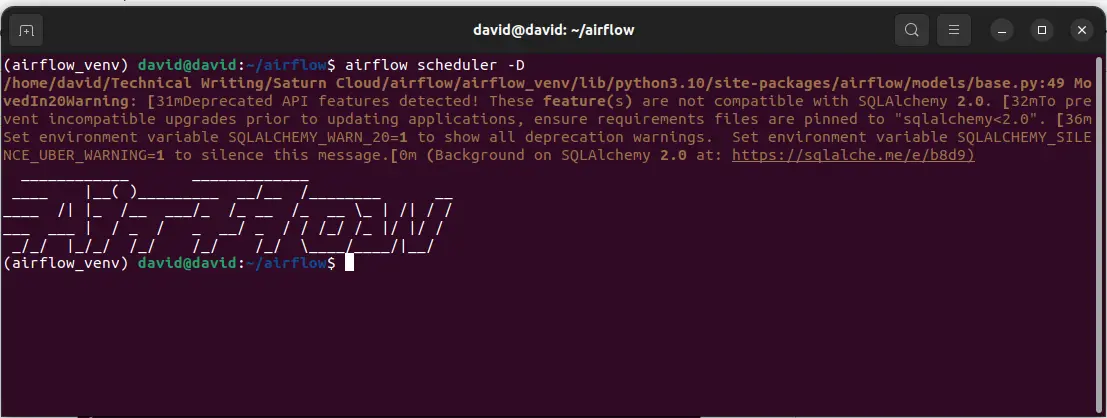
Once it is up and running, start the scheduler using the following command:
airflow scheduler -D
The output should be like this one:
Airflow is up and running on port 8080 which is the default port for Airflow. Open the following URL in your browser:
http://localhost:8080
And you will be able to see the sign in the window:
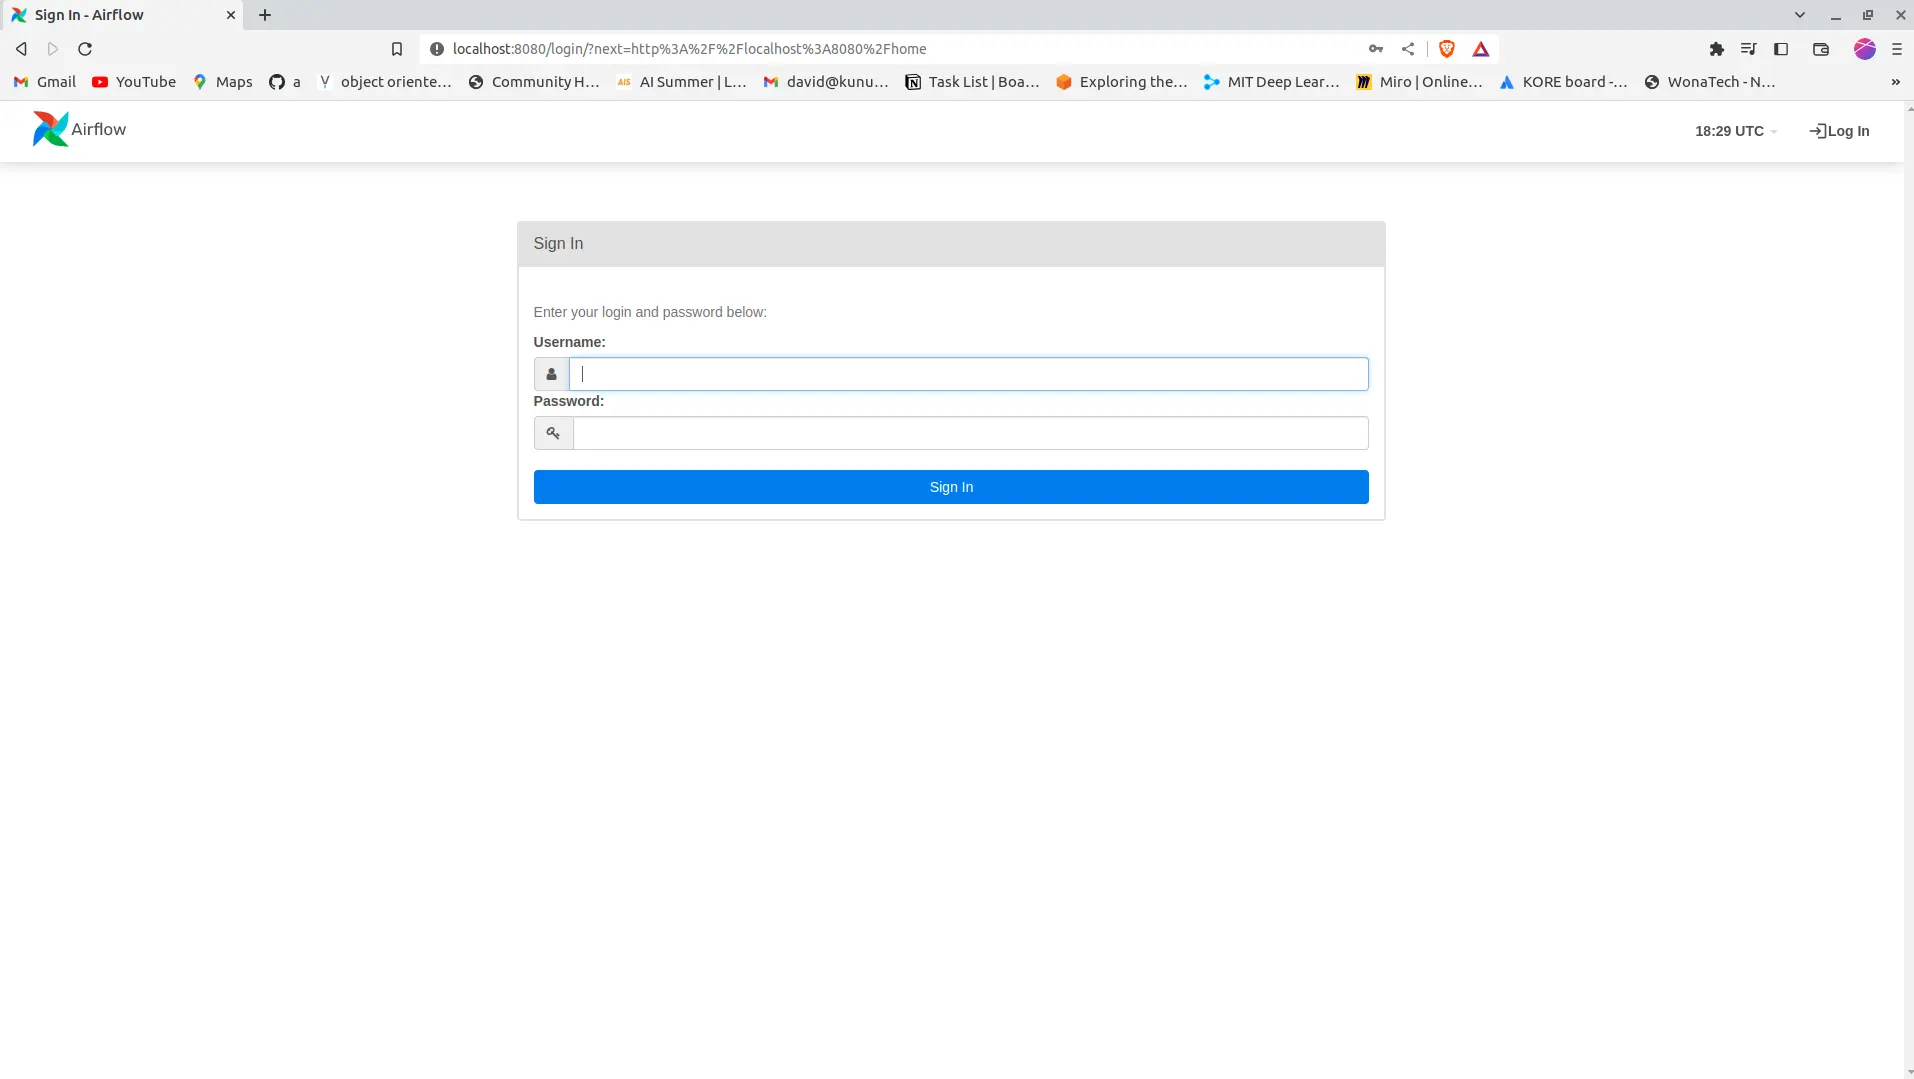
You can sign in with the credentials you specified while creating the Airflow user to access the interface to run, manage and debug your DAGs.
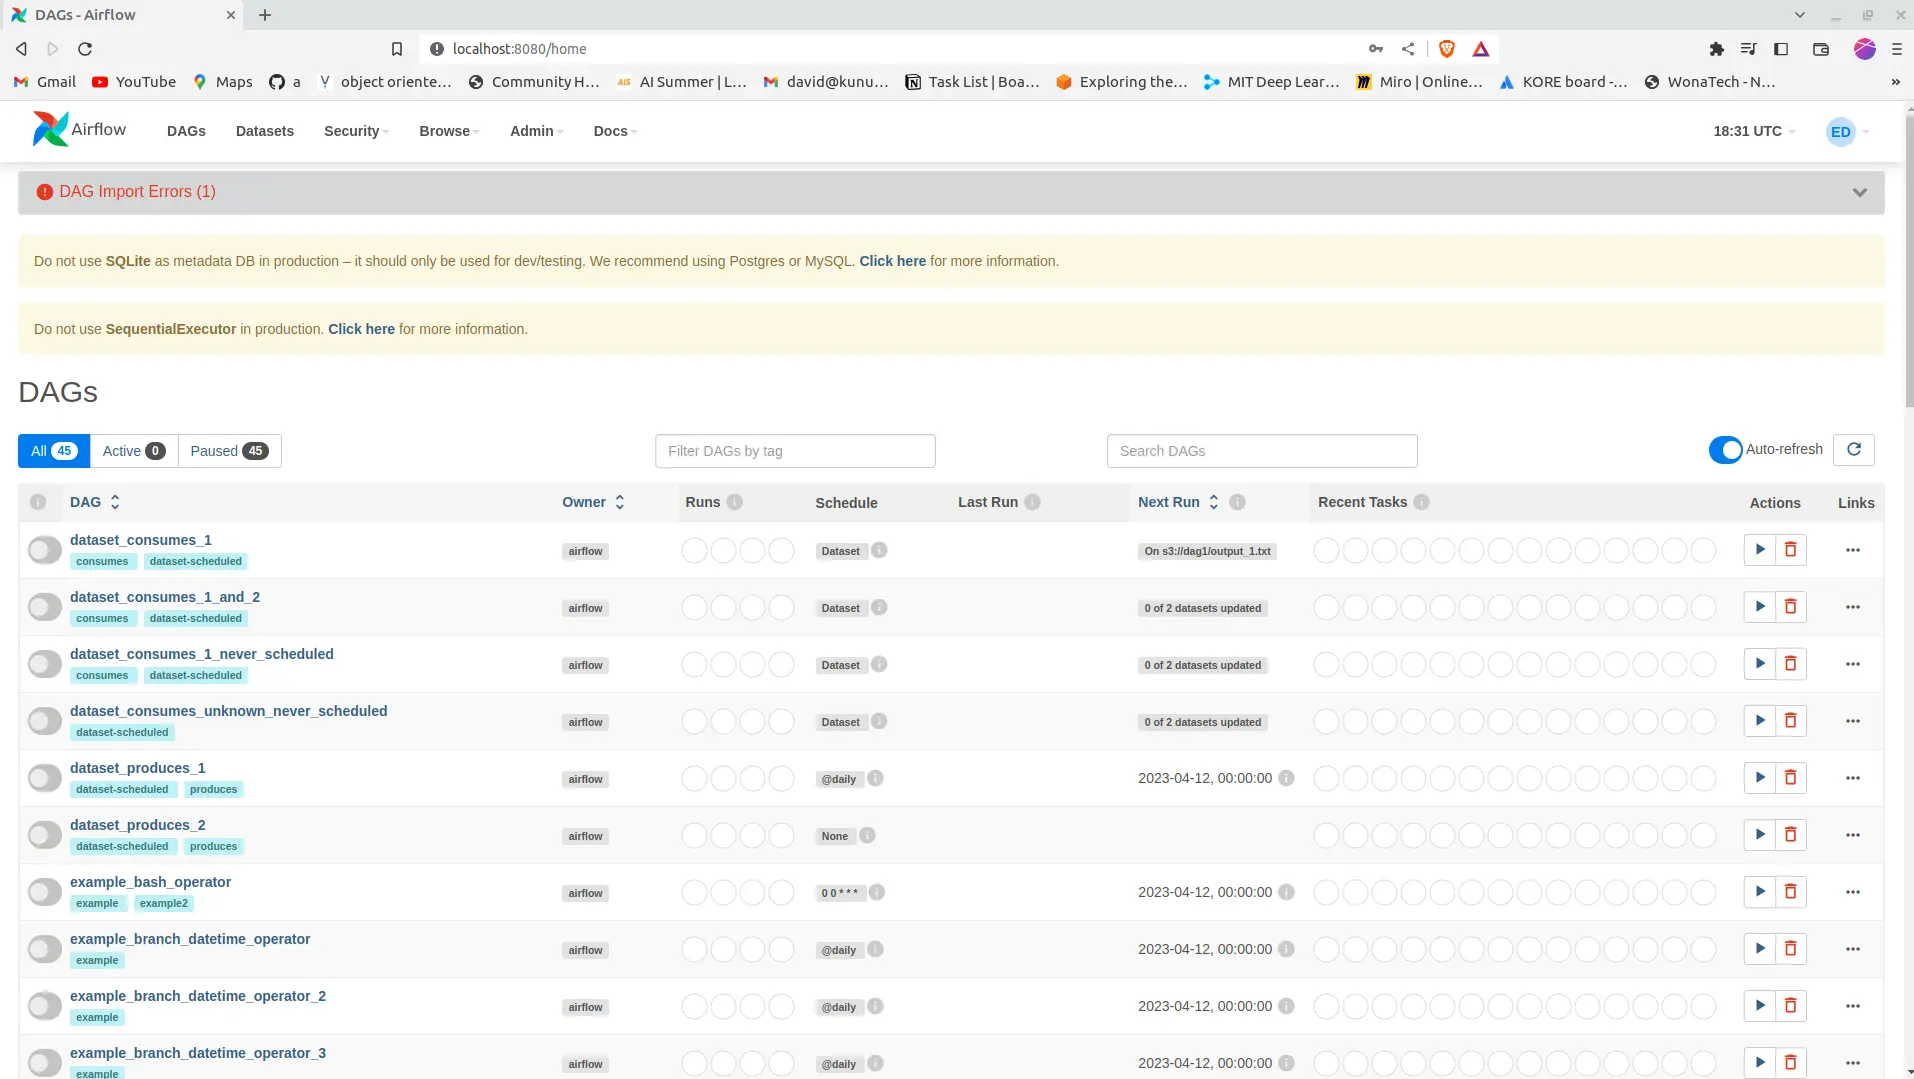
That’s it.
Now you have a basic setup for Apache Airflow using the SequentialExecutor, and it is good to mention that you can change the Executor from the airflow.cfg file, which is the configuration file.
Conclusion
In this quick tutorial, we’ve discussed the Apache airflow tool, what it is, and its essential components. We installed, set up, and ran a simple Airflow environment using an SQLite backend and the SequentialExecutor.
The flexibility and scalability of AIrflow make it one of the most excellent tools for developers and data scientists, and with it, there are many nice things you can do this post just got you started.
You may also be interested in:
[The Busy Data Scientist’s Guide to Data Science Resources](https://saturncloud.io/blog/the-busy-data-scientists-guide-to-data-science-resources-2022/)